
BLOG
Build a Sub Irrigated Planter for Under $30, Or Buy a Tested Kit

A sub irrigated planter (SIP) is a container with a water reservoir built into its base that feeds moisture upward to plant roots through capillary action, so you’re not hand-watering every day. You’ll refill the reservoir every one to a few weeks instead of running a watering can daily. If you’re a busy gardener, an urban container grower, or someone who wants steadier vegetable yields with less guesswork, a SIP solves a real problem for you.
TL;DR:
- Reservoir systems need refilling every 10 days to a few weeks, with roots taking about 8 to 12 weeks to fully establish reliance on the water supply.
- Use a light, aerated mix like peat or coco coir blended with perlite to maintain proper capillary action and prevent root rot.
- DIY SIPs can be built for under $30, but correct sizing, an overflow hole, and a proper air gap are essential to prevent waterlogging and oxygen deprivation.
- Regular maintenance involves refilling weekly, flushing out salts annually, and keeping the fill tube and overflow clear of debris to ensure system efficiency.
- For consistent performance and longer intervals between refills, purchasing a tested kit from companies like Farmdaddy offers a reliable, low-maintenance alternative.
Table of Contents
- How Do Sub Irrigated Planters Work?
- What Are the Benefits and Limits of a SIP?
- How Do You Build a DIY Sub Irrigated Planter?
- How Do You Plant and Maintain a Sub Irrigated Planter?
- Why Do FarmDaddy’s Self-Watering Systems Work So Well?
- Should You Build a SIP or Buy One?
- Ready to Skip the Guesswork? Here’s Your Next Step
- Sources
How Do Sub Irrigated Planters Work?
A SIP has three working zones stacked on top of each other: a water reservoir at the bottom, a barrier that separates water from soil, and a soil zone on top where roots grow. Water sits in the reservoir, and either a wick or the potting mix itself pulls moisture upward through capillary action, the same physical process that lets a paper towel soak up a spill. Roots stay just above the waterline, drawing what they need without sitting in standing water.
The separator, usually a perforated screen or slotted plastic tray, holds the soil zone in place while letting roots and moisture pass through. Above the reservoir, you need an air gap of roughly 1 to 2 inches. This gap keeps the root zone aerobic. Skip it, and roots can drown from lack of oxygen even though there’s plenty of water around them. An archived technical reference on early SIP design recommends placing the overflow hole in this exact gap, about 1 to 2 inches above the reservoir floor, so excess water drains out before it ever touches the roots.
Two main mechanisms exist:
- Wick systems pull water through a cord or fabric strip; they’re cheap and work immediately but struggle with hard water and small reservoirs.
- Reservoir/sub-irrigation systems let the soil mix itself act as the wick across a wider surface, scaling better for vegetables and longer trips away from home, though they need a short root-establishment period before they take over watering duty, according to comparisons of wick versus reservoir designs.
What Are the Benefits and Limits of a SIP?
The core payoff is consistency. Instead of soil swinging between soaked and bone-dry, a SIP holds steady moisture at the root zone, and that stability shows up in the plants themselves.
By the numbers: Reservoir systems typically need refilling every 10 days to several weeks depending on size and conditions, and most take 8 to 12 weeks for roots to establish enough to rely on the reservoir as their primary water source.
University extension research backs this up directly. Growers using subirrigated containers report improved plant vigor and better yields, largely because moisture stability reduces the stress that comes from cycles of drought and flood.
That said, SIPs aren’t universal:
- Succulents and cacti dislike constant moisture at the roots and generally do better in free-draining, non-irrigated pots.
- Salt accumulation builds up over time in a closed reservoir, especially with tap water or regular fertilizing.
- Root rot risk climbs fast if the air gap collapses or the media stays waterlogged for too long.
- The establishment lag means new transplants still need top-watering for the first several weeks.
How Do You Build a DIY Sub Irrigated Planter?
Building your own SIP costs far less than buying one, often under $30 for a basic storage-tote version, compared to commercial kits that run higher but offer reservoirs holding 10 gallons or more for serious durability. Here’s a build that works for a standard tote or a raised bed.
What you’ll need:
- A UV-stable plastic tote or bin with a lid (avoid brittle plastics that crack outdoors)
- A perforated separator tray or an egg-crate style grid to hold soil above the water
- Plastic cups, PVC pipe sections, or wicking material for the capillary connection
- A length of PVC pipe for the fill tube
- An overflow hole drilled 1 to 2 inches above the reservoir floor
- A well-aerated potting mix (more on that below)
Assembly steps:
- Drill your overflow hole first, positioned in the air gap zone, not at the very bottom.
- Cut and fit the separator so it sits flush and stable inside the container.
- Set your wicking cups or capillary material into the separator, spaced evenly across the planting area.
- Cut a hole for the fill tube and secure it so it reaches down to the reservoir floor.
- Fill the reservoir with water and check that it drains cleanly through the overflow hole. This one test catches most design flaws before you ever add soil.
- Add your potting mix on top of the separator, then plant.
Sizing matters more than most first-time builders expect. A 15 to 20 gallon tote with a 3 to 5 gallon reservoir suits a couple of tomato plants; smaller herb setups can run with less. Detailed build plans from urban garden programs walk through exact reservoir-to-soil ratios if you want to scale up.
Pro Tip: Test your overflow and air gap with plain water before you add a single scoop of soil. It takes five minutes and saves you from repotting a stressed plant later.
How Do You Plant and Maintain a Sub Irrigated Planter?
Regular garden soil compacts inside a SIP and blocks the capillary action that makes the whole system work. Use a light, aerated mix instead. A peat or coco coir base blended with perlite or pumice keeps the wicking action strong while still letting roots breathe, a combination extension guidance specifically recommends for container growing.
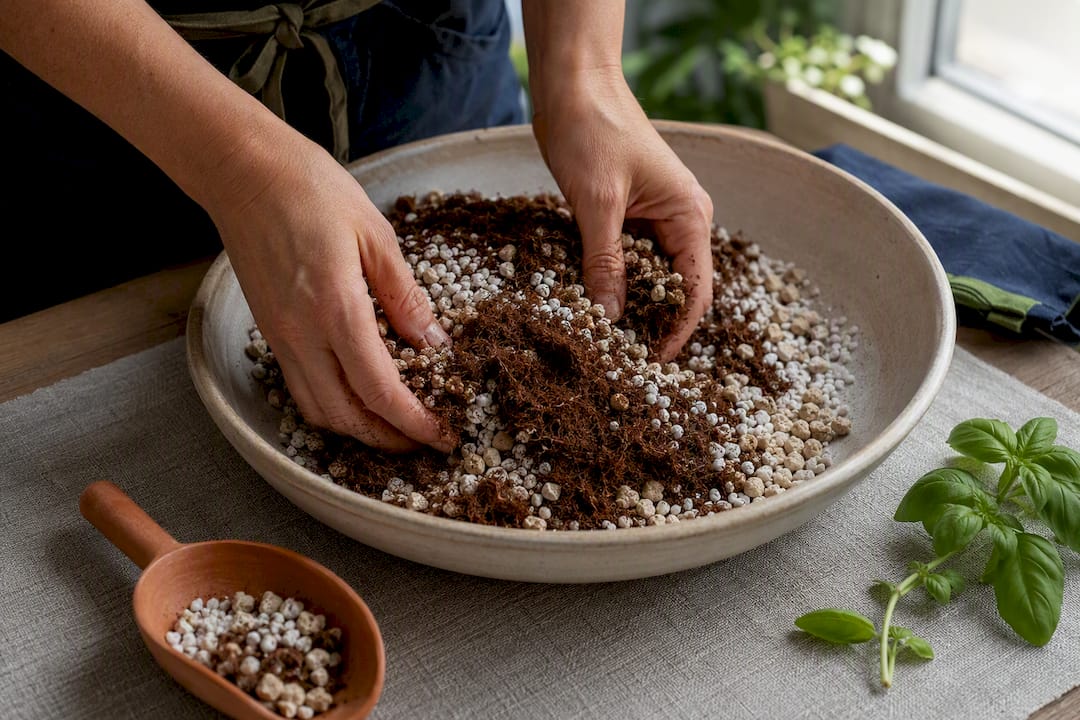
New plants need help getting started. Top-water from above for the first several weeks until roots grow down far enough to reach the moisture zone. This establishment window commonly runs 8 to 12 weeks, matching what consumer testing on self-watering planters has found across multiple reservoir designs.
Once established, maintenance is simple:
- Refill cadence depends on reservoir size, plant type, and weather, but check weekly until you learn your planter’s rhythm.
- Flush salts annually by top-watering heavily until water runs out the overflow, clearing mineral buildup from tap water and fertilizer.
- Keep the fill tube and overflow clear of debris so you can always see and control your water level.
If you notice algae in the fill tube, that’s usually light reaching the reservoir, easy to fix by shading the tube. Yellowing leaves and a sour smell point to root rot from a collapsed air gap. A clogged wick shows up as a plant that wilts despite a full reservoir. Learning how reservoir design conserves water in the first place makes these fixes far more intuitive.
Why Do FarmDaddy’s Self-Watering Systems Work So Well?
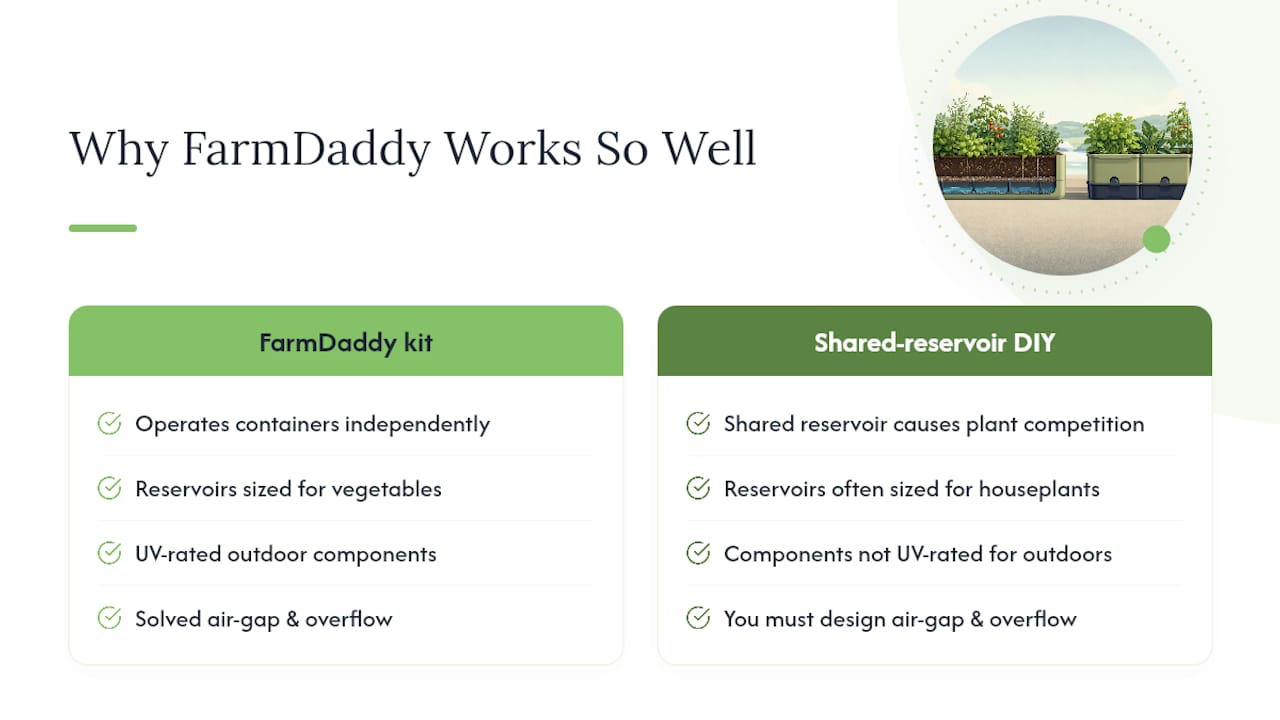
If DIY isn’t your speed, a tested kit takes the guesswork out—see more inspiration and tips at the Sacred Garden Designs blog. Farmdaddy’s patented design lets each connected container operate independently, so one thirsty tomato plant doesn’t starve the basil next to it, a real limitation in many shared-reservoir DIY builds. The reservoirs are sized for real vegetable and herb growing, not just houseplants, and the components are built to handle outdoor UV exposure season after season.
Paying for a kit makes sense when you want a warranty, a design that’s already solved the air-gap and overflow problems for you, and refill intervals long enough to survive a week away from home. Check out how self-watering planters work for a closer look at the mechanics behind the system.
Should You Build a SIP or Buy One?
If you enjoy tinkering and want to keep costs near zero, build one. But if you travel often, or you’d rather spend your gardening time actually gardening instead of troubleshooting a wick, buy a kit built to solve those problems already. Match the choice to your schedule and your patience for maintenance, not just your budget.
— Steven
Ready to Skip the Guesswork? Here’s Your Next Step
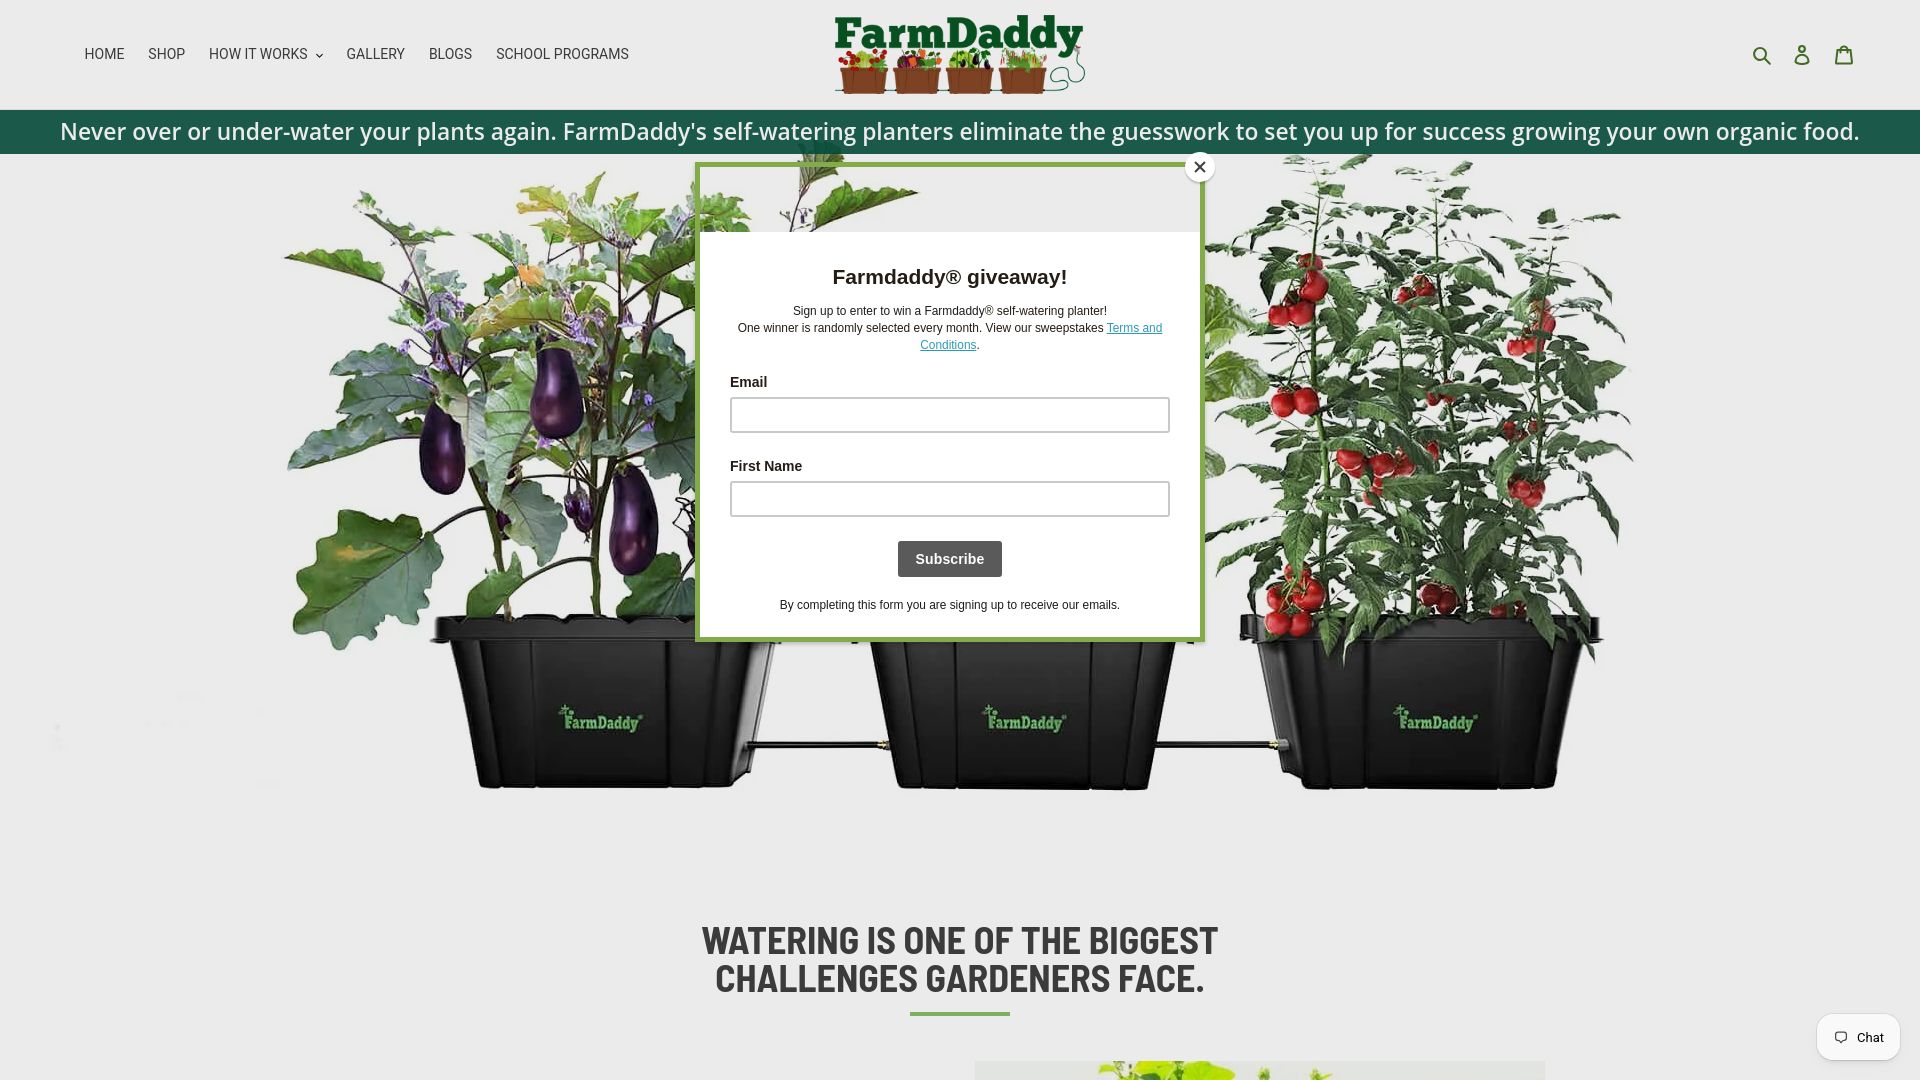
Building your own SIP teaches you the mechanics, but if you’d rather start growing today, Farmdaddy’s kits are already engineered for it. Herb growers do well with a compact single planter, patio vegetable gardeners often start with the 2-Planter Self Watering Garden System for tomatoes and peppers side by side, and anyone planning a bigger harvest should look at the Garden Box self-watering bed for room to grow multiple vegetables at once.
Match your planter size to your plant’s mature root spread and your available sun exposure. A tomato needs more reservoir capacity than a bunch of basil. Browse Farmdaddy’s self-watering container gardening guide to compare sizes and find the setup that fits your space before you plant your next round of seedlings.
Sources
- Subirrigated containers for the Mississippi gardener
- The 8 Best Self-Watering Planters, Tested by BHG
- Sub‑Irrigated Planters A How-to Guide
- Sub-irrigated planter
