
BLOG
Tomato Self-Watering Planters: Grow More, Water Less

Self-watering planters are one of the best things you can do for container tomatoes — when you match the right planter volume to your variety and keep the reservoir topped up. The consistent root-zone moisture these systems deliver directly reduces blossom-end rot and cracked fruit, two of the most frustrating problems home gardeners face. If you want a ready-made, low-fuss setup, Farmdaddy’s self-watering tomato planter kit is the fastest path to a productive season. If you’re handy and working with a tight budget, a DIY 5-gallon wicking bucket gets a single cherry or small determinate plant through moderate heat with 2–3 days of buffer between refills.
Quick sizing note: cherry and dwarf types need a small container volume, standard determinate varieties need a moderate container volume, and indeterminate types do best in larger containers. Get the size right, and the rest of the system works with you.
- Buy: Choose a purpose-built system like Farmdaddy if you want modularity, minimal troubleshooting, and a design that handles reservoir management for you.
- DIY: Build a 5-gallon wicking bucket if you’re growing one compact variety and want to test the concept before investing.
Table of Contents
- What are the real benefits — and risks — for tomatoes?
- How to build a simple 5-gallon self-wicking tomato planter
- Why purpose-built systems outperform DIY buckets for most gardeners
- Key Takeaways
- The case for self-watering that most guides miss
- Farmdaddy makes self-watering simple for tomato growers
- Useful sources for deeper reading
What are the real benefits — and risks — for tomatoes?
The primary benefit is simple: tomatoes get steady, even moisture at the root zone without you standing over them with a hose every morning. That consistency is exactly what tomatoes need. UGA Extension research confirms that even soil moisture supports calcium uptake, which is the key to preventing blossom-end rot. Inconsistent watering — too wet, then too dry, then too wet again — is one of the most common causes of both blossom-end rot and cracked fruit in container gardens.
Self-watering systems also cut down on the daily attention that container tomatoes typically demand, especially in summer heat when small pots can dry out completely within 24 hours.
That said, there are real risks to know about:
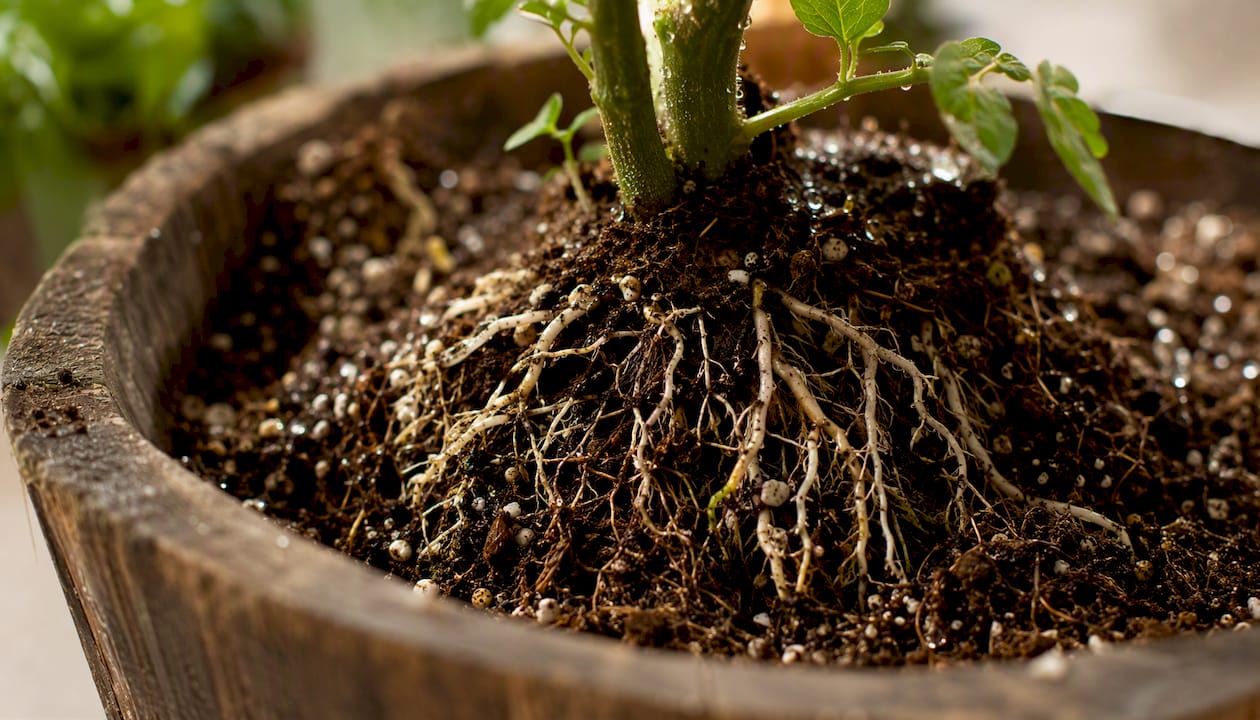
- Overwatering and root rot: If the reservoir stays too full and the soil never gets a chance to breathe, roots can suffocate. Epic Gardening notes that overwatering deprives roots of oxygen, leading to rot. A well-draining soilless mix is your first line of defense.
Pro Tip: Lift your planter slightly off the ground on pot feet or bricks. This improves airflow under the container, helps the overflow drain freely, and reduces the risk of oxygen-deprived roots in humid conditions.
Consistent moisture from a sub-irrigated system is one of the most effective ways to prevent blossom-end rot in container tomatoes — but the soil mix and drainage setup matter just as much as the reservoir itself.
How to build a simple 5-gallon self-wicking tomato planter
This build works for one compact tomato plant and gives you roughly 2–3 days of buffer watering under moderate conditions — compared to zero buffer with a plain 5-gallon bucket. It’s a great way to test the concept before committing to a larger system.
Parts list:
- Two 5-gallon buckets (one solid, one with holes drilled in the bottom)
- One 16 oz. plastic cup or small container (wicking cup)
- One length of 1/2-inch PVC pipe or rigid tubing (fill tube, cut to container height)
- Drill with 1/4-inch and 1/2-inch bits
- Soilless potting mix
- Landscape fabric or mesh (optional, to line the inner bucket)
Optional upgrades: A float indicator (a small cork on a wire through the fill tube) lets you check the reservoir level without lifting the bucket. A piece of weed fabric over the soil surface reduces evaporation and fungus gnat access.
Assembly steps:
- Drill a 1/2-inch overflow hole in the solid outer bucket, about 2 inches from the bottom. This sets your maximum reservoir depth.
- Drill several 1/4-inch holes in the bottom of the inner bucket to allow wicking contact with the reservoir.
- Cut the wicking cup to fit snugly through a hole in the inner bucket’s bottom, so it hangs down into the reservoir when nested.
- Fill the wicking cup tightly with plain potting mix — this is your wick.
- Insert the fill tube through a hole drilled near the rim of the inner bucket, angled down into the reservoir space.
- Nest the inner bucket inside the outer bucket. The wicking cup should reach the reservoir floor.
- Fill the inner bucket with your soilless mix, plant your tomato, and top-water thoroughly to prime the wick.
- Fill the reservoir through the fill tube until water runs from the overflow hole.
A note on stability: a 5-gallon bucket with a mature tomato plant and a full reservoir can top-heavy in wind. Place it against a wall or fence, or use a tomato cage that anchors to the bucket rim.
Why purpose-built systems outperform DIY buckets for most gardeners
DIY builds are a great way to learn how sub-irrigation works, and a well-made 5-gallon wicking bucket genuinely performs. But purpose-built systems solve several problems that DIY setups run into repeatedly.
The most common DIY failure points are a wick that compacts or dries out, an overflow hole positioned too high (causing waterlogged soil), and a reservoir that’s too shallow to buffer a full day of summer heat. A designed system addresses all three from the start.
Farmdaddy’s patented self-watering design allows each connected container to operate independently, so every plant gets the precise moisture it needs regardless of what its neighbors are drawing. That modularity matters when you’re growing tomatoes alongside herbs or peppers with different water demands — you’re not forcing one watering schedule on plants that need different things.
Farmdaddy’s self-watering container gardening system is built around that principle. The connector hose system links planters without forcing them to share a single reservoir behavior, and the overflow design is calibrated to prevent the waterlogging that sinks most DIY builds.
When to choose Farmdaddy over a DIY build:
- You want a system that works reliably across multiple growing seasons without rebuilding.
- You’re growing more than one or two plants and want consistent results across all of them.
- You travel or have a busy schedule and need the reservoir to do its job without daily intervention.
- You want to add accessories like weed covers or compatible organic fertilizers without sourcing parts separately.
When a DIY build makes sense: you’re testing the concept with one plant, you have the materials on hand, or you’re building a large tote system for a single indeterminate variety where a commercial container isn’t available in the right volume.
Key Takeaways
Self-watering planters work exceptionally well for tomatoes when you match container volume to variety, use a well-draining soilless mix, and keep the reservoir consistently topped up without letting it run dry.
| Point | Details |
|---|---|
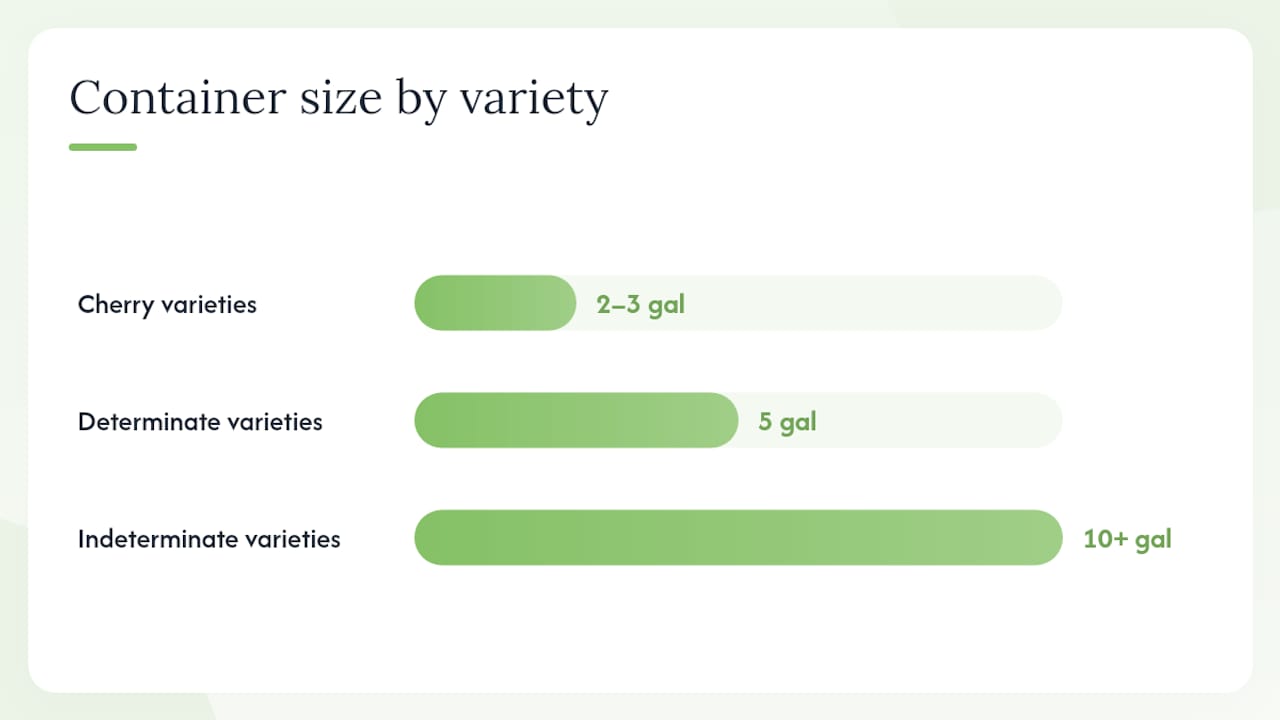
| Size by variety | Use 2–3 gallons for cherry types, 5 gallons for determinate, and 10+ gallons for indeterminate varieties. |
| Soil mix matters | Combine soilless potting mix, perlite, and compost; never use garden soil in a self-watering container. |
| Refill cadence | Expect daily refills for 5-gallon containers in summer heat; larger containers typically last 2–3 days. |
| Flush salts monthly | Top-water with plain water every 4–6 weeks to prevent fertilizer salt buildup that mimics overwatering symptoms. |
| Farmdaddy ready-made option | Farmdaddy’s self-watering tomato planter kit offers a patented, modular design that handles reservoir management with minimal troubleshooting. |
The case for self-watering that most guides miss
Most articles about self-watering planters spend a lot of time on the mechanics and not enough on the mindset shift they require. The gardeners who struggle with these systems usually do so because they treat “self-watering” as “self-managing.” It isn’t. What these containers actually do is compress the daily attention you’d otherwise give to a hose into a single, faster check: look at the fill tube, top up if needed, move on.
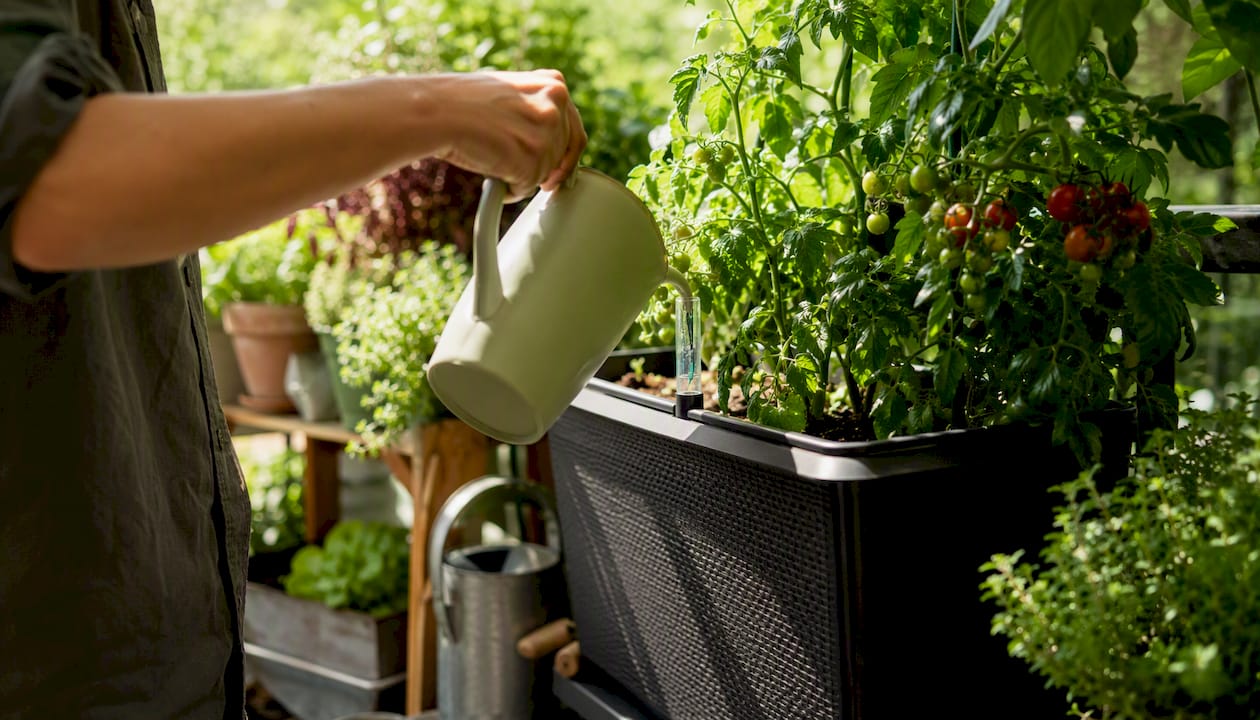
Where self-watering containers genuinely save a season is during the two or three weeks in July and August when temperatures spike and a plain container pot can go from moist to bone-dry in under 12 hours. That’s when the reservoir buys you the margin to miss a morning check without losing a plant. That buffer is real and worth having.
The overlooked risk, though, is the opposite failure: gardeners who fill the reservoir and then stop paying attention entirely. Salt accumulation is slow and invisible until it isn’t. A plant that looks slightly stunted in week six of the season is often showing early salt stress, not a watering problem. The fix is a monthly top-water flush, and it takes about two minutes. Build that into your routine from the start, and self-watering containers will likely be the best decision you make for your container garden this season.
Farmdaddy makes self-watering simple for tomato growers
Growing tomatoes in containers doesn’t have to mean daily watering anxiety or guessing whether your plants are getting too much or too little. Farmdaddy’s self-watering tomato planter kit gives you a ready-made system with a patented reservoir design that keeps moisture consistent at the root zone without the trial-and-error of a DIY build. Each container operates independently, so your tomatoes get exactly what they need even when they’re growing alongside herbs or peppers with different water demands.
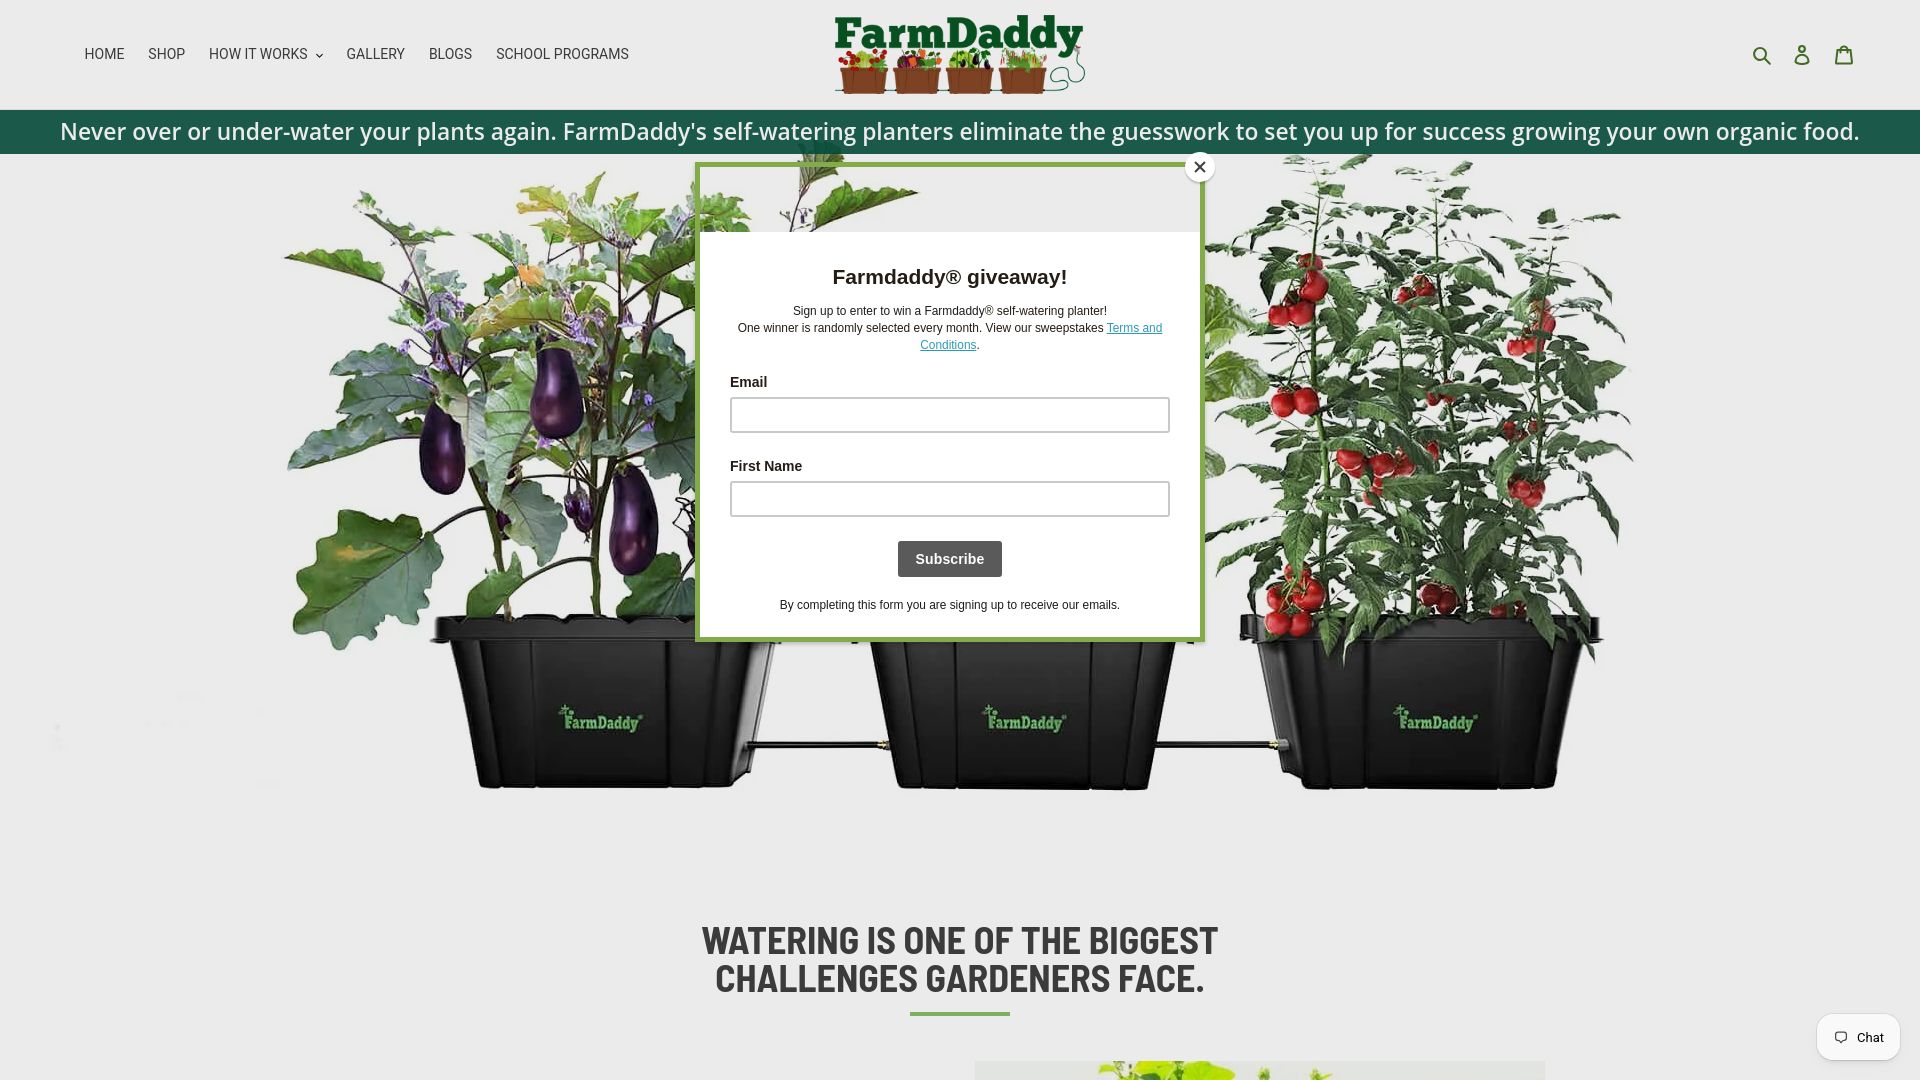
The 2-planter self-watering garden system is a practical starting point for most home gardeners, with enough volume for two productive tomato plants and accessories like weed covers and compatible organic fertilizers available to complete the setup. Visit Farmdaddy to choose the kit that fits your space and get your tomatoes growing this season.
Useful sources for deeper reading
These resources back the guidance throughout this article and are worth bookmarking for your container gardening season.
- Growing Tomatoes in Containers | Almanac.com
- Good watering practices help keep tomatoes healthy | UGA Extension (Fulton County)
- Can too much water kill tomato plants? | Epic Gardening
- Growing tomatoes in containers and pots (Iowa State Extension)
- Watering container tomatoes — Plant Reference
- How to Build a 5 Gallon Self Wicking Tomato Watering Container | Instructables
- How to make an 18-gallon self-watering container | Grow a Good Life
- How often should you water tomatoes? | Country Living

