
BLOG
Self-Watering Vegetable Garden: Easy Growing at Home

A self-watering vegetable garden uses a built-in reservoir beneath the growing medium to deliver consistent moisture directly to plant roots through capillary action. If you’re a busy home gardener who wants fresh tomatoes, herbs, or greens without daily watering, a sub-irrigated planter (SIP) is the most reliable low-maintenance solution available. For a ready-to-grow option, Farmdaddy’s self-watering planters are designed exactly for this: each container operates independently so every plant gets the moisture it needs without you hovering over it. If you prefer to build your own, the DIY path works too, but it takes more time and careful construction to get right.
Table of Contents
- How does a self-watering vegetable garden system work?
- What are the real benefits and limits of self-watering planters?
- Which vegetables grow best in self-watering planters?
- What soil and fertilizer should you use in a self-watering container?
- How do you maintain a self-watering planter and fix common problems?
- Should you build a DIY system or buy a ready-made planter?
- How do you keep your garden watered while you’re on vacation?
- What does a self-watering setup cost, and how long will the reservoir last?
- What do extension researchers say about sub-irrigation and best practices?
- Why Farmdaddy planters are the practical choice for home gardeners
- Key Takeaways
- The case for trusting the reservoir
- Useful extension resources and where to learn more
How does a self-watering vegetable garden system work?
The mechanics are straightforward once you see the parts working together. Every SIP has four core components, and each one plays a specific role.
- Reservoir: A sealed chamber at the base that holds water. You fill it through a vertical inlet tube that runs from the reservoir up through the soil to the surface.
- Wicking or media layer: A porous substrate (perlite, coarse potting mix, or a fabric wick) sits between the reservoir and the soil. Water travels upward through capillary action, the same natural process that pulls water up a paper towel.
- Soil column: The growing medium sits above the wicking layer. Roots grow downward toward the moisture gradient, which keeps them consistently hydrated without surface saturation.
- Overflow drain: A hole positioned at the top of the reservoir lets excess water escape during heavy rain, preventing waterlogging. Missing this detail is one of the most common DIY mistakes.
When you first set one up, fill the reservoir completely before planting. Check that the overflow hole is unobstructed and that the wicking layer makes direct contact with the soil above it. A quick finger test in the soil after 24 hours confirms the system is drawing water upward correctly.
What are the real benefits and limits of self-watering planters?
The biggest advantage is consistent root-zone moisture. Direct root-zone watering reduces foliage wetness, which lowers the incidence of common vegetable diseases like powdery mildew and early blight. You also use significantly less water. Drip systems and sub-irrigated planters use significantly less water than overhead sprinklers by applying moisture directly where roots need it, minimizing evaporation.
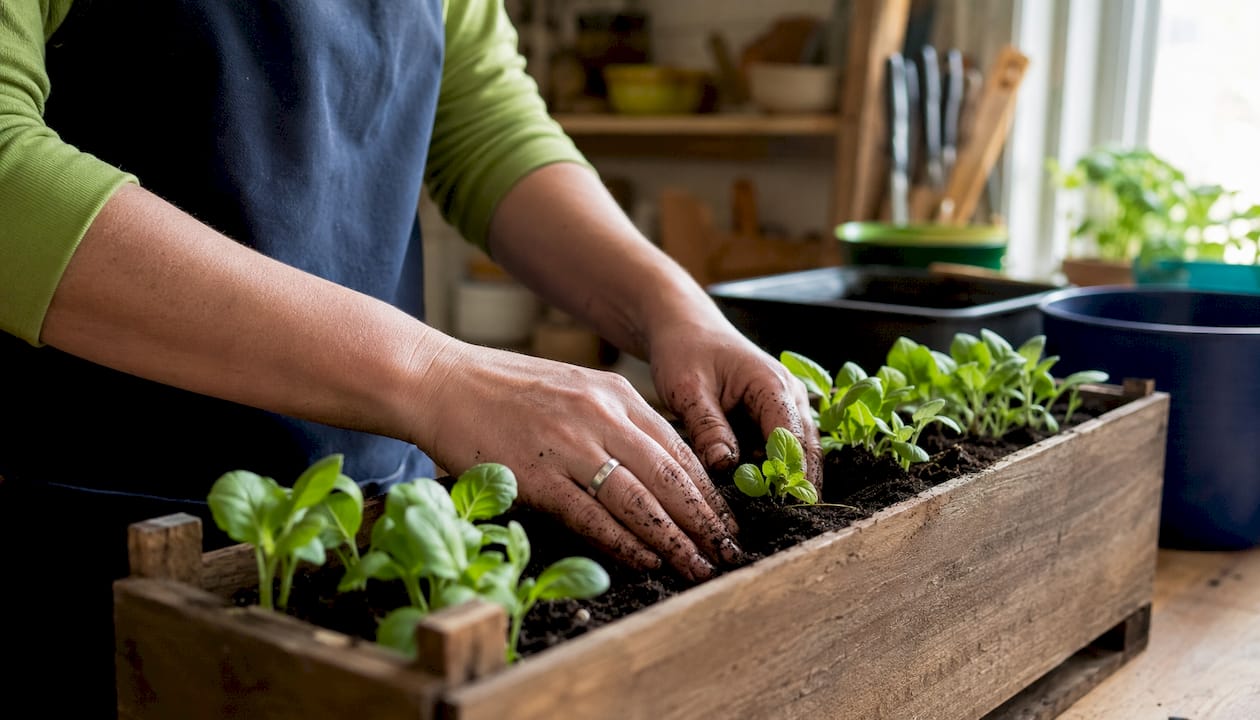
Vacation resilience is another genuine benefit. A properly sized reservoir can carry plants through several days without any attention, which is a real advantage for anyone who travels or simply gets busy.
That said, SIPs have real limits. Container soil volume is finite, so larger plants like indeterminate tomatoes will draw down a reservoir faster than compact herbs. Salt buildup from fertilizers is a recurring issue because water wicks upward but salts stay behind in the soil. And if the overflow drain fails or gets blocked, the reservoir can flood the root zone after a heavy rain.
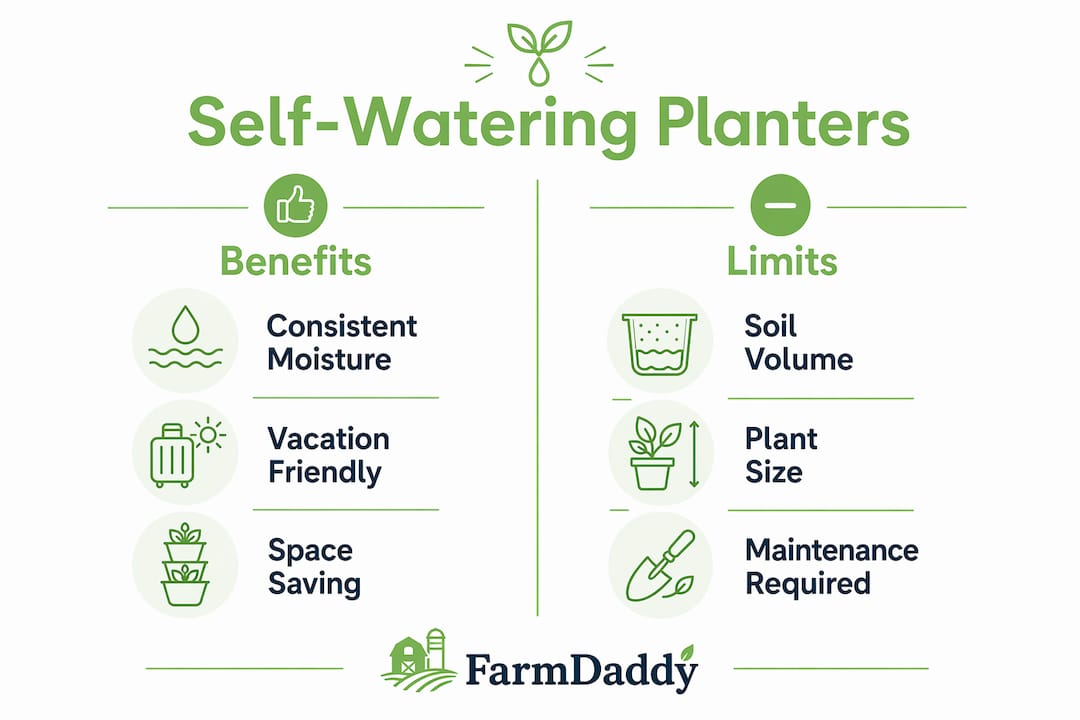
Pro Tip: SIPs are the best choice for patios, balconies, and small yards where in-ground planting isn’t practical. For large vegetable plots with established irrigation, a drip zone may be more cost-effective at scale. Use SIPs where portability, water savings, and low maintenance matter most.
Which vegetables grow best in self-watering planters?
Most vegetables that thrive in containers do well in SIPs. The key is matching plant size to container volume.
Best fits:
- Tomatoes (especially determinate and patio varieties)
- Peppers and chili peppers
- Lettuce, spinach, kale, and other leafy greens
- Basil, parsley, cilantro, and most culinary herbs
- Dwarf or bush varieties of beans and cucumbers
- Radishes and compact carrots
Poor fits and workarounds:
- Large vining crops like full-size pumpkins or watermelons need more root space than most SIPs provide. If you want cucumbers or squash, choose a compact or bush variety and provide a trellis.
- Deep-rooted perennials like asparagus or artichokes need more soil depth than a standard planter offers.
For plant pairing ideas, Farmdaddy’s container garden combinations guide gives practical inspiration for what grows well together.
| Plant type | Minimum container size | Plants per container |
|---|---|---|
| Leafy greens (lettuce, spinach) | 12-inch pot / 5 gal | 4–6 plants |
| Herbs (basil, parsley) | 2 gallons | 2–4 plants |
| Peppers | 12-inch pot / 5 gal | 1–2 plants |
| Determinate tomatoes | — | 1 plant |
| Bush beans | 12-inch pot / 5 gal | 3–4 plants |
| Dwarf cucumbers | — | 1–2 plants |
What soil and fertilizer should you use in a self-watering container?
The potting mix you choose makes or breaks the wicking system. Garden soil is too dense for containers: it compacts, restricts water movement, and causes root rot. You need a porous, lightweight mix that holds moisture while staying aerated.
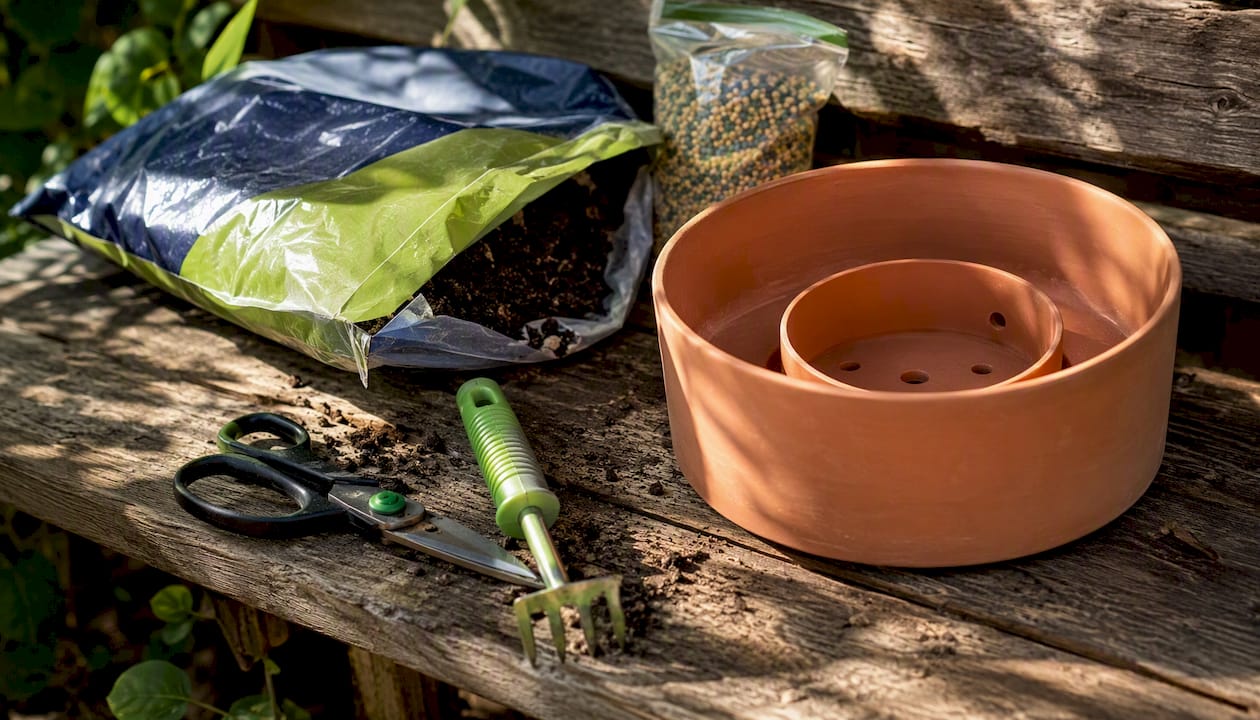
Pro Tip: A reliable SIP mix is two parts high-quality commercial potting mix, one part perlite, and one part finished compost. The perlite keeps the mix open so capillary action works freely, and the compost feeds roots steadily.
Here’s how to fill and prepare your planter:
- Place filter fabric over the wicking tray or media layer to keep soil from falling into the reservoir while still allowing water to pass through.
- Add a perlite layer (about 1 inch) directly on top of the wicking tray to improve upward water movement.
- Mix and add the growing medium. Fill to the top of the container so the wicking layer can supply moisture to the full soil depth.
- Check the overflow outlet before planting to confirm it’s clear and positioned correctly at the top of the reservoir.
- Fill the reservoir through the inlet tube until water runs from the overflow hole. This confirms the reservoir is full and the overflow is working.
- Water the soil surface once after planting to help seedlings establish contact with the moist medium below.
For fertilizing, slow-release granular fertilizers work well in SIPs because they release nutrients gradually as water wicks through. Liquid fertilizers are effective too, but salts accumulate faster. Every 4–6 weeks during the growing season, flush the soil by watering heavily from the top until water runs freely from the overflow. This leaches accumulated salts and keeps roots healthy. Farmdaddy’s planting guide includes specific feeding schedules tailored to their containers.
How do you maintain a self-watering planter and fix common problems?
A consistent maintenance routine keeps your system reliable across the whole growing season.
Weekly:
- Check the reservoir level through the fill tube. Top it off when it reads low.
- Observe plant foliage. Yellowing or wilting despite a full reservoir usually signals a clogged wick or compacted soil, not a watering problem.
Monthly:
- Flush the soil from the top to clear salt buildup (see the fertilizer section above).
- Inspect the overflow drain for debris, algae, or root intrusion.
- Check the wicking layer if plants seem dry despite a full reservoir. Compacted media may need loosening or replacement.
Seasonally:
- At the end of the season, drain the reservoir completely to prevent cracking in freezing temperatures.
- Replace the potting mix every 1–2 seasons, as organic matter breaks down and reduces wicking efficiency.
Common problems and fixes:
- Algae in the reservoir: Cover the fill tube opening and any exposed reservoir surfaces with opaque material. Algae needs light to grow; blocking it solves the problem without chemicals.
- Soggy soil after heavy rain: Almost always caused by a blocked overflow drain. Clear it immediately and check that it’s positioned at the correct height.
- Root rot: Usually a sign of a failed overflow or overly dense potting mix. Improve drainage and confirm the overflow is functional.
- Dry soil despite full reservoir: The wicking layer has compacted or lost contact with the soil. Loosen the media or add a fresh perlite layer.
To verify the system is working, push a finger 2–3 inches into the soil 24 hours after filling the reservoir. The soil should feel consistently moist at that depth. During heat waves, check daily because plant water demand can double.
Should you build a DIY system or buy a ready-made planter?
Both routes work, but they suit different situations. Here’s an honest comparison.
DIY makes sense when:
- You want a large custom raised bed that no off-the-shelf product matches in size.
- You’re upcycling materials (food-grade containers, cedar boards) and want to keep costs low.
- You enjoy the build process and have time to troubleshoot.
Buying ready-made is better when:
- You want a patio or balcony setup that looks good and works immediately.
- You don’t want to source a pond liner, PVC pipe, drill bits, and overflow fittings separately.
- Warranty coverage and consistent materials matter to you.
A DIY self-watering raised bed typically uses cedar boards, a pond liner, a PVC fill tube, and a spigot-mounted timer for automation. The build is satisfying but requires careful attention to overflow placement and liner integrity. One misaligned overflow hole and you’ll have waterlogged roots after the first rain.
Pro Tip: If you’re new to SIPs, start with a ready-made planter for one season. Once you understand how the system behaves in your climate, you’ll have a much clearer picture of what size and configuration to build if you decide to go the DIY route later.
For a plug-and-play option, Farmdaddy’s 2-planter self-watering system is a modular patio solution that connects multiple containers while letting each one operate independently.
How do you keep your garden watered while you’re on vacation?
Reservoir autonomy depends on three variables: reservoir capacity, plant water demand, and ambient temperature. A rough rule of thumb: a 1-gallon reservoir supports one medium-sized plant for roughly 2–3 days in moderate summer heat. Larger containers with 3–5 gallon reservoirs can carry plants for 5–10 days under similar conditions. Heat, wind, and plant size all shorten that window.
Here’s a simple calculation to estimate your autonomy:
- Estimate daily water use per plant. A mature tomato in summer heat uses roughly 1–2 quarts of water per day. Herbs and leafy greens use significantly less, around 0.25–0.5 quarts per day.
- Multiply by the number of plants sharing the reservoir.
- Divide your reservoir capacity (in quarts) by the total daily demand. The result is your estimated days between refills.
- Subtract a 20% buffer for hot days and wind exposure.
To extend autonomy further, drip systems can be automated with a spigot-mounted timer or a smart controller, requiring no trenching and connecting directly to your outdoor faucet. A timer set to run for a short period each morning can top off reservoirs automatically while you’re away.
Pre-vacation checklist:
- Fill all reservoirs to the overflow point the day before you leave.
- Test your timer or smart controller with a manual run to confirm it activates correctly.
- Check that all overflow drains are clear.
- Set a smart sensor alert if you’re using a soil moisture monitor.
- Ask a neighbor to do a visual check if you’ll be gone more than a week.
What does a self-watering setup cost, and how long will the reservoir last?
Cost varies significantly depending on whether you build or buy, and how large a system you want.
| Setup type | Typical cost range | Reservoir capacity | Estimated autonomy (summer) |
|---|---|---|---|
| DIY wicking bed (small) | $30 in materials | 2–5 gallons | Several days |
| DIY raised bed (large) | — | 10–20 gallons | — |
| Ready-made planter (single) | $40 | 1–5 gallons | A few days |
| Ready-made planter kit (multi) | — | 5 gallons | Up to a week or longer depending on plant demand |
What drives price upward: larger reservoir capacity, UV-resistant or food-safe materials, included accessories (weed covers, connector hoses, fertilizer), and brand warranty coverage.
Factors that shorten autonomy:
- Temperatures above 90°F can double plant water demand.
- Wind accelerates evaporation from the soil surface.
- Large fruiting plants (tomatoes, peppers) use more water than herbs or greens.
- Smaller containers buffer less moisture than larger ones, as container soil volume is the primary limiting factor for how long plants can go between refills.
A good sizing target: aim for at least 1 gallon of reservoir capacity per large fruiting plant, and at least 0.5 gallons per herb or leafy green plant. For a 5-plant tomato setup, that means a minimum 5-gallon reservoir to get through a long weekend without intervention.
What do extension researchers say about sub-irrigation and best practices?
Extension research consistently supports sub-irrigation as one of the most efficient methods for vegetable garden watering. Drip and sub-irrigated systems use 30–50% less water than overhead sprinklers and apply moisture directly to the root zone, reducing both evaporation and the foliage wetness that promotes disease.
Extension finding: UF/IFAS recommends early-morning watering windows (4–6 a.m.) to take advantage of lower temperatures and optimal absorption, a practice that SIPs with timers can replicate automatically.
Iowa State Extension notes that most vegetables target roughly 1 inch of water per week from rain plus irrigation combined, and that establishing plants requires an initial deep soak to 10–12 inches before transitioning to maintenance watering. SIPs handle this naturally: the first reservoir fill saturates the soil column, and subsequent wicking maintains the moisture gradient.
Colorado State Extension emphasizes monitoring over rigid schedules. Containers need daily checks during hot months because limited soil volume means less buffering capacity than in-ground beds. A self-watering system reduces that burden significantly, but it doesn’t eliminate the need for periodic inspection, especially during heat waves.
Piedmont Master Gardeners highlight consistent root-zone moisture as the defining advantage of sub-irrigation for vegetable production, specifically because it reduces leaf wetness and the disease pressure that comes with it.
Why Farmdaddy planters are the practical choice for home gardeners
Growing your own food should feel rewarding, not like another chore on your list. Farmdaddy’s self-watering planters are built around that idea: each container manages its own moisture independently, so a thirsty tomato doesn’t pull water away from your herbs.
Farmdaddy’s patented design means you fill the reservoir, and the system does the rest. The self-watering garden box is a great starting point for herbs and compact vegetables on a patio or balcony. For tomatoes specifically, the tomato planter kit (2-pack) gives you the reservoir capacity and growing volume that indeterminate varieties need. And if you want a modular setup that grows with your garden, the 2-planter system connects multiple containers while keeping each one on its own watering schedule.
Accessories like connector hoses, weed covers, and compatible organic fertilizers are available alongside the planters, so you’re not hunting for compatible parts separately. Customers consistently highlight the ease of setup and the confidence of knowing their plants are hydrated even when life gets busy.
Ready to grow more with less effort? Visit Farmdaddy to find the right planter for your space and get started this season.
Key Takeaways
A self-watering vegetable garden works best when you match reservoir capacity to plant demand, use a porous potting mix, and check the overflow drain before every season.
| Point | Details |
|---|---|
| Use a porous potting mix | Garden soil clogs the wicking system; use a lightweight mix with perlite and compost. |
| Size your reservoir correctly | Aim for at least 1 gallon of reservoir capacity per large fruiting plant for multi-day autonomy. |
| Flush salts every 4–6 weeks | Top-water heavily once a month to prevent fertilizer salt buildup in the soil. |
| Automate before vacations | A spigot-mounted timer combined with a full reservoir can carry plants through a week away. |
| Farmdaddy for plug-and-play growing | Farmdaddy’s independent-container design lets each plant manage its own moisture with minimal setup. |
The case for trusting the reservoir
Most gardeners who try a self-watering system for the first time are surprised by how much anxiety it removes. The daily question of “did I water enough?” disappears. What replaces it is a much simpler habit: check the reservoir level every few days and flush the soil once a month.
What I find genuinely underappreciated about SIPs is how well they match the way most home gardeners actually live. You’re not a professional grower monitoring soil moisture sensors twice a day. You’re someone who wants fresh tomatoes in August and basil for pasta on a Tuesday night, without reorganizing your schedule around a watering can. The reservoir-based approach fits that life.
The one thing I’d push back on is the “set it and forget it” framing you’ll sometimes see. A self-watering system dramatically reduces maintenance, but it doesn’t eliminate it. Checking the overflow drain, flushing salts, and doing a finger test during a heat wave are still your responsibility. The system handles the daily work; you handle the periodic check-ins. That’s a genuinely good trade.
Farmdaddy’s design philosophy reflects this well. Independent containers mean one plant’s needs don’t compromise another’s, which is exactly the right approach for a mixed planter with tomatoes, peppers, and herbs all growing side by side.
Useful extension resources and where to learn more
These sources are worth bookmarking if you want to go deeper on any of the topics covered above.
- UF/IFAS Gardening Solutions: Watering the Vegetable Garden — Covers watering frequency, early-morning timing, and the case for drip over overhead irrigation. Practical and Florida-climate-tested, but the core principles apply broadly across the U.S.
- Colorado State University Extension: Drip Irrigation for Home Gardens — Explains pressure regulators, filter installation, and why garden soil fails in containers. Good for anyone building a DIY system.
- Colorado State University Extension: Irrigating the Vegetable Garden — Focuses on container limitations and why monitoring matters more than fixed schedules.
- Iowa State Extension: Using Drip Irrigation in the Garden — Covers automation with timers and the 1-inch-per-week watering target for vegetables.
- Piedmont Master Gardeners: Planning a Vegetable Garden Irrigation System — Emphasizes root-zone moisture and disease reduction. A clear, practical overview for home gardeners.
- This Old House: How to Build a Self-Watering Vegetable Garden — Step-by-step DIY build guide with materials list, overflow placement details, and timer setup.
- Farmdaddy: Self-Watering Container Gardening Tips — Farmdaddy’s own resource hub for container gardening best practices, product guidance, and setup tips. Start here if you’re ready to buy.
Before leaving plants unattended, always test your reservoir and timer system with a full 24-hour run. Follow your local extension service’s watering guidance, since climate and soil conditions vary significantly across U.S. regions.

