
BLOG
Self-Watering Planter System: Your Easy-Care Garden Guide

A self-watering planter system is a container that holds water in a bottom reservoir and delivers moisture upward to plant roots through capillary action, eliminating the need for daily watering. For most busy home gardeners, the best starting point is a sub-irrigated design with a visible water-level indicator and a reservoir at least 3–4 inches deep. University of Maryland Extension confirms this hybrid approach conserves both water and nutrients compared to conventional containers. Farmdaddy’s patented sub-irrigated planters are the ready-made solution we recommend for most gardeners, whether you’re growing tomatoes on a patio or herbs on a kitchen windowsill.
- What it is: A sealed reservoir sits below the growing chamber; a wicking basket or permeable medium pulls moisture up to the roots.
- Best for: Busy gardeners, frequent travelers, and anyone who wants consistent plant health without daily attention.
- Top ready-made pick: Farmdaddy’s self-watering container gardening systems, available for indoor and outdoor use across the U.S.
Table of Contents
- How does a self-watering planter system work?
- What types of self-watering systems are available?
- When is a self-watering system the right choice?
- How do you choose the right self-watering planter?
- Can you build a DIY self-watering planter at home?
- How do you maintain a self-watering planter year-round?
- Key Takeaways
- What experienced gardeners know about self-watering planters
- Why Farmdaddy is the ready-made solution most gardeners need
- Useful sources and further reading
How does a self-watering planter system work?
Capillary action is the engine. Water in the reservoir is drawn upward through a wicking chamber or basket filled with potting mix, moving toward the drier soil above, exactly the way a paper towel absorbs a spill from below. As the University of Maryland Extension notes, this places the system in a category between conventional container gardening and hydroponics, with the growing medium sitting above the water rather than in it.
The five key components:
- Reservoir: The sealed bottom chamber that stores water; depth of 3–4 inches holds enough for vegetables between refills.
- Aeration shelf: A perforated platform separating the reservoir from the growing medium, keeping roots from sitting in standing water.
- Wicking basket or chamber: A cup or section of the shelf packed with potting mix that maintains direct contact with the reservoir water below.
- Fill tube and overflow hole: A vertical tube lets you add water without disturbing roots; the overflow hole signals a full reservoir and prevents overfilling.
- Sight tube or water-level indicator: A clear tube or float that shows reservoir depth at a glance, so you never guess when to refill.
A simple layout places the reservoir at the base, the aeration shelf 3–4 inches up, the wicking basket centered on the shelf, the fill tube running from the surface down into the reservoir, and the overflow hole drilled just above the shelf line.
What types of self-watering systems are available?
Three main patterns cover most gardeners’ needs: commercial sub-irrigated planters, modular smart planters, and DIY reservoir systems built from totes or buckets.
- Commercial sub-irrigated planters (like Farmdaddy’s lineup): Ready to plant out of the box, with built-in reservoirs, visible indicators, and weather-resistant materials. Best for patios, balconies, and anyone who wants a reliable setup without building anything. Farmdaddy’s patented design lets each connected container operate independently, so a thirsty tomato won’t steal water from a neighboring herb.
- Modular smart planters: App-connected systems that automate watering schedules and send low-water alerts to your phone. Great for tech-comfortable gardeners managing multiple indoor plants. Less suited to outdoor use in extreme weather without an IP-rated enclosure.
- DIY tote or bucket systems: Built from food-grade storage containers, PVC pipe, and landscape fabric. Low upfront cost and fully customizable reservoir depth. Require more assembly time and occasional troubleshooting, but work well for large vegetables like tomatoes when built correctly.
Indoor vs. outdoor: For outdoor use, prioritize UV-resistant materials and frost tolerance. Plastic planters can crack in freezing temperatures, so drain and store them before the first hard frost. Indoor systems need a drip tray or sealed base to protect floors.
When is a self-watering system the right choice?
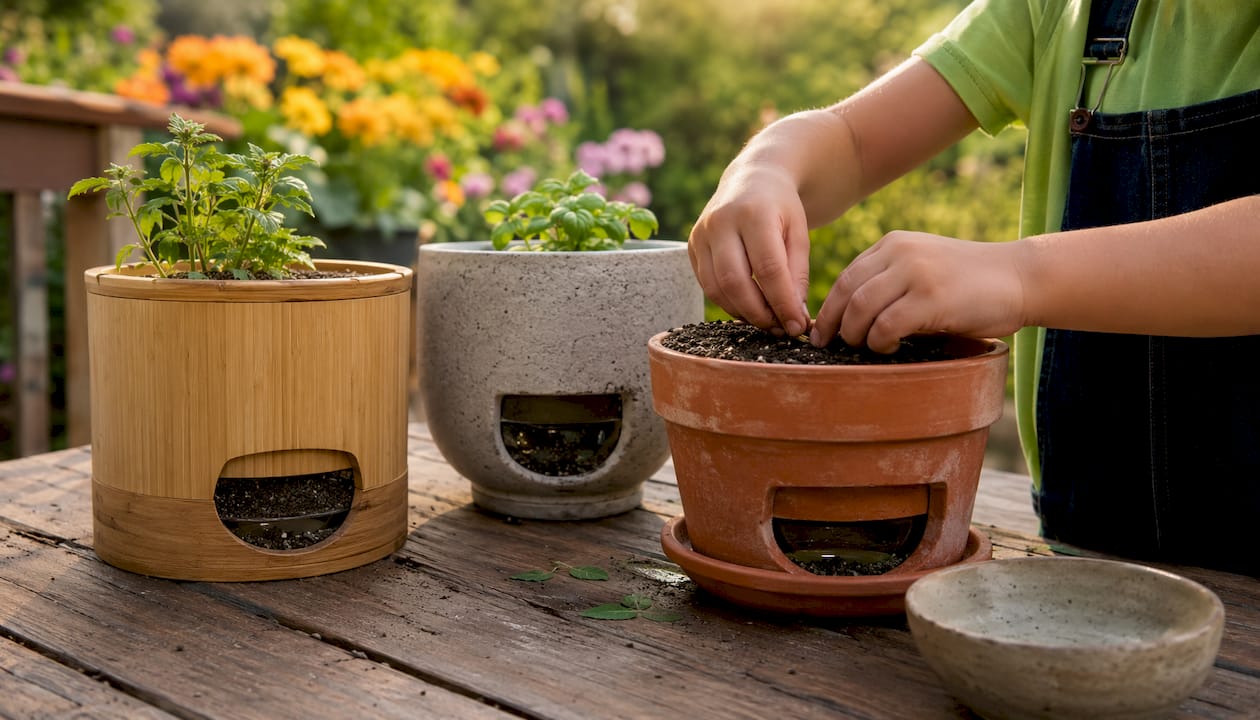
Sub-irrigated planters work beautifully for most busy gardeners, but they’re not a perfect fit for every situation. Here’s the honest trade-off.
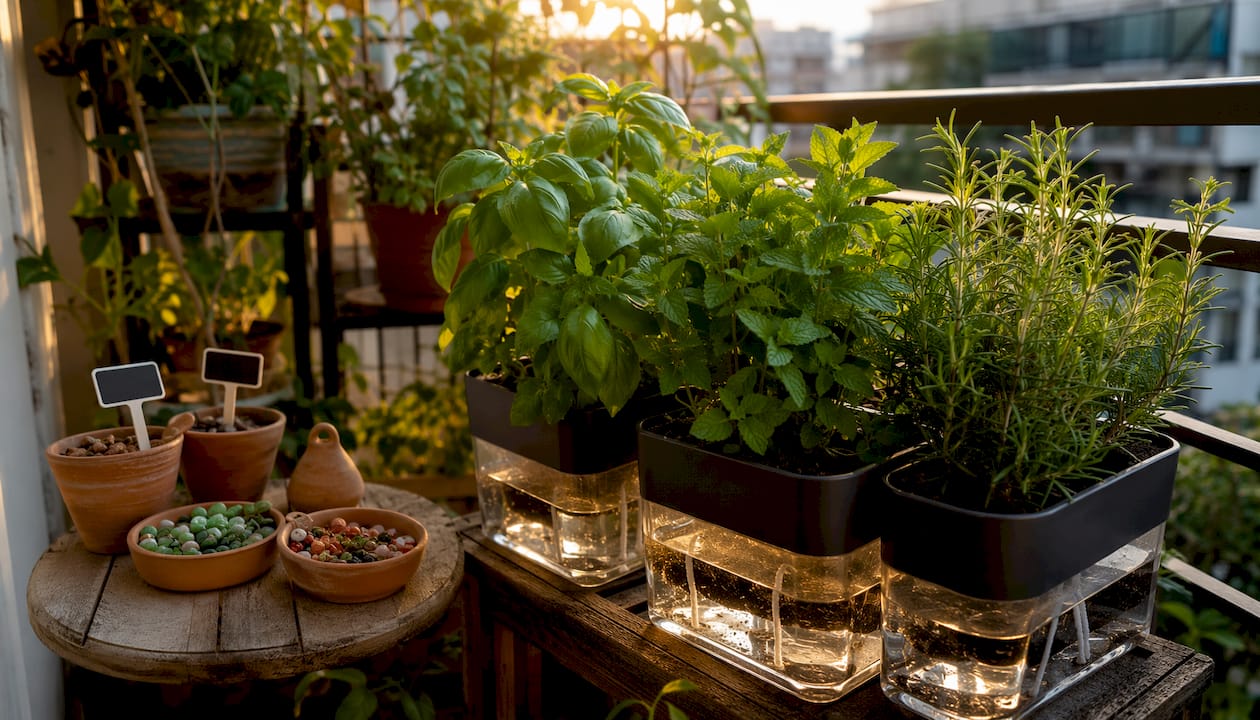
| Factor | Self-Watering Planter | Traditional Planter |
|---|---|---|
| Watering frequency | Every few days to weekly | Daily or near-daily |
| Water efficiency | High (bottom-fed, less evaporation) | Lower (surface evaporation) |
| Surface weed/disease risk | Lower (drier top layer) | Higher (wet surface) |
| Seedling suitability | Limited (shallow roots may not reach wick) | Better for early-stage seedlings |
| Frost/extreme heat performance | Needs monitoring | Needs monitoring |
Pros at a glance:
- Consistent moisture at root level reduces plant stress.
- Drier soil surface lowers weed germination and splash-borne disease.
- Fewer top-watering sessions means less time spent in the garden on hot days.
- Water and nutrients stay in the system rather than draining away.
Cons to know:
- In extreme heat, reservoirs can deplete in as little as 24 hours for large-fruiting plants, so “set and forget” has limits in peak summer.
- Algae can grow in reservoirs exposed to light; a dark or opaque tank prevents this.
- Wick failure from air pockets stops water delivery even when the reservoir is full.
- Not ideal for seedlings or plants that prefer dry-down cycles between waterings.
Tomatoes, peppers, and most ornamentals thrive in sub-irrigated setups. Cacti, succulents, and very young seedlings are better started in traditional containers.
How do you choose the right self-watering planter?
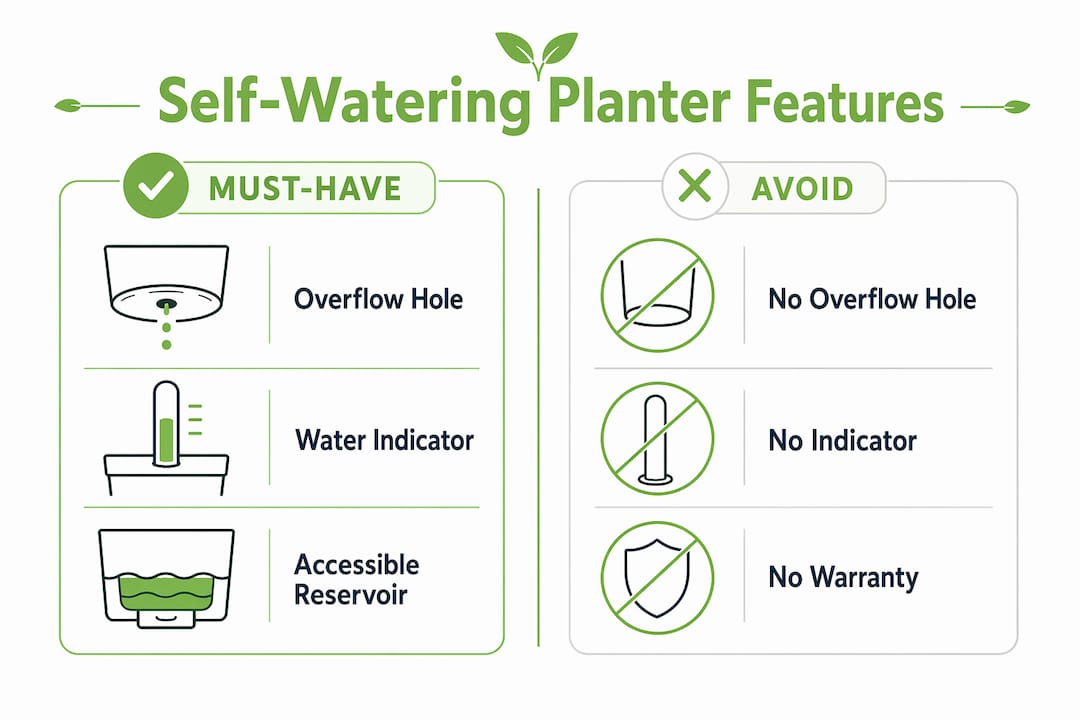
Start with reservoir size. If you travel or garden through a hot summer, choose the largest reservoir that fits your space. A visible water-level indicator is non-negotiable: without one, you’re guessing. Here’s a prioritized checklist.
- Reservoir capacity and depth: Aim for at least a few inches; larger reservoirs benefit tomatoes or peak-summer use.
- Pot volume and root zone: Match container size to the plant’s mature root spread.
- Water-level indicator: Sight tube or float visible from standing height.
- Materials and weather resistance: UV-stabilized plastic or food-safe resin for outdoor use; frost-tolerant if you garden in USDA zones with freezing winters.
- Overflow hole: Confirms a full reservoir and prevents root rot from overfilling.
- Ease of refill and cleaning: Wide fill tube and removable reservoir access save time.
- Warranty and replacement parts: A clear warranty and available spare wicks or baskets signal a product built to last.
Red flags: No overflow hole, no visible water indicator, no accessible reservoir, and no stated warranty are all reasons to look elsewhere.
Pro Tip: If you plan to leave plants unattended for more than a week, choose a system with the largest available reservoir and confirm the sight tube is readable from a distance. Some commercial systems advertise 30–45 days of autonomy under moderate conditions, though real-world times vary by climate and plant load.
Cost bands run from small indoor self-irrigating pots at the lower end of the market, through medium outdoor planters in the mid range, up to larger garden boxes at the higher end. Ready-made kits cost more upfront than DIY but save significant build time and usually include warranties.
Can you build a DIY self-watering planter at home?
Yes, and a tote-based build is one of the most reliable options for vegetables. Here’s what you need and how to put it together.
Materials:
- Food-grade storage tote (18-gallon works well for tomatoes)
- Smaller container or PVC pipe for the wicking basket
- Landscape fabric or fine mesh
- 1-inch PVC pipe for the fill tube (cut to container height)
- Drill with 1-inch and 1/4-inch bits
- Pre-moistened, high-quality potting mix (never garden soil)
Steps:
- Prepare the container: Mark the reservoir line 3–4 inches from the bottom of the tote.
- Build the aeration shelf: Cut a smaller container to serve as the shelf; drill holes across its base for drainage and aeration.
- Create the wicking basket: Cut a cup-sized hole in the shelf center; line it with landscape fabric and pack it firmly with pre-moistened potting mix.
- Install the fill tube: Drill a hole at the tote edge; insert PVC pipe reaching the reservoir floor. Drill the overflow hole just above the shelf line on the opposite side.
- Line and fill: Lay landscape fabric over the shelf, then fill the growing chamber with pre-moistened potting mix, pressing it into firm contact with the wicking basket below.
- Test: Pour water through the fill tube until it exits the overflow hole. Check that the wicking basket stays moist and that the reservoir holds water without leaking.
Pre-moistening the potting mix before filling is the step most first-timers skip. Dry mix won’t wick, and you’ll end up with dry pockets even when the reservoir is full. Saturate the mix to the consistency of a wrung-out sponge, then pack it firmly into the wicking basket to eliminate air pockets.
Pro Tip: Pack the wicking chamber firmly and confirm it makes direct contact with the reservoir water. Loose or air-filled wicking media is the single most common reason a DIY system fails to deliver water to roots.
How do you maintain a self-watering planter year-round?
Routine checks take five minutes and prevent most failures. The cadence changes by season.
Seasonal refill schedule:
- Peak summer (extreme heat): Check reservoir daily; large-fruiting plants can empty it in 24 hours.
- Moderate summer: Check every 3–7 days depending on plant size and temperatures.
- Spring and fall: Weekly checks are usually sufficient.
- Winter (if not storing): Drain reservoirs before freezing temperatures to prevent cracking.
Maintenance checklist:
- Inspect the sight tube monthly; flush it if mineral deposits cloud the reading.
- Flush the reservoir at the start and end of each growing season to clear algae and mineral buildup, as recommended by University of Maryland Extension.
- Check the wicking basket each season; replace potting mix in the wicking chamber if compaction has reduced water flow.
- Top-dress the growing chamber with fresh potting mix annually.
- Store plastic planters indoors or drain them fully before the first hard frost.
Troubleshooting:
- Dry soil despite full reservoir: Air pocket in the wicking chamber. Remove the top layer of mix, re-moisten, and repack the wicking basket firmly.
- Algae in reservoir: Cover the reservoir or switch to an opaque container; flush and refill with clean water.
- Overflow hole not draining: Clear the hole with a thin wire or pipe cleaner.
- Root rot signs (yellowing, mushy stems): Drain the reservoir, let the mix dry slightly, and check that the overflow hole is clear and functional.
Key Takeaways
A sub-irrigated design with a 3–4 inch reservoir and a visible water-level indicator is the most reliable self-watering planter setup for busy home gardeners, whether you buy ready-made or build your own.
| Point | Details |
|---|---|
| Reservoir depth matters | Aim for at least 3–4 inches to hold enough water between refills for vegetables. |
| Pre-moisten your potting mix | Dry mix won’t wick; saturate and pack it firmly before planting to prevent dry pockets. |
| Summer needs more attention | Reservoirs can empty in 24 hours during extreme heat; check daily for large-fruiting plants. |
| Sight tube is non-negotiable | A visible water-level indicator removes all guesswork about when to refill. |
| Farmdaddy for ready-made | Choose Farmdaddy’s sub-irrigated planters for a patented, travel-friendly setup with no building required. |
What experienced gardeners know about self-watering planters
The biggest misconception about sub-irrigated planters is that they’re fully hands-off. They’re not, and that’s actually fine once you understand the rhythm. The real value isn’t zero maintenance; it’s predictable maintenance. You check a sight tube instead of poking soil with your finger every morning. You refill once a week instead of watering daily. That shift in routine is what makes these systems genuinely life-changing for busy people.
What most guides understate is how much the wicking chamber packing step determines success or failure. A beautifully built tote system with a loose, dry wicking basket will disappoint every time. The physics are simple: capillary action requires continuous contact between moist media and the water below. Break that contact with an air gap and the system stops working, even with a full reservoir.
For travel-friendly gardening, a larger reservoir and a visible indicator are worth every extra dollar. The autonomy claims on commercial systems (often 30–45 days) assume moderate temperatures and established plants. In a hot U.S. summer, plan for shorter intervals and check before any trip longer than a few days. Pair your planter with weed covers to further reduce surface moisture loss and keep maintenance even lighter.
Why Farmdaddy is the ready-made solution most gardeners need
Forget spending a weekend sourcing totes and PVC fittings. Farmdaddy’s sub-irrigated planters arrive ready to plant, with each container operating independently so a water-hungry tomato never affects the herb beside it. That patented design solves the single biggest frustration with modular systems: uneven water distribution across plants with different needs.
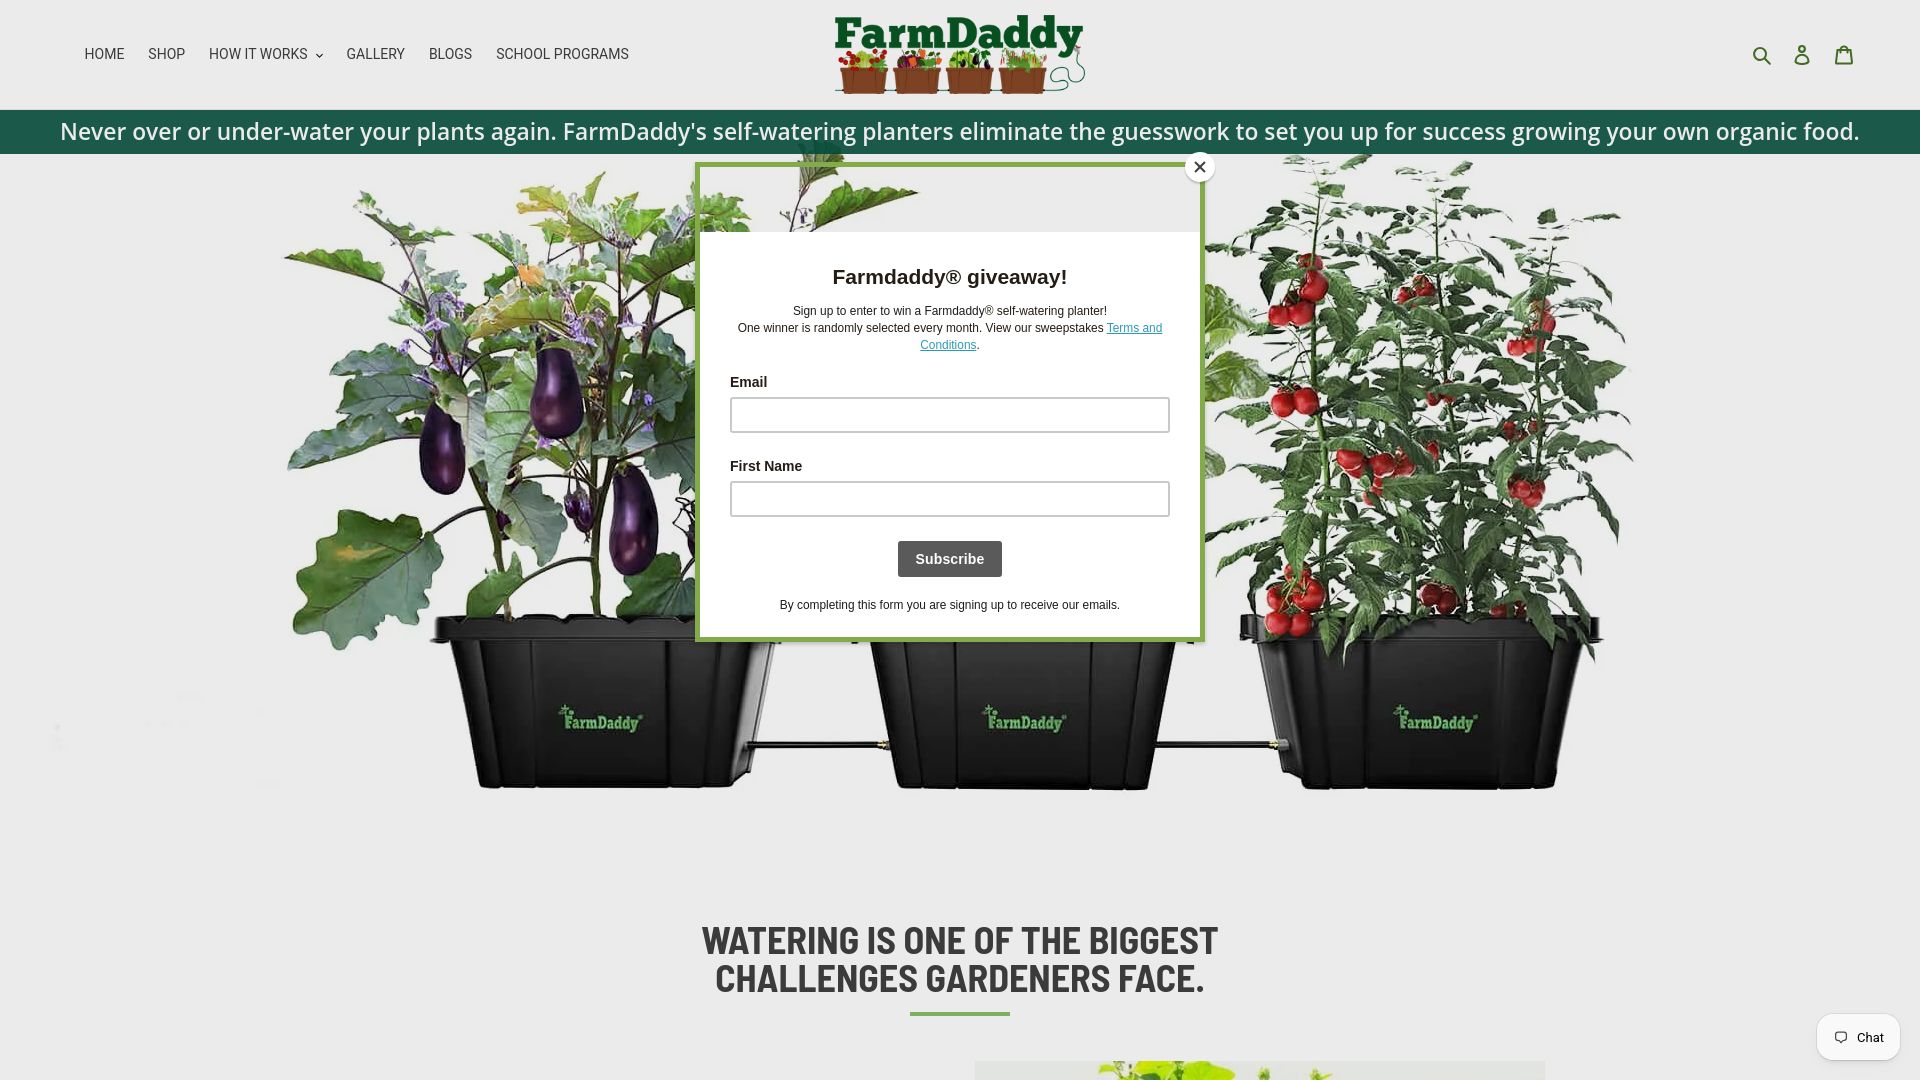
The Farmdaddy garden box suits larger outdoor growing, while the 2-planter system is ideal for balconies or compact patios. For tomato growers, the dedicated tomato planter kit includes everything you need for a full season of hands-off fruiting. All systems include visible water indicators, weather-resistant materials, and clear warranty information. Accessories like connector hoses and compatible organic fertilizers let you expand as your garden grows. Browse the full range and find the right fit for your space at Farmdaddy’s container gardening page.
Useful sources and further reading
- Self-Watering Containers, University of Maryland Extension: The most authoritative U.S. extension resource on sub-irrigated container design, water conservation benefits, and seasonal maintenance guidance.
- DIY Self-Watering Planter, Lovely Greens: Step-by-step construction guide covering wicking chamber packing, fill/overflow tube placement, and testing tips for home builders.
- 18-Gallon Tote System for Tomatoes, Grow a Good Life: Detailed tote-based build guide with reservoir sizing recommendations and pre-moistening instructions for vegetables.
- Capillary Action, Wikipedia: Clear explanation of the physics behind moisture movement in sub-irrigated systems, useful for understanding why packing and contact matter.
- Farmdaddy product pages: Model-specific assembly instructions, reservoir specifications, warranty details, and accessory compatibility for all Farmdaddy self-watering planters.

