
BLOG
Save Water Fast in Container Gardens With Reservoirs and Soil Science

The fastest way to cut container watering in half is to pair drought-tolerant plants with a moisture-retaining container or reservoir setup, then water deeply and only when the root zone is actually dry. Mulch the surface, group pots by thirst level, and move containers into afternoon shade during heat waves. The EPA’s WaterSense program, university extension offices, and Farmdaddy’s own self-watering trials all point to the same conclusion: the plant, the pot, and the watering habit matter more than any single gadget.
TL;DR:
- Using moisture-retaining containers and deep, infrequent watering can halve water use, especially when paired with drought-tolerant plants and shade during heat waves.
- Selecting non-porous pot materials like glazed ceramic or heavy plastic and ensuring proper drainage and mulch application significantly reduces evaporation.
- Watering based on soil moisture checks and deep soaking prevents overwatering or underwatering, with early morning watering minimizing evaporation losses.
- Reservoir and wicking systems offer low-maintenance, long-lasting hydration, especially for high-value or frequently traveled gardens, with a small overflow hole preventing flooding.
- Incorporating rainwater and greywater, while avoiding contaminated sources on edibles, helps cut mains water dependence and enhances overall efficiency.
Table of Contents
- How to conserve water in container garden setups from the ground up
- When and how to water containers without wasting a drop
- Reservoir and wicking systems that cut watering frequency
- Using rainwater and greywater to cut mains water use
- Fixing soggy pots, dry mix, and wasted runoff
- Your 7-step weekly container watering checklist
- What years of self-watering data taught us about container habits
- Why Farmdaddy planters solve the reservoir problem for you
- Sources
How to conserve water in container garden setups from the ground up
Water conservation in containers starts before you plant a single seed. The choices you make about plant type, pot material, and soil mix determine whether you’re fighting evaporation all summer or working with it.
Group plants by thirst. Succulents, lavender, rosemary, and ornamental grasses sip water and handle dry spells without sulking, so keep them separate from thirsty tomatoes, cucumbers, and leafy greens that want consistent moisture. Mixing a cactus and a cucumber in the same pot guarantees one of them suffers.
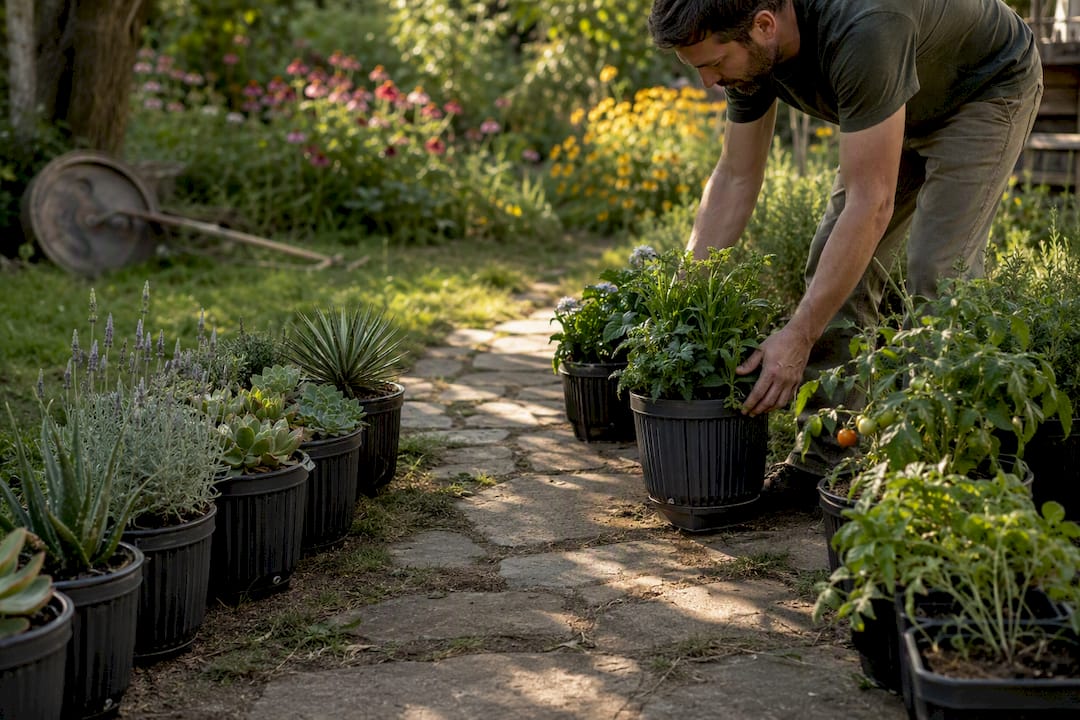
Container material changes everything about how fast your soil dries out. Terracotta looks classic, but it’s porous, and water evaporates straight through the side walls. Glazed ceramic, heavy plastic, and resin containers hold moisture far longer because non-porous materials block that side-wall evaporation. Deeper pots also help. A shallow dish dries out in an afternoon, while a container with 12 or more inches of soil depth gives roots room to find moisture lower down.
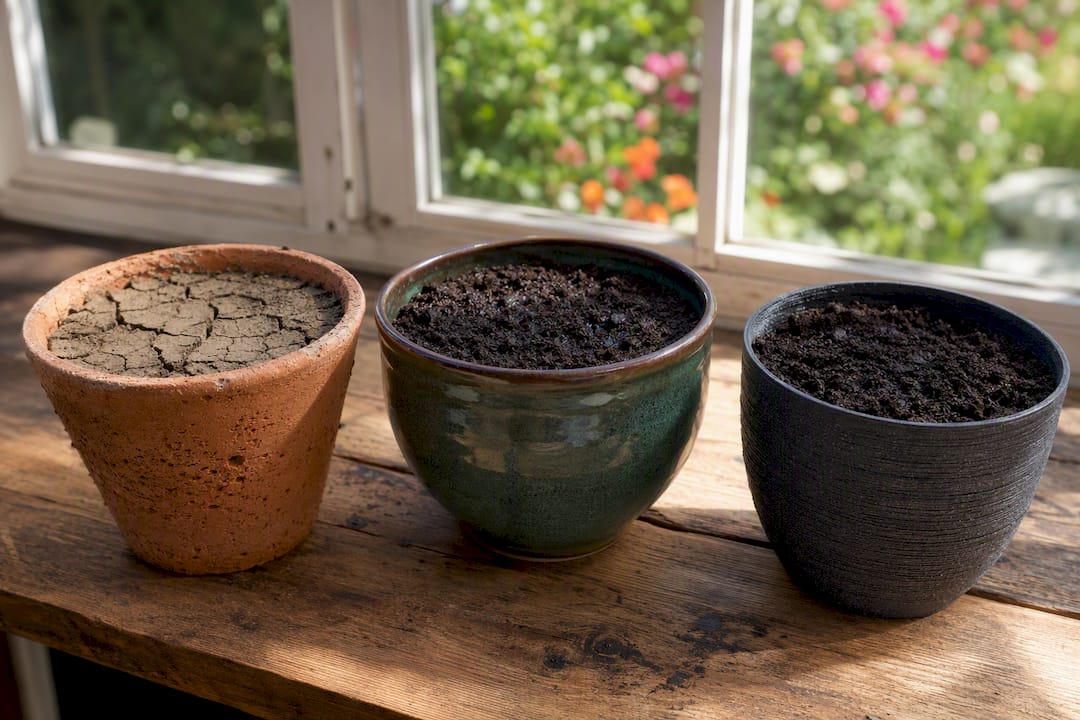
Your potting mix matters just as much as the pot. Look for blends built around coir or peat, which hold water better than mixes loaded with bark and perlite. Here’s the catch almost every gardener misses: bagged mixes that dry out completely can turn hydrophobic, meaning water beads up and runs straight down the inside of the pot instead of soaking in. Pre-moisten your mix before planting, and consider a wetting agent if you’re working with a bag that’s been sitting in the sun.
Drainage deserves equal attention. Every container needs holes sized for real drainage, not decorative slits, and pots should sit on feet or a stand rather than flush against a saucer full of standing water. Empty saucers after rain or heavy watering, since stagnant water at the bottom invites root rot and mosquitoes.
Finally, top it off. A 2 to 3 inch layer of organic mulch, whether shredded bark, straw, or compost, reduces evaporation and buffers soil temperature swings.
- Choose drought-tolerant species for exposed, hot spots
- Pick glazed ceramic or heavy plastic over terracotta where retention matters most
- Use a coir or peat-based mix and pre-wet it before planting
- Confirm drainage holes are unobstructed and saucers get emptied
- Apply 2 to 3 inches of organic mulch after planting
Pro Tip: Add a thin layer of coarse material like fine gravel or compost under your mulch layer. It keeps the topsoil from crusting over, which lets water penetrate evenly instead of pooling and running off the surface.
When and how to water containers without wasting a drop
Most container gardeners water on a schedule. That’s backwards. The smarter approach checks the soil first and waters second, because container microclimates shift constantly based on sun exposure, pot material, and plant size, a point university extension guidance emphasizes over any fixed calendar.
- Do the finger test first. Push a finger about 2 inches into the soil. If it’s dry at that depth, water. If it’s still damp, wait a day and check again.
- Use a moisture probe for deeper pots. Insert it to roughly a third of the pot’s depth. A reading that shows dry at that level means the root zone is thirsty, even if the surface looks fine.
- Water deeply, not often. Soak the container until water starts to drain from the bottom, wait a few minutes, then soak again if the mix has settled. This “soak and wait” method gets water to the full root ball instead of just wetting the top inch.
- Water early in the morning. Cooler temperatures mean less evaporation, and plants have moisture reserves heading into the heat of the day. During heat waves, a light evening check can prevent wilting, but morning stays the default.
- Direct water at the soil, never the leaves. Overhead spray loses water to evaporation and wastes it on foliage that doesn’t need it. For small pots, dunking the whole container in a bucket until bubbles stop is often faster and more thorough than hand watering.
Overwatering shows up as yellowing leaves, a sour smell, or soil that stays soggy for days. Underwatering looks like crispy leaf edges, wilting that doesn’t bounce back after a normal watering, and soil that pulls away from the pot’s sides. Both are fixable. Cut back and improve drainage for the first; soak deeply and check more often for the second. Roughly half of applied outdoor irrigation water gets lost to evaporation, wind, or runoff when watering habits are careless, which is exactly why the finger test and slow soak matter more than most gardeners assume.
Reservoir and wicking systems that cut watering frequency
Passive water-saving systems work on a simple principle: capillary action. A reservoir sits at the base of the container, and a wick, whether a strip of felt, rope, or capillary matting, pulls water upward into the soil as the root zone dries out. Wicking beds and reservoir containers can keep plants hydrated for days or even weeks depending on pot size, climate, and how well the reservoir is sized to it.
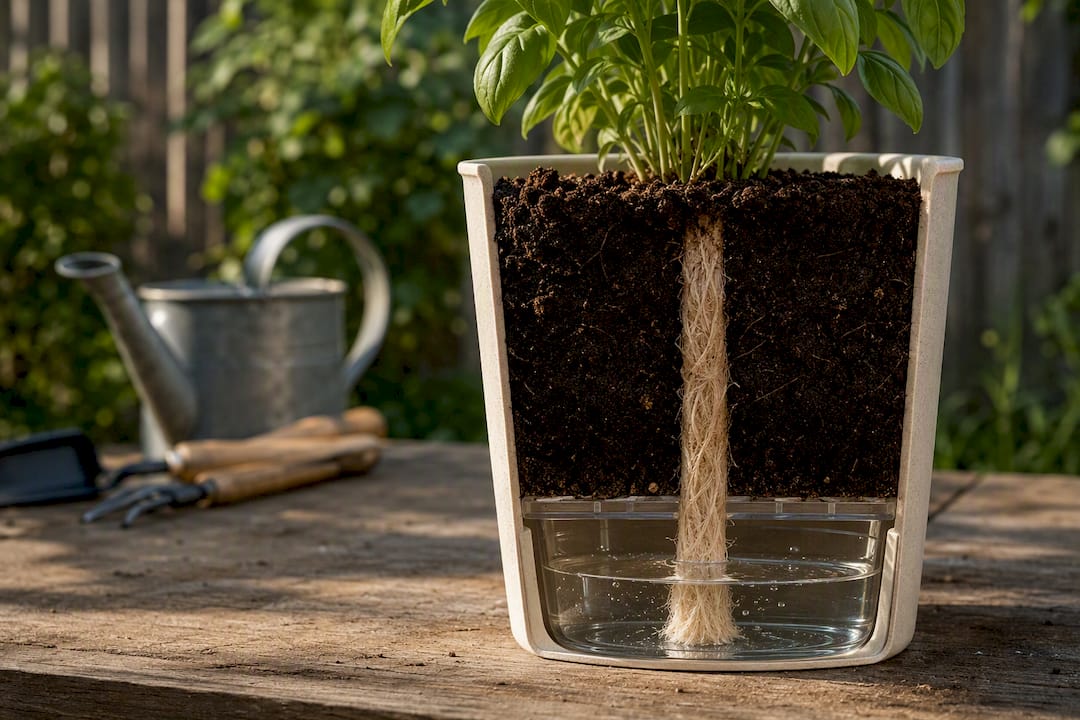
Passive systems like these need almost no attention beyond refilling the reservoir. Active systems, which use a small pump or timer-driven drip line, need more setup and occasional maintenance, but they suit larger container arrays where hand-refilling reservoirs becomes a chore.
DIY versions exist and work reasonably well for casual growers:
- A plastic bottle with small holes, buried neck-down in the soil, acts as a slow-release reservoir
- A strip of capillary matting laid under the soil and dipped into a water-filled tray creates a basic wick system
- A perforated pipe standing upright in the pot lets you pour water straight to the root zone
DIY hacks are fine for a few pots on a patio. Once you’re managing a dozen containers, growing high-value edibles like tomatoes, or traveling frequently, a commercial self-watering system earns its cost back fast in saved time and healthier plants. This is precisely the gap Farmdaddy’s patented design fills, since each connected container operates independently, so a thirsty tomato and a sparing herb can share a system without one drowning or starving the other.
Pro Tip: Design any reservoir with a small overflow hole near the top. Without one, heavy rain can flood the reservoir and drown the roots from below, which defeats the entire purpose of the system.
Using rainwater and greywater to cut mains water use
Capturing rainwater for container irrigation is one of the simplest upgrades a gardener can make. A basic rain barrel connected to a downspout fills fast: roughly 600 gallons of water fall on a 1,000 square foot roof for every inch of rain, which adds up quickly even during a single storm.
Position the barrel above or level with your containers so gravity does the work instead of a pump. A spigot near the base lets you fill a watering can without lifting the whole barrel.
Greywater, meaning gently used water from sinks or laundry, can supplement established ornamental containers, but it comes with rules:
- Avoid greywater on edible plants, since soap residue and bacteria can transfer to produce
- Skip water containing bleach, harsh detergents, or antibacterial soap on any plant
- Use greywater the same day it’s collected rather than storing it, since it degrades quickly
- Keep rain barrels covered to block mosquito breeding and reduce evaporation losses
- Drain and clean barrels before the first freeze in colder climates
Fixing soggy pots, dry mix, and wasted runoff
A potting mix that’s gone bone-dry and turned hydrophobic needs a slow reintroduction to water, not a quick dump. Soak the container in a tub for 20 to 30 minutes, or add a wetting agent to help water penetrate instead of sheeting off the surface. If the mix has broken down or compacted after a season or two, replacing it is usually faster than trying to rehab it.
Pots that drain too fast waste water and starve roots before they can absorb it; mixing in more coir or compost solves this. Pots that stay waterlogged need better drainage, larger holes, or a chunkier mix with more perlite. White crust on the soil surface signals salt buildup from fertilizer, which blocks water uptake at the root level. Flush the container with a heavy, slow watering to push salts through, and repot if buildup returns quickly.
- Re-wet hydrophobic mix by soaking, not surface pouring
- Add coir or compost to fast-draining pots; add perlite to waterlogged ones
- Flush salt buildup with a slow, deep watering pass
- Repot when the mix has visibly broken down or compacted
Pro Tip: If you’re flushing salts more than once a season, switch to a reservoir system. Constant surface watering is often what causes the salt buildup in the first place.
Your 7-step weekly container watering checklist
- Check soil moisture with a finger test or probe before watering anything
- Group new plants with others of similar water needs
- Refresh mulch if it’s thinned below 2 inches
- Top off any reservoirs or wicking trays
- Move heat-stressed pots into afternoon shade
- Empty saucers after rain or heavy watering
- Adjust frequency after a heat wave or cold snap
| Weekly action | Why it matters |
|---|---|
| Finger or probe test | Stops watering on a guess |
| Mulch top-off | Cuts evaporation, buffers heat |
| Reservoir refill | Extends dry-spell coverage |
| Saucer check | Prevents root rot and pests |
What years of self-watering data taught us about container habits
Gardeners who switch to reservoir systems don’t just save water, they change behavior entirely, trading daily micro-watering for periodic refills. Farmdaddy’s own trials back this up: the biggest water savings show up during peak summer heat, when evaporation is highest and daily watering becomes hardest to sustain. Three lessons stand out: consistent moisture beats frequent moisture, less daily labor means fewer skipped waterings, and yields stay steadier when roots never face a dry-then-flood cycle.
— Steven
Why Farmdaddy planters solve the reservoir problem for you
Building your own wicking system works, but sizing a reservoir correctly, preventing anaerobic pockets, and giving each plant the right amount of water takes trial and error most home gardeners don’t have time for. Farmdaddy’s self-watering planters solve that by giving each connected container its own independent reservoir, so a heavy-drinking tomato and a sparing herb thrive side by side without one drowning the other.
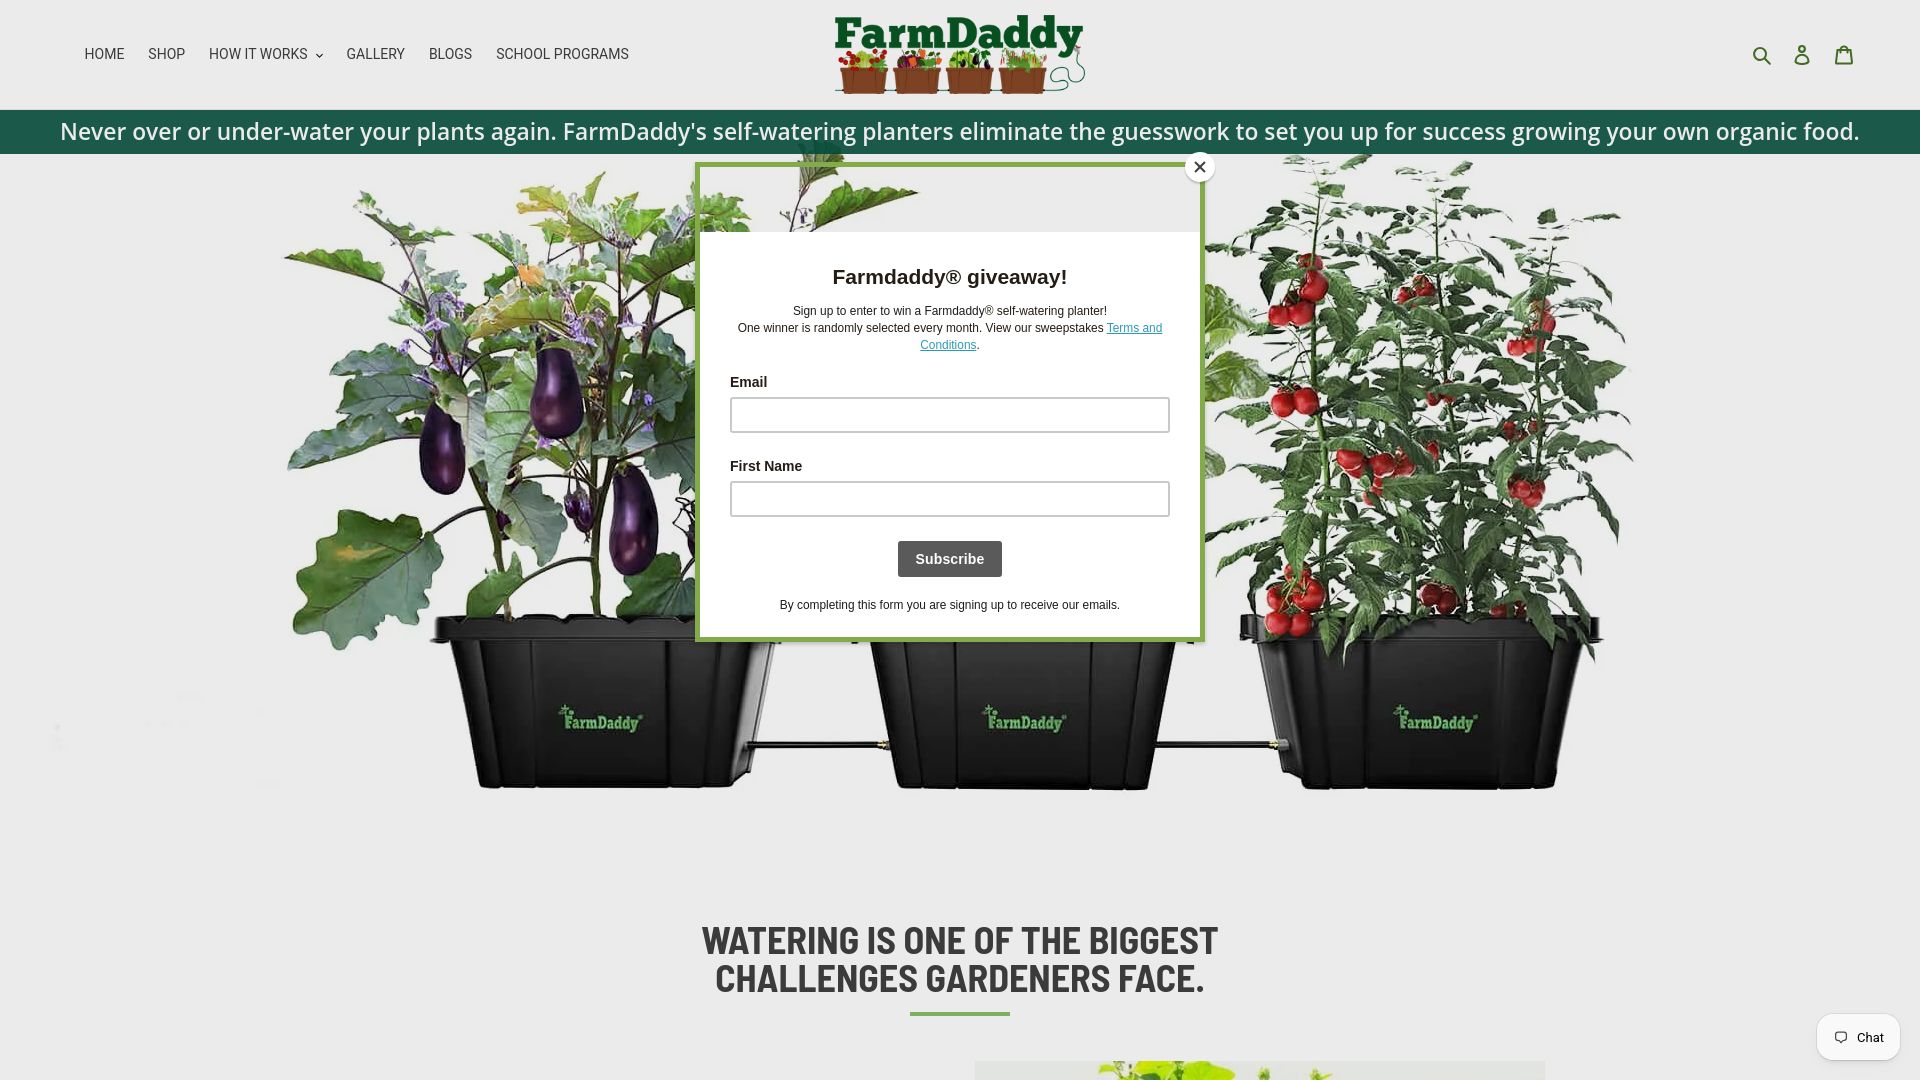
If you travel often or simply want fewer chores without sacrificing a productive garden, this is the fix. A grower heading out for a week’s vacation can fill the reservoir once and come home to healthy, hydrated plants instead of wilted ones. The Self-Watering Garden Box handles vegetables and herbs with minimal upkeep, while the Self-Watering Tomato Planter Kit is built specifically for high-water-demand plants like tomatoes. Check out the full lineup and pick the setup that matches your space today.
Sources
- Organic garden mulches conserve moisture and prevent weeds – SDSU Extension
- Water-Smart Landscapes Start With WaterSense — EPA
- How to water containers — RHS Advice
- Water-efficient permaculture techniques for container gardens — Permaculture Practice

