
BLOG
Water-Wise Container Gardening: Plants, Pots & Watering

The fastest way to win at drought container gardening is a three-part combination: choose plants built for dry conditions, pot them in larger nonporous containers, and water deeply but infrequently. You can start today with these three actions:
- Pick drought-tolerant plants like rosemary, lavender, lantana, or sedum. These plants have deep roots, silver or waxy foliage, or water-storing tissue that lets them shrug off dry spells.
- Swap small nursery pots for larger glazed, plastic, or resin containers (5 gallons or more for most plants). Larger, nonporous containers hold moisture far longer than small clay pots, a key principle in any water-wise container design.
- Apply 3–4 inches of organic mulch over the soil surface. UC Master Gardener guidance confirms this depth reduces soil temperature and slows evaporative water loss. Leave a small breathing gap around plant stems.
If you want the lowest-effort version of all three, Farmdaddy’s self-watering planter system handles the watering piece automatically, which we cover in detail below.
Key Takeaways
Drought container gardening succeeds when you combine drought-tolerant plant selection, nonporous containers, a quality soilless mix, and deep infrequent watering supported by mulch and, ideally, a self-watering reservoir.
| Point | Details |
|---|---|
| Plant selection first | Choose rosemary, lavender, lantana, salvia, or sedum to cut watering needs from the start. |
| Container size and material | Use 5-gallon-plus glazed, plastic, or resin pots; they dry out far more slowly than small clay containers. |
| Potting mix recipe | Mix equal parts compost, coconut coir, and perlite for moisture retention with good drainage. |
| Mulch and watering habit | Apply 3–4 inches of organic mulch and water deeply 2–3 times per week in full sun during summer. |
| Farmdaddy self-watering system | Farmdaddy’s reservoir-based planters extend time between waterings and reduce drought stress for busy gardeners. |
Table of Contents
- Which drought-tolerant plants work best in containers?
- How to pick containers that reduce drought stress
- What potting mix should you use for drought-prone containers?
- Practical watering strategies for dry-climate containers
- How self-watering containers reduce drought risk
- Step-by-step planting and season-long maintenance
- How to diagnose and fix common container problems quickly
- Farmdaddy makes drought-proof container gardening easier
- Sources
Which drought-tolerant plants work best in containers?
Choosing the right plants is the single biggest lever in a drought tolerant container garden. The plants below are widely recommended for U.S. containers and perform reliably in hot, dry sites when properly established, according to Gardening Know How.
| Plant | Sun | Maintenance | Quick note |
|---|---|---|---|
| Rosemary | Full sun | Low | Prefers lean, well-drained soil; avoid overwatering |
| Lavender | Full sun | Low | Excellent in terracotta or raised beds; prune after bloom |
| Lantana | Full sun | Low–medium | Blooms all summer; deadhead for continuous color |
| Salvia (ornamental) | Full sun | Low | Many varieties; silver-leaved types are most drought-hardy |
| Geranium (Pelargonium) | Full sun to part shade | Medium | Allow soil to dry between waterings |
| Purple fountain grass | Full sun | Low | Dramatic texture; tolerates heat and wind |
| Agave | Full sun | Very low | Needs excellent drainage; avoid deep pots that stay wet |
| Sedum / stonecrop | Full sun to part shade | Very low | Ideal for shallow containers; pairs well with other succulents |
| Succulents (mixed) | Full sun to bright indirect | Very low | Use cactus mix; water only when soil is bone dry |
| Coneflower (Echinacea) | Full sun to part shade | Low–medium | Deep taproot; use at least a 5-gallon pot |
A few additional notes worth keeping in mind:
- Part-shade performers like geraniums and sedums tolerate afternoon shade, which naturally reduces water demand. Brooklyn Botanic Garden recommends placing containers where morning sun and afternoon shade balance heat exposure.
- Silver and gray foliage (lavender, salvia) reflects sunlight and reduces leaf temperature, cutting transpiration without any extra effort from you.
- Agave and succulents are the lowest-maintenance group, but they punish poor drainage quickly. Always pair them with a fast-draining mix.
How to pick containers that reduce drought stress
Container choice shapes how fast your soil dries out, and the difference between a good pot and a bad one in dry conditions is dramatic. Four factors matter most: material, size, color, and drainage.
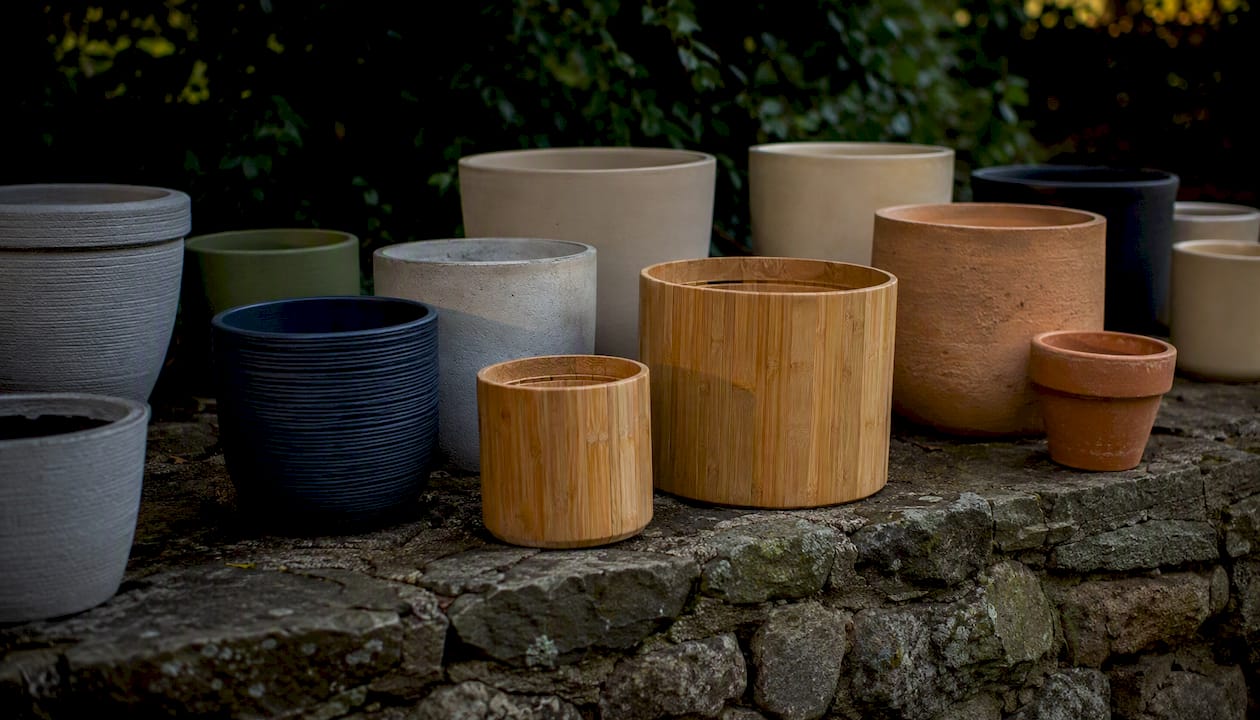
Material. Unglazed terra cotta is porous, which means water wicks through the walls and evaporates. That’s charming in a cool, humid climate and a liability in a hot, dry one. Glazed ceramic, plastic, and resin containers hold moisture far longer because their nonporous walls block that sidewall evaporation. If you love the look of terra cotta, use it for succulents and agave that prefer drier conditions, and switch to glazed or plastic pots for everything else.
Size. More soil volume means slower drying. Avoid anything smaller than a 6-inch pot for long-term plantings, and use 5 gallons or more for tomatoes, large herbs, and ornamental grasses. A tiny 4-inch nursery pot in full sun can dry out completely within hours on a hot day.
Color. Light-colored containers reflect heat; dark ones absorb it and cook roots. In full sun, white, cream, or pale gray pots keep the root zone noticeably cooler.
Drainage and placement. Every container needs at least one drainage hole. Elevating pots on pot feet or a small platform improves airflow underneath and prevents the drainage hole from sitting in standing water. For placement, Brooklyn Botanic Garden notes that wind and full-day sun exposure significantly accelerates drying, so a sheltered spot with morning sun and afternoon shade is worth seeking out.
- Drainage holes: non-negotiable for all containers
- Saucers: useful for catching overflow, but empty them after 30 minutes to prevent root rot
- Weight: large glazed pots are heavy when filled; consider lightweight resin or fiberglass for balconies
Pro Tip: Fill the bottom third of a large container with lightweight materials like perlite or a layer of empty plastic bottles before adding potting mix. This reduces weight without sacrificing root space, and it keeps drainage moving freely.
What potting mix should you use for drought-prone containers?
Standard garden soil compacts in containers and suffocates roots. A soilless mix is the right foundation, and the simplest reliable recipe is equal parts compost, coconut coir, and perlite or vermiculite, as recommended by UC Master Gardener extension guidance. Each component earns its place: compost feeds the plant and holds some moisture, coconut coir retains water while staying loose (and is a renewable alternative to peat), and perlite or vermiculite keeps the mix aerated so roots breathe.
Additives worth knowing about:
- Water-absorbing polymers (hydrogels): These tiny crystals hold many times their weight in water and release it slowly to roots. Follow label rates carefully; too much polymer in a small container can cause the mix to stay waterlogged. The Alabama Cooperative Extension System advises matching polymer quantity to container volume and plant water needs.
- Wetting agents: Dry potting mix can become hydrophobic and repel water rather than absorbing it. A small amount of wetting agent mixed in at planting helps water penetrate evenly.
- Cactus and succulent mixes: For agave, sedum, and succulents, skip the standard recipe and use a commercial cactus mix or add extra perlite (up to 50% of the blend) to prevent rot.
Avoid mixes that are mostly peat. Peat compacts over time, becomes hydrophobic when dry, and is less sustainable than coir. Refresh your potting mix annually or every other season, especially in containers that stay outdoors year-round. Old, compacted media loses its structure and holds water unevenly.
Pro Tip: Before filling your containers, check the potting mix’s pH with an inexpensive test strip. Most container plants prefer a pH of 6.0–7.0. A mix that’s too acidic or alkaline will lock out nutrients even when water and fertilizer are plentiful.
For guidance on choosing the best potting soil for your specific plants, Farmdaddy’s blog covers compatible amendments in detail.
Practical watering strategies for dry-climate containers
Most gardeners overwater on a fixed schedule and underwater during heat waves. The smarter approach starts with a simple physical test.
The hand-squeeze test: Dig two fingers about an inch into the potting mix and grab a small handful. If it clumps and holds its shape, there’s enough moisture. If it crumbles and falls apart, it’s time to water. UC Master Gardener guidance recommends this test over calendar-based schedules because it responds to actual conditions, not assumptions.
When and how to water:
- Water in the early morning. Cooler temperatures mean less evaporation, and foliage dries before evening, reducing fungal risk.
- Water deeply until it flows freely from the drainage hole. Shallow watering encourages shallow roots that dry out faster.
- For full-sun containers, plan on thorough watering 2–3 times per week during active growth, per Alabama Cooperative Extension System guidelines. During extreme heat, check daily.
- Group containers together. Clustered pots create a slightly more humid microclimate and shade each other’s sides, slowing moisture loss.
Mulching containers: Applying 3–4 inches of organic mulch over the soil surface is one of the most effective steps you can take. Use shredded bark, straw, or coco coir as a top dressing. Leave a half-inch gap around plant stems to allow airflow.
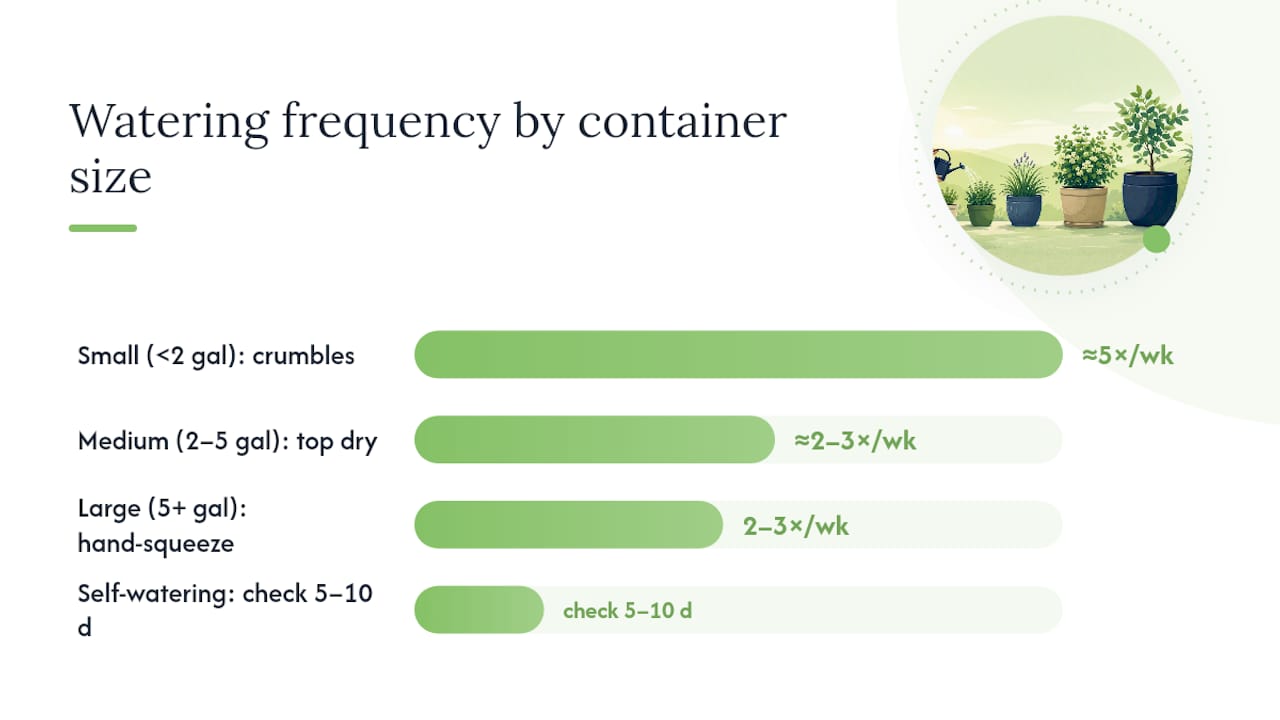
| Container size | Typical summer watering frequency | Key cues to water |
|---|---|---|
| Small (under 2 gal) | Daily or every other day | Soil crumbles; pot feels very light |
| Medium (2–5 gal) | Every 2–3 days | Top inch dry; slight wilt in afternoon |
| Large (5+ gal) | 2–3 times per week | Hand-squeeze test crumbles; leaves slightly soft |
| Self-watering container | Check reservoir every 5–10 days | Reservoir empty; soil surface dry |
Signs of underwatering: wilting that doesn’t recover overnight, dry and crumbly soil, crispy leaf edges. Signs of overwatering: yellowing lower leaves, soggy soil that smells musty, soft or blackened stems at the base.
How self-watering containers reduce drought risk
Self-watering containers reliably extend the time between manual waterings and reduce plant stress during dry spells. The design is straightforward: a water reservoir sits below the root zone, and the plant draws moisture upward through capillary action as it needs it.
Pros:
- Dramatically reduces watering frequency, especially for busy gardeners or travelers
- Delivers moisture directly to the root zone, reducing surface evaporation
- Buffers plants against short dry spells without any intervention from you
- Pairs well with soilless mixes that wick moisture efficiently
Cons:
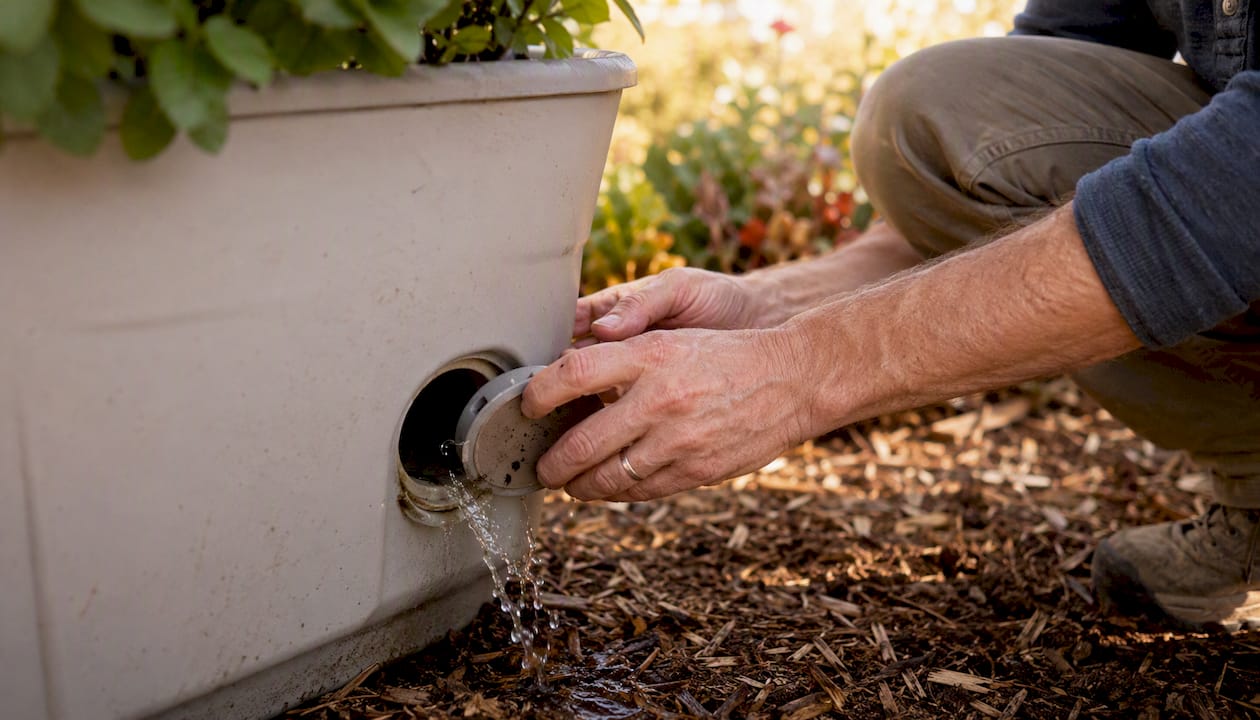
- Reservoirs need periodic flushing to prevent fertilizer salt buildup
- Overloading the reservoir in cool, cloudy weather can keep roots too wet
- Not ideal for succulents and agave, which prefer drier conditions between waterings
UC Master Gardener extension guidance specifically recommends self-watering inserts as a water-conserving option for container gardens. Farmdaddy’s system takes this further with a patented design that lets each connected container operate independently, so a thirsty tomato plant doesn’t pull water away from a neighboring herb. You can explore the full self-watering container system on the Farmdaddy site.
Buying tip: Match reservoir volume to your container size and plant type. A large tomato plant in a 5-gallon container will drain a small reservoir in a day during peak summer heat. Look for a system with an easy-flush port so you can rinse out accumulated salts every few weeks.
Pro Tip: For gardeners who travel frequently, self-watering reservoirs are especially valuable. They buffer the root zone against short dry spells and significantly reduce the risk of sudden wilt while you’re away, as noted in UC Master Gardener water-saving guidance.
Step-by-step planting and season-long maintenance
Getting the planting right from the start reduces how much corrective watering you’ll need all season.
Planting steps:
- Clean your container with a 10% bleach solution if reusing it. This removes old salts and pathogens.
- Cover drainage holes with a small piece of mesh or a coffee filter to keep media in while letting water out.
- Fill with your soilless mix to about 2 inches below the rim.
- Inspect roots before planting. Gently loosen circling roots; trim any that are black or mushy.
- Set the plant at the same depth it was growing in its nursery pot.
- Water in thoroughly until water runs from the drainage hole. This settles the media and eliminates air pockets.
- Apply your mulch layer immediately after planting.
Season-long maintenance schedule:
- Weeks 1–3 (establishing phase): Water more frequently than you will at maturity. New roots haven’t spread through the media yet, so the plant can’t draw moisture from a wide area.
- Mid-season: Switch to the hand-squeeze test as your primary guide. Fertilize every 2–4 weeks with a balanced slow-release granular fertilizer, or every 1–2 weeks with a diluted liquid feed.
- Late summer: Flush containers thoroughly once a month to push out accumulated fertilizer salts. The Alabama Cooperative Extension System recommends this practice for all porous containers.
- Fall: Reduce watering as temperatures drop. Repot or refresh media annually, or every 1–2 seasons for perennials.
- Winter: Move tender plants indoors or to a sheltered spot. Insulate containers with burlap or bubble wrap to protect roots from freeze-thaw cycles.
Drought acclimation: About 2–3 weeks before your hottest summer months, gradually reduce watering frequency. This encourages plants to develop deeper, more efficient root systems before peak stress arrives.
Pest and disease watch:
- Drought-stressed plants attract spider mites and scale insects. Check the undersides of leaves weekly.
- Powdery mildew can appear on stressed plants even in dry conditions. Improve airflow between containers.
- Weed covers, like those available from Farmdaddy, reduce surface evaporation and suppress weeds that compete for soil moisture.
How to diagnose and fix common container problems quickly
| Symptom | Likely cause | Quick fix |
|---|---|---|
| Wilts in afternoon, recovers overnight | Heat stress or mild underwatering | Water deeply in the morning; move to afternoon shade |
| Wilts in the morning | Severe underwatering or root rot | Check roots; water if dry, repot if roots are black |
| White crust on pot rim or soil surface | Salt buildup from fertilizer | Flush media thoroughly with plain water; switch to lower-dose fertilizer |
| Yellowing lower leaves | Overwatering or nutrient deficiency | Let soil dry; check drainage; test pH |
| Crispy brown leaf edges | Underwatering or wind damage | Increase watering frequency; move to a sheltered spot |
| Mushy stem base | Root rot from overwatering | Remove plant, trim rotted roots, repot in fresh dry mix |
Step-by-step salt flush: Water the container slowly and thoroughly three times in a row, letting each application drain completely before adding the next. This pushes dissolved salts out through the drainage hole. Repeat monthly during peak fertilizing season.
Repotting for root rot:
- Remove the plant and shake off old media.
- Rinse roots gently and trim all black or soft tissue with clean scissors.
- Let roots air-dry for 30 minutes.
- Repot in fresh, dry soilless mix and hold off watering for 24–48 hours.
Salt crystals embedded in terra cotta walls will continue to affect new plantings if left in place.
Why water-wise container gardening matters more than most gardeners realize
Water-wise container gardening isn’t just about surviving a dry summer. Every gallon you save through smarter plant selection, better pot choices, and mulching adds up across an entire growing season. Small changes compound quickly, and the gardeners who feel the most confident and least stressed are usually the ones who built their system around drought-tolerant plants and containers that work with them, not against them.
If you want the simplest path to a thriving container garden with minimal daily effort, a self-watering system is the most reliable single upgrade you can make. It won’t replace good plant selection or a quality potting mix, but it removes the most common point of failure: inconsistent watering.
Farmdaddy makes drought-proof container gardening easier
Dry spells, travel, and busy schedules are the three biggest reasons container gardens fail in summer. Farmdaddy’s self-watering planter system addresses all three at once. The built-in reservoir delivers moisture directly to the root zone, each container operates independently so every plant gets exactly what it needs, and the connector hose design lets you link multiple planters into one low-maintenance system.
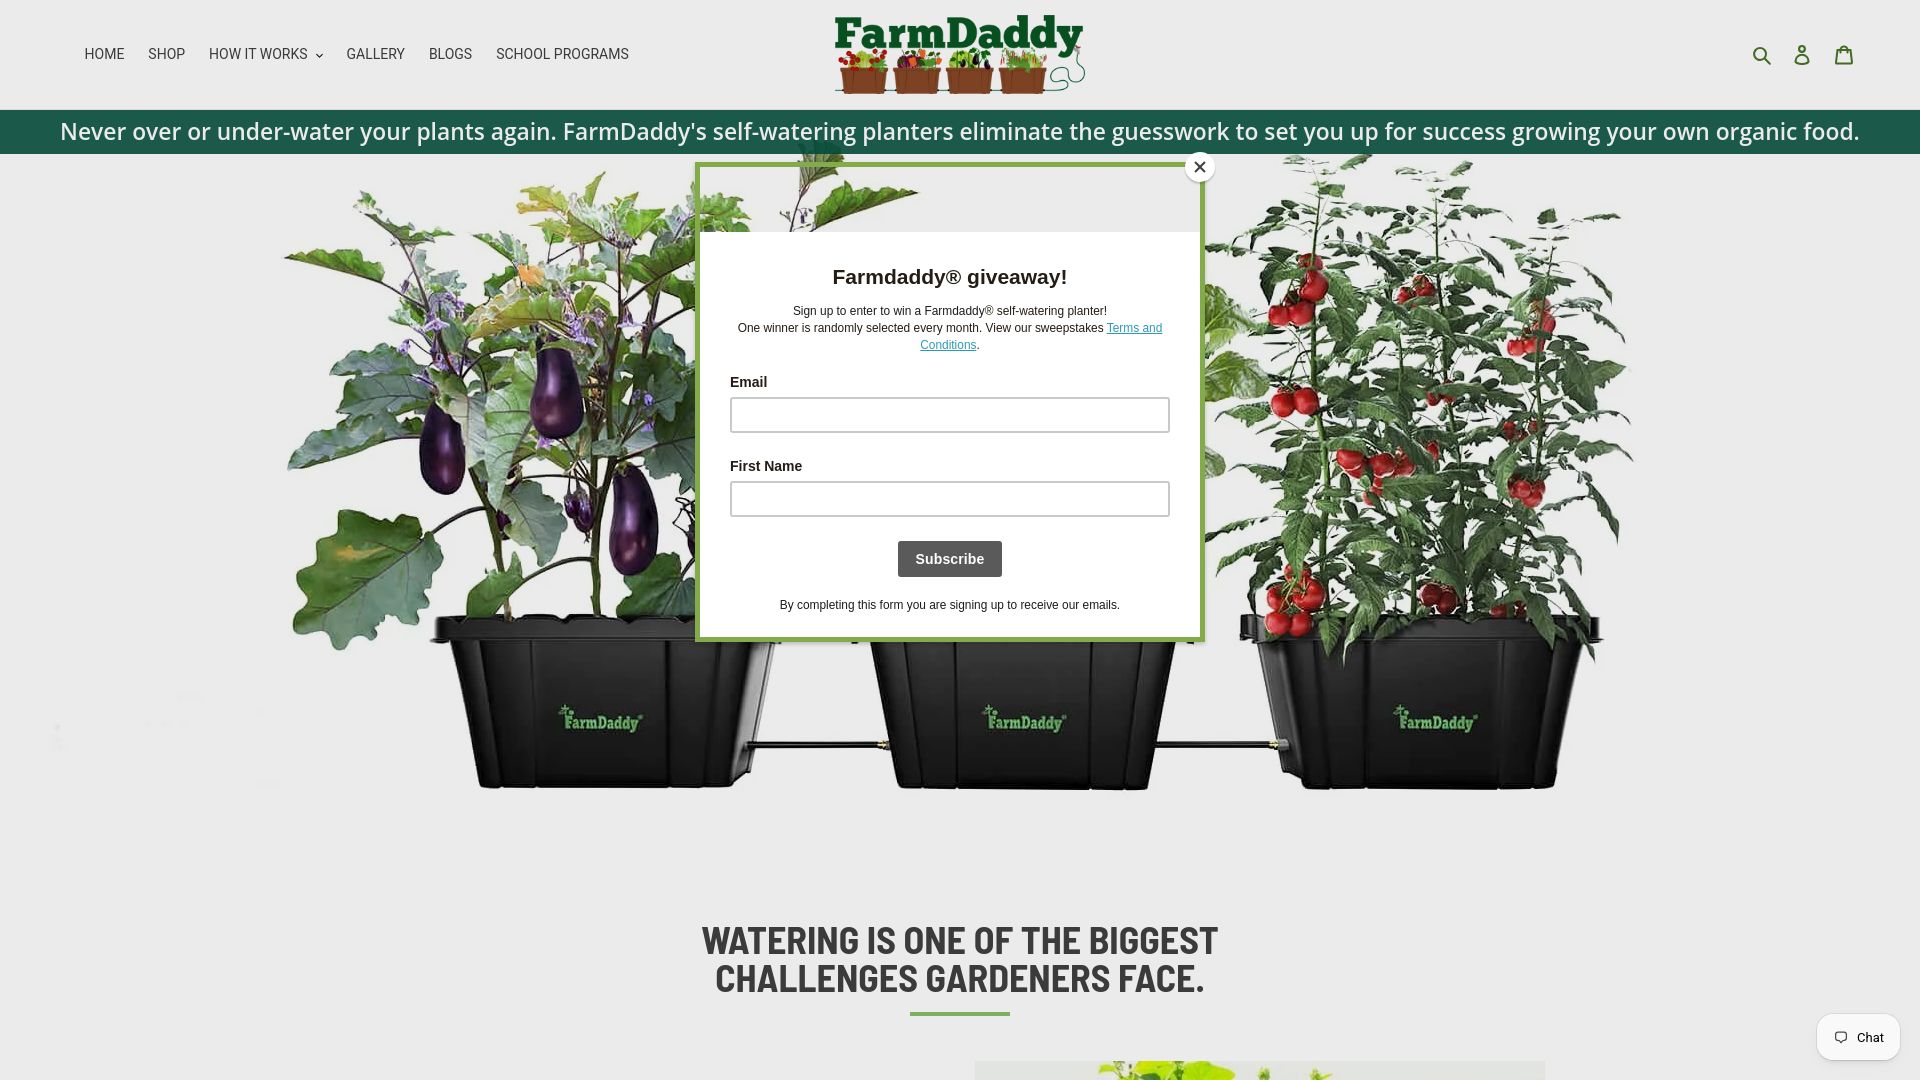
Farmdaddy’s planters are compatible with the soilless mixes described in this article, and the easy-flush design makes monthly salt-clearing simple. Whether you’re growing tomatoes, herbs, or ornamental drought-tolerant plants, the system scales to your setup. Gardeners who travel frequently find it especially valuable since the reservoir buffers plants through short dry spells without any intervention. Browse the full range of self-watering garden planters and find the right fit for your patio, balcony, or backyard today.
Sources
- Container Gardening: Water saving Techniques | UC Master Gardener Program of Contra Costa County
- Container Gardening (Alabama Cooperative Extension System) - ANR-1139
- Waterwise Container Gardening – Fafard
- Drought-resistant plants for pots | Brooklyn Botanic Garden
- Drought-tolerant container plants for full sun and heat | Gardening Know How

