
BLOG
How to Winterize a Container Garden Before First Frost

Start winterizing your container garden several weeks before your area’s first hard frost. Check that every pot drains freely, group tender plants for a trip indoors, wrap or insulate the ones staying put, and water only during winter thaws. The exact playbook shifts depending on plant hardiness and what your pots are made of, but those four moves cover most of the risk.
TL;DR:
- Proper winterization begins several weeks before the first hard frost, allowing time for plant relocation, drainage fixes, and material sourcing.
- Plants are best sorted into three groups based on hardiness and relocation needs, with tropicals moving indoors and hardy plants remaining protected with insulation.
- Insulating pots with bubble wrap or burlap and elevating them improves root survival by delaying freeze-thaw damage and preventing root heaving.
- Ensuring proper drainage and watering only during soil thaw prevents root rot and overwatering, which pose bigger winter risks than cold temperatures.
- Using self-watering containers and covering soil with mulch simplify moisture management and reduce winter care effort, especially for larger numbers of pots.
Table of Contents
- Winterize Your Container Garden: Timeline and Prep Checklist
- What to Move Indoors vs. What Can Stay Outside
- How to Insulate Pots and Protect Plant Roots
- Drainage, Pot Elevation, and Winter Watering Rules
- Cleaning and Storing Empty or Vulnerable Pots
- Winter Plants and Simple Swaps for Container Interest
- Spring Transition: Removing Winter Protection Safely
- Farmdaddy’s Take on Winter Moisture Management
- Winterizing Is Risk Management, Not Perfection
- A Simpler Way to Manage Winter Moisture in Containers
- Sources
Winterize Your Container Garden: Timeline and Prep Checklist
Waiting until the night before a freeze warning is the most common mistake we see. Real prep needs a runway. Start winterizing several weeks before your first expected hard frost, not after it. That window gives you time to move plants gradually, source materials, and fix drainage problems before cold, wet soil starts working against your roots, according to UC Master Gardeners of Contra Costa County.
Your first job is figuring out your timeline. Check your local frost date, then walk your containers and sort plants by hardiness. Some can handle a light frost and stay outside a little longer; others need to move indoors before temperatures dip anywhere near freezing.
Before the scramble starts, gather these materials:
- Bubble wrap or burlap for insulating pots
- Frost blankets or old sheets for quick overnight cover
- Mulch for topping soil and protecting crowns
- Pot feet or bricks to lift containers off the ground
- Tarps for temporary wind and rain protection
- Gloves and pruning shears for cleanup
What to Move Indoors vs. What Can Stay Outside
Not every plant needs to come inside, and trying to save everything usually backfires. Use a simple two-zone approach: one zone for plants that must move, one for plants that can tough it out with help.
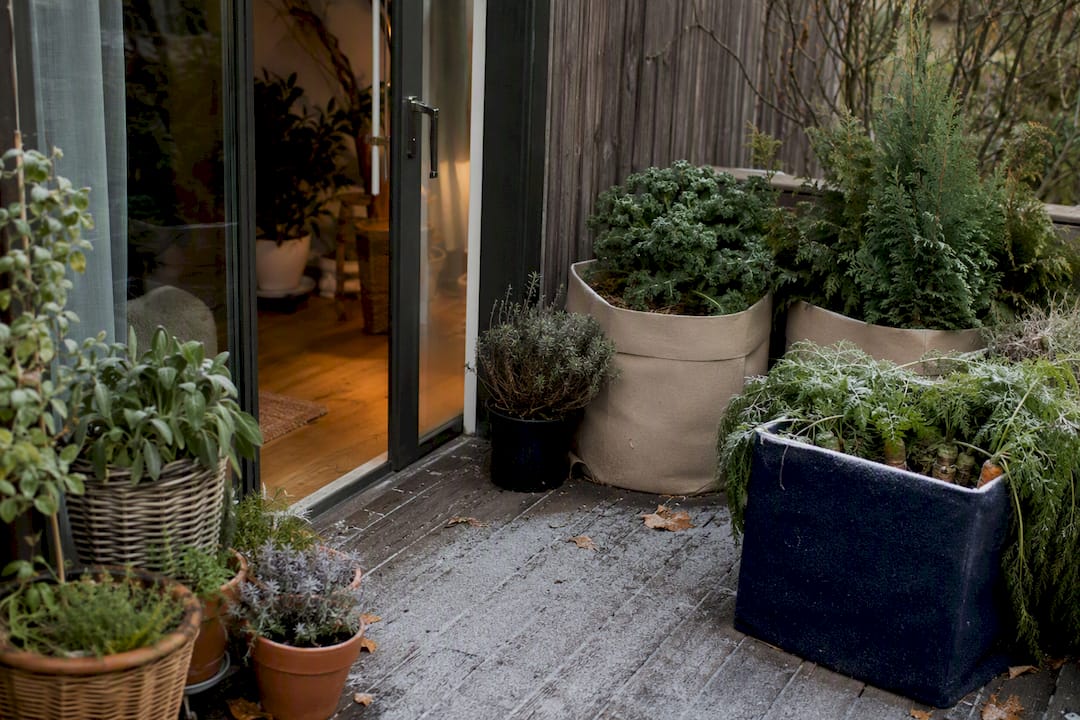
Container roots have far less insulation than roots growing in the ground, so they swing with the air temperature almost as fast as the pot itself does. The University of Nevada Extension recommends the Two-Zone Rule as a shortcut: pick plants rated hardy to at least two zones colder than your own, since that buffer accounts for exactly this vulnerability.
Sort your plants into three groups:
- Move inside: tropicals, tender herbs, and anything rated for zones warmer than yours. These plants have zero frost tolerance and need a sunny window or grow light.
- Move to shelter: half-hardy perennials and shrubs that can handle cold but not hard freezes. An unheated garage, shed, or hoop house buys them protection without the light demands of a full move indoors.
- Protect in place: hardy perennials, evergreens, and anything rated for your zone or colder. These just need insulation, not relocation.
If space is tight, rotate your most valuable plants indoors first and cluster the rest under a roof eave where they’re shielded from direct sky exposure.
How to Insulate Pots and Protect Plant Roots
Insulating a pot is really about buying the root ball time. A wrapped, clustered, or sunken container resists the freeze-thaw cycles that crack pots and heave roots right out of the soil.
Start by grouping containers together against a south-facing wall. That combination of shelter and thermal mass from the wall can create a microclimate roughly one to two hardiness zones warmer than an exposed spot on the same property, per UC Master Gardeners. From there:
- Wrap pots in bubble wrap for insulation against hard freezes, or burlap for a breathable layer that suits evergreens
- Add a thick layer of mulch over the soil surface to protect crowns and slow heat loss
- Sink smaller pots into a garden bed or a pile of mulch for extra thermal buffering, a method Brooklyn Botanic Garden recommends for marginal perennials
- Build a simple windbreak with a tarp or stacked hay bales if your containers sit somewhere exposed
Pro Tip: Save bubble wrap for pots that need a hard barrier against freezing temperatures, and reserve burlap for evergreens that still need to breathe and photosynthesize through winter.
Drainage, Pot Elevation, and Winter Watering Rules
Cold doesn’t kill most container plants. Waterlogging does. Roots sitting in cold, saturated soil suffocate long before frost ever touches them, which makes drainage the highest-leverage fix on this entire list, according to Illinois Extension.
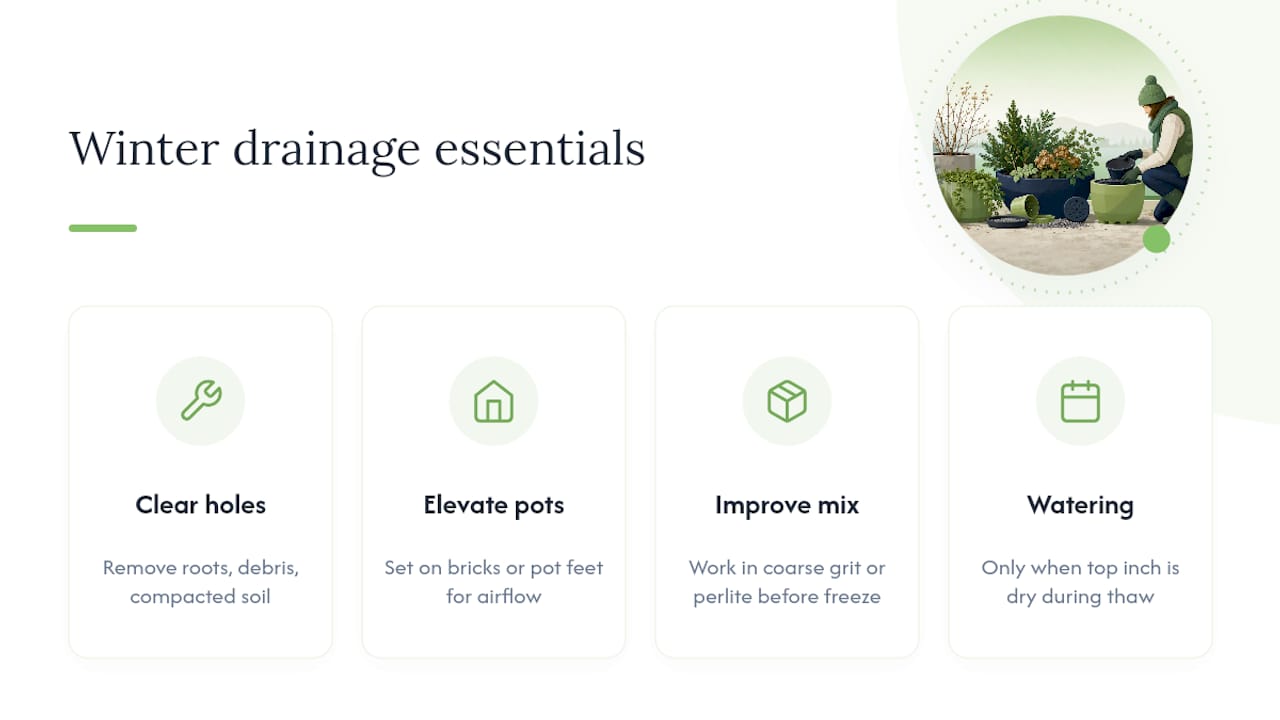
Before the ground freezes, confirm every drainage hole is clear of roots, debris, or compacted soil. Raise each pot on feet or bricks. Elevating containers keeps air moving underneath, stops pots from freezing to a patio surface, and prevents meltwater from pooling around the base, a detail UC Master Gardeners flags as an easy fix most gardeners skip. If your mix drains slowly, work in coarse grit or perlite before the first freeze.
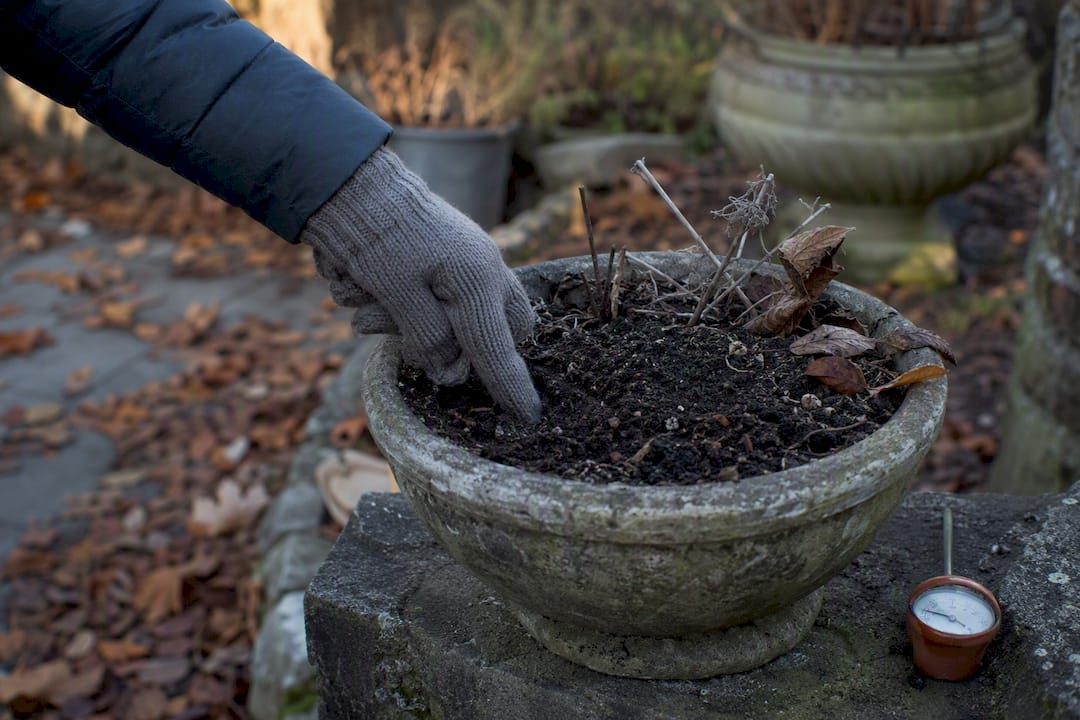
For watering, follow one rule all winter: water only when the top inch of soil is dry and only during a thaw, since frozen soil can’t absorb moisture anyway. Evergreens keep transpiring even in the cold, so check them roughly once a month during thaw periods. More container plants die from winter overwatering than from cold itself, so when in doubt, wait.
Cleaning and Storing Empty or Vulnerable Pots
Any pot that’s empty for winter still needs attention, because leftover soil and root fragments can carry disease straight into next spring’s planting. Clean first, then decide whether it stores outside or comes in.
Scrub pots free of soil, then disinfect with a solution of one part bleach to nine parts water before rinsing and letting them dry completely, a step Brooklyn Botanic Garden recommends to prevent disease carryover. A damp pot stored in a cold shed is an invitation for mold.
- Terracotta and unglazed ceramic: move indoors or into an unheated garage, since they crack easily when trapped moisture freezes
- Glazed ceramic: less prone to cracking, but still safer stored under cover
- Plastic and resin: durable in cold but can grow brittle, so keep them out of direct sun and wind
- Wood planters: cover or store dry to slow rot and splitting
For large pots too heavy to move, cover the opening with a lid or plastic sheeting to block rain and snowmelt from oversaturating the soil inside.
Winter Plants and Simple Swaps for Container Interest
You don’t have to stare at bare pots all winter. Certain plants shrug off cold and actually look better for it.
- Pansies and violas bloom through light frost and often bounce back after a hard freeze
- Small hardy evergreens, like dwarf boxwood or juniper, hold structure and color all season
- Ornamental grasses add movement and texture even after they’ve gone dormant and tan
- Underplanted bulbs, tucked beneath a taller evergreen or grass, push up early color before spring officially arrives
Choose the largest container your space allows, since more soil volume means more insulation around the root ball. Pair a hardy evergreen with a low skirt of pansies or a bulb layer underneath, and you’ve built a simple, low-maintenance display that carries the pot through winter without a single swap.
Spring Transition: Removing Winter Protection Safely
Timing your unwrapping matters almost as much as the winterizing did. Pull covers off too early and a late freeze undoes months of care.
- Watch your last frost date and wait for visible new growth before removing heavy mulch or wraps.
- Inspect each pot for heaving (roots pushed above the soil line), soft or blackened roots from rot, or shriveled stems from desiccation, then trim damaged growth and reset heaved plants at the right depth.
- Reintroduce plants that spent winter indoors gradually, giving them a few hours of outdoor shade before full sun exposure.
- Resume regular watering and restart fertilizing once new growth confirms the plant is actively growing again.
Farmdaddy’s Take on Winter Moisture Management
Consistent moisture is the hardest thing to manage by hand once the weather turns unpredictable. A dry stretch followed by a sudden thaw catches most gardeners off guard, and that’s exactly where a self-watering system earns its keep. Farmdaddy containers hold a water reserve that releases moisture as the soil needs it, which smooths out those swings without you standing over every pot each week.
- Pair a self-watering planter with mulch on top to slow evaporation and buffer root temperature
- Add a weed cover over the reservoir opening to block debris and extra moisture from rain
- Check reservoirs monthly during thaws rather than watering blindly on a schedule
Winterizing Is Risk Management, Not Perfection
Trying to save every plant in the yard is how gardeners burn out by November. Drainage and insulation are your highest-payoff moves. Get those right and most hardy plants figure out the rest on their own.
Pick a small set of plants worth protecting seriously and let the rest go through natural seasonal turnover. That’s not failure. That’s how container gardening actually works, year over year.
— Steven
A Simpler Way to Manage Winter Moisture in Containers
Every method above works, but they all ask for the same thing: consistent attention through the coldest, least convenient months of the year. Farmdaddy’s self-watering garden containers solve the piece of winter care most gardeners actually dread, checking soil moisture on a schedule, by holding a steady water reserve that releases only when the soil needs it.
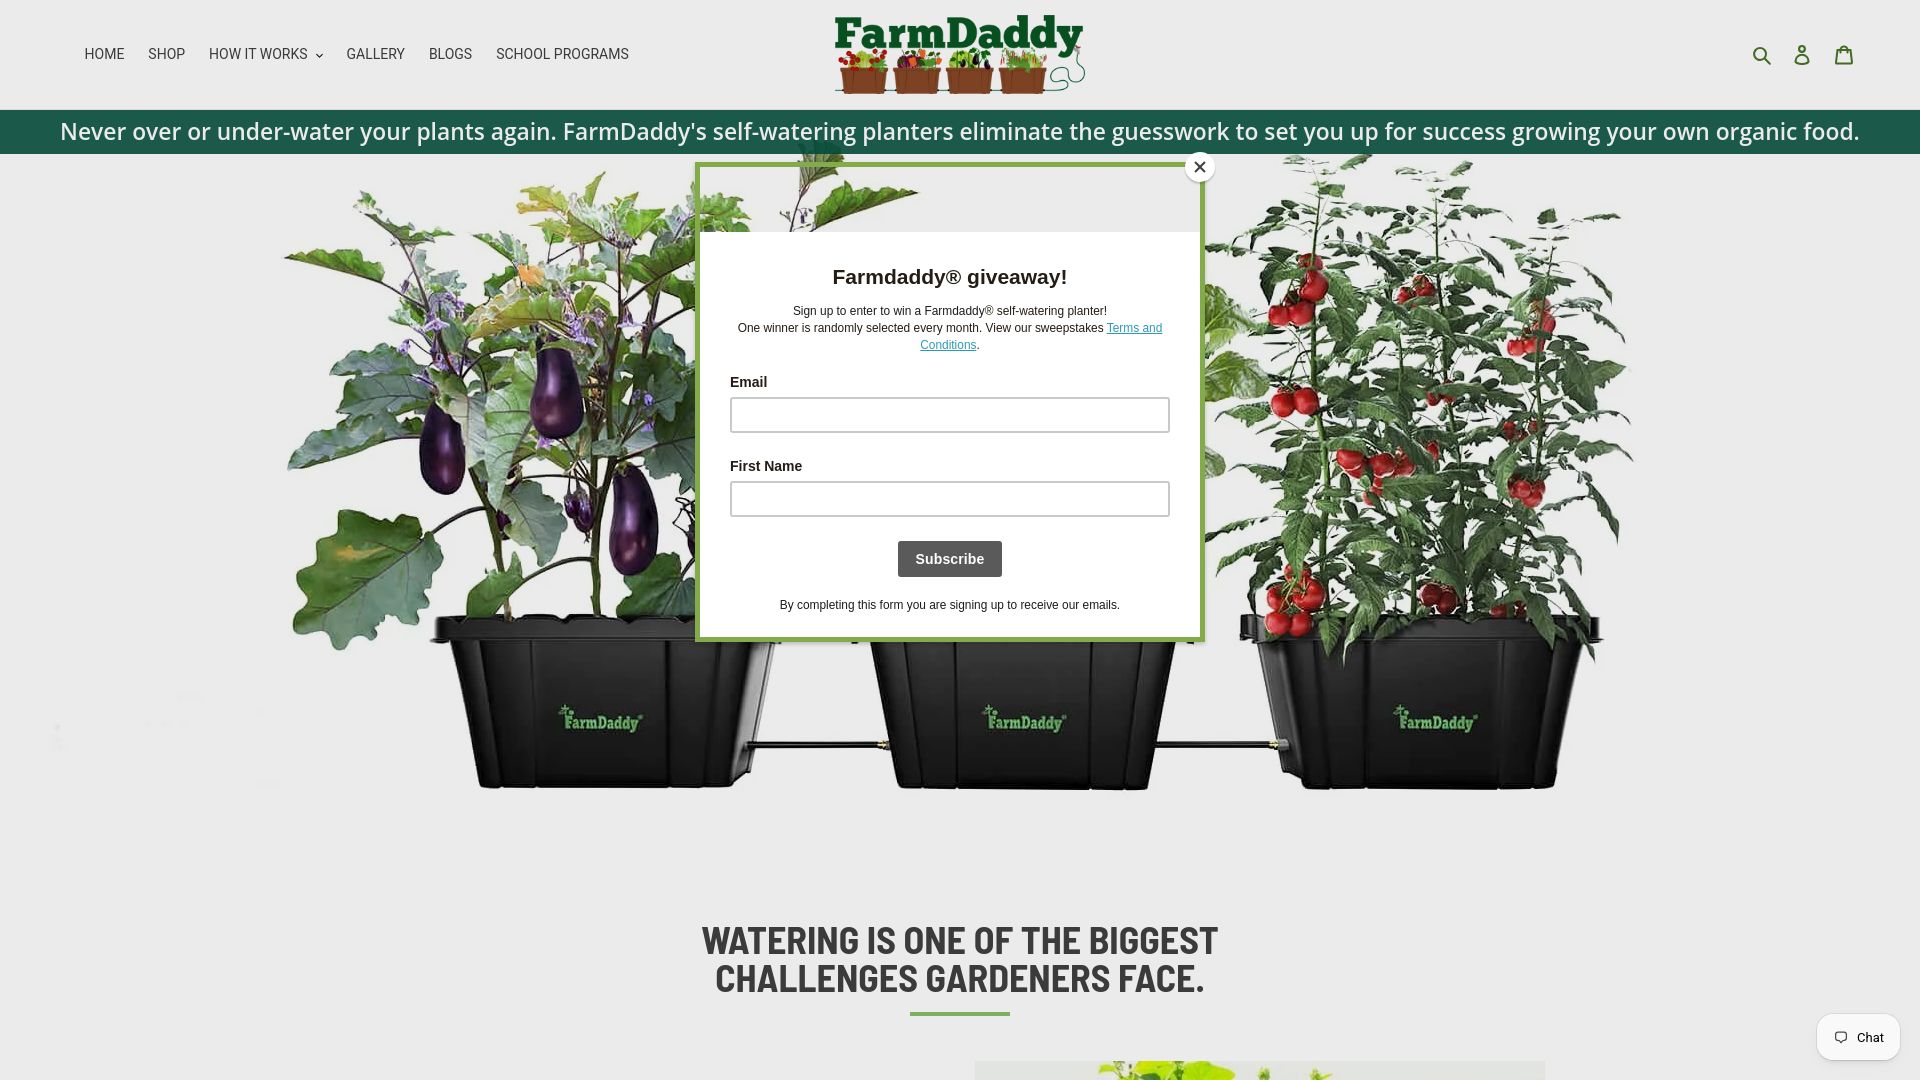
That matters most for gardeners with a lot of pots, or anyone who travels during the exact stretch when thaw checks matter. Instead of monitoring a dozen containers by hand every few weeks, you check one reservoir. Browse the self-watering container lineup or look at the 2-planter system if you’re setting up a new winter arrangement, and get your reservoirs filled before the first thaw window hits.
Sources
- Winterizing patio container gardens — UC Master Gardeners (Contra Costa)
- Overwintering plants in containers — Illinois Extension
- Overwintering container plants — University of Nevada Extension
- Overwintering potted plants — Brooklyn Botanic Garden

