
BLOG
Low Maintenance Vegetable Garden for Busy Beginners

A single 4×8 raised bed or three to six self-watering containers, planted with four to six easy crops, mulched with 3–4 inches of compost, and connected to a drip or self-watering system is all you need to grow fresh vegetables this season. Setup takes roughly half a day. After that, expect 30–60 minutes a week during peak growing season, and far less in spring and fall. That’s the whole plan.
Your immediate shopping list is short: four to six starter plants or seed packets (cherry tomatoes, peppers, leaf lettuce, bush beans, zucchini, and radishes cover most of it), a bag of compost, a bag of bark mulch, a trowel, and either a basic drip or soaker kit with a timer, or a set of self-watering containers. That’s it for week one.
Time reality check: A well-designed low-maintenance garden runs roughly 47–60 hours of total maintenance per year, compared to 250–350 hours for a traditional garden. That’s the difference between a quick Saturday morning task and a part-time job.
Table of Contents
- What vegetables work best in a low-maintenance garden?
- How should you design a garden that stays easy to manage?
- What soil and mulch tactics cut the most ongoing work?
- Which watering setup saves the most time for a small garden?
- What does a realistic weekly garden routine look like?
- Your week-by-week starter plan for the first season
- What do the numbers say about container sizes and time savings?
- Key Takeaways
- Why ease beats perfection in your first garden season
- Farmdaddy makes low-effort growing genuinely simple
- Useful sources and extension resources
What vegetables work best in a low-maintenance garden?
Choosing the right crops is the single biggest factor in how much time you spend troubleshooting. The plants below are forgiving, productive, and unlikely to demand daily attention.
Warm-season picks
- Cherry tomatoes (patio or determinate varieties): Compact plants like Tumbling Tom or Patio produce heavily without staking or aggressive pruning. They’re disease-tolerant and keep giving all summer with just regular picking.
- Peppers: Slow to start but nearly zero-maintenance once established. They rarely need staking, shrug off most pests, and one plant yields dozens of fruits.
- Bush beans: Direct-sow from seed, no trellis needed, and they’re ready in about 50–60 days. Harvest every few days to keep plants producing.
- Zucchini/summer squash: One or two plants feed a family. They grow fast, tolerate heat, and signal harvest time visually. The only watch-out is powdery mildew late in the season, which you can mostly ignore unless it spreads aggressively.
Cool-season picks
- Leaf lettuce and salad greens: Sow direct, harvest outer leaves as needed, and replant in fall for a second round. They’re done before summer heat sets in.
- Swiss chard: One of the most forgiving vegetables you can grow. It tolerates both heat and light frost, and University of Wisconsin Extension notes it can be harvested continuously by cutting outer stalks.
- Radishes: Ready in 25–30 days from seed. Perfect for filling gaps between slower crops.
- Peas: Plant early in spring, let them climb a simple trellis or cage, and harvest before summer. They fix their own nitrogen, which is a quiet bonus for soil health.
Perennials and herbs worth planting once
Herbs and perennials are the true low-effort category. Plant them once and they return year after year.
- Chives: Hardy, pest-resistant, and useful in the kitchen year-round.
- Thyme and rosemary: Drought-tolerant once established; both thrive in containers.
- Asparagus: Takes two years to produce, but then delivers for 15–20 years with almost no work. Worth planting in a dedicated corner if you have the space.
- Rhubarb: Thrives in colder U.S. zones (USDA zones 3–8) and comes back reliably each spring.
| Crop | Season | Start method | Why it’s easy |
|---|---|---|---|
| Cherry tomatoes | Warm | Starts | Compact, high yield, disease-tolerant |
| Peppers | Warm | Starts | Low pest pressure, no staking |
| Bush beans | Warm | Seed | No trellis, fast harvest |
| Leaf lettuce | Cool | Seed | Cut-and-come-again, quick |
| Swiss chard | Cool/both | Seed or starts | Heat and frost tolerant |
| Radishes | Cool | Seed | 25–30 days to harvest |
| Chives | Perennial | Starts | Returns every year, minimal care |
How should you design a garden that stays easy to manage?
The design decisions you make before planting determine 80% of your future workload. Get these right and the garden practically runs itself.
Keep it small and concentrated
A single 4×8 raised bed gives you 32 square feet, which is enough to grow a meaningful mix of crops while staying completely manageable. Resist the urge to go bigger in year one. A smaller, well-tended bed outperforms a sprawling neglected one every time.
Three to six large containers on a patio or balcony work just as well, and container gardening gives renters and small-space growers a real advantage: you control the soil, reduce weed seed exposure, and can move plants to chase sunlight or dodge frost.
Raised beds vs. in-ground vs. containers
| Feature | Raised bed | In-ground | Containers |
|---|---|---|---|
| Weed pressure | Low (fresh soil) | High | Very low |
| Drainage control | Good | Variable | Excellent |
| Watering frequency | Moderate | Lower | Higher (unless self-watering) |
| Setup cost | Moderate | Low | Low to moderate |
| Best for | Beginners with a yard | Established gardeners | Renters, patios, small spaces |
Raised beds win for most beginners with outdoor space. Containers win for patios, balconies, and anyone who travels. In-ground beds require the most weed management and soil amendment work upfront.
Layout checklist
- Place beds where they get at least 6–8 hours of direct sun daily.
- Position them within 50 feet of a water source, ideally closer.
- Keep path widths at 18–24 inches so you can reach every part of the bed without stepping in.
- Group plants with similar water needs together to simplify irrigation.
- Put herbs and seedlings closest to your back door. The closer they are, the more often you’ll check on them and harvest them.
Eliminating or reducing lawn near your growing area is also worth considering. Lawn mowing typically requires 25–30 sessions per year and is one of the biggest hidden labor costs in a home garden setup. Replacing even a small patch with a raised bed or gravel path pays off quickly.
What soil and mulch tactics cut the most ongoing work?
Healthy soil is the foundation of a low-effort garden. Get this right once, and you’ll spend far less time watering, fertilizing, and fighting weeds every season after.
Start with compost
When establishing a new raised bed, fill it with a mix of topsoil and compost at roughly a 60/40 ratio. For containers, always use a labeled potting or container mix with peat or coco coir and perlite for drainage. Never use straight garden soil in pots. It compacts quickly and suffocates roots.
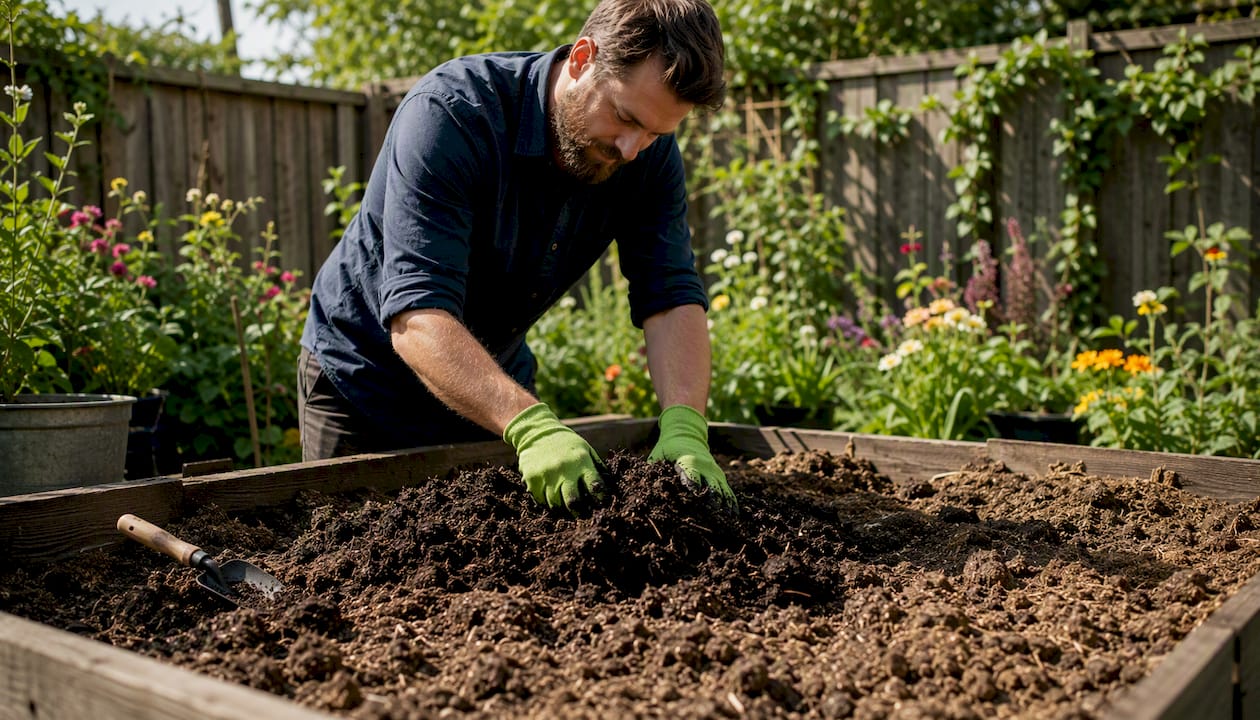
Each spring, top-dress existing beds with 1–2 inches of compost. That’s it. No tilling required. The worms and soil biology do the rest.
No-dig vs. light tilling
The no-dig method means you add compost on top and let it work down naturally. It preserves soil structure, suppresses weed seeds that would otherwise germinate when brought to the surface, and keeps beneficial fungi intact. For a busy gardener, it’s the obvious choice. Light tilling once at bed establishment is fine, but annual digging creates more work than it saves.
Mulch: the single most cost-effective action you can take
A 3–4 inch layer of bark mulch or coarse compost suppresses up to 90% of annual weed germination and reduces water evaporation by 25–40%. That translates directly to less weeding and less watering every single week. Bark mulch typically needs topping up every 2–3 years. Coarse compost can be refreshed annually as part of your spring top-dress.
Pro Tip: Apply mulch after watering or rain when the soil is already moist. This locks in that moisture rather than mulching dry soil and slowing water penetration.
On fertilizing: slow-release granular fertilizer (like a 10-10-10 or organic equivalent) applied once at planting is usually enough for most crops in a well-composted bed. Avoid over-fertilizing, especially with nitrogen. It pushes leafy growth at the expense of fruit and makes plants more attractive to aphids.
Which watering setup saves the most time for a small garden?
Daily hand-watering is the fastest way to turn gardening into a chore. The good news is that automating irrigation is easier and cheaper than most people expect.
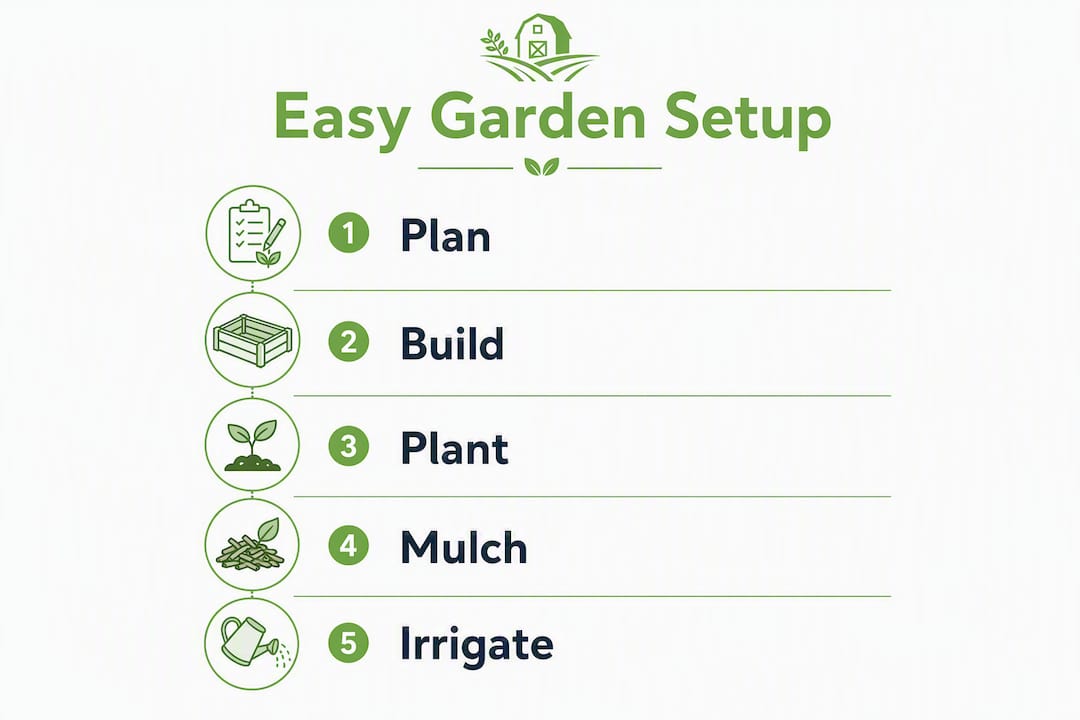
Drip, soaker hose, or self-watering containers?
| Method | Upfront cost | Maintenance demand | Best for | Vacation-proof? |
|---|---|---|---|---|
| Drip irrigation + timer | Moderate | Low (annual check) | Raised beds, multiple rows | Yes, with timer |
| Soaker hose + timer | Low | Low | Single beds, simple layouts | Yes, with timer |
| Self-watering containers | Low to moderate | Very low | Patios, balconies, small spaces | Yes (reservoir lasts days) |
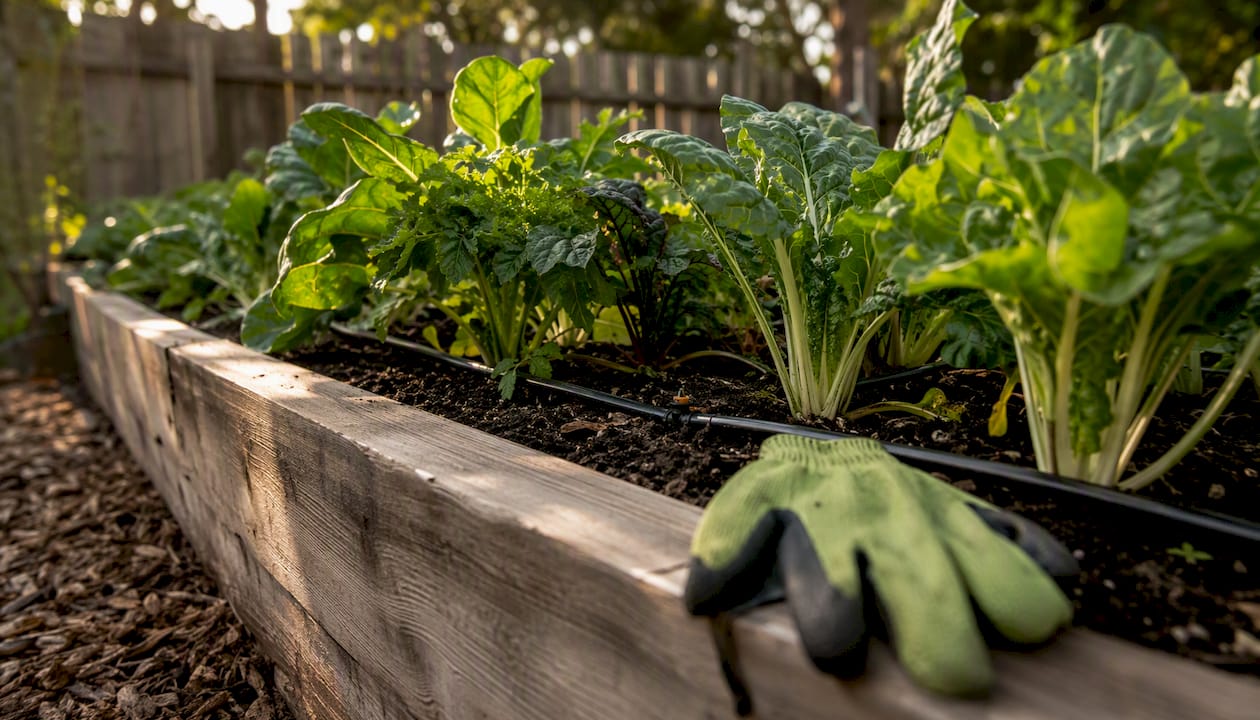
Drip systems and soaker hoses paired with a basic timer are the go-to for raised beds. Test garden reports show drip irrigation saves roughly 2 hours of hand-watering per week in summer compared to watering by hand. Over a 16-week growing season, that’s 32 hours back in your schedule.
Self-watering containers take it a step further for patio and balcony growers. The reservoir delivers water directly to the root zone, reduces surface evaporation, and can go several days between refills. For anyone who travels or works long hours, this is the most reliable option.
Basic installation checklist
- Attach a timer directly to your outdoor faucet before connecting any hose or drip line.
- Add a pressure regulator if your home water pressure exceeds 30 PSI (most drip systems recommend 15–25 PSI).
- Lay drip lines or soaker hose along plant rows, not between them.
- Check emitters or hose connections at the start of each season and after any hard freeze.
- Drain and disconnect hoses before the first frost to prevent cracking.
Pro Tip: For water-saving container gardening, look for systems where each planter operates independently. This means a thirsty tomato won’t pull water away from a neighboring herb that needs far less.
What does a realistic weekly garden routine look like?
The goal is a routine you’ll actually stick to, not a perfect one. Here’s what a sustainable weekly schedule looks like for a small low-maintenance vegetable garden.
Weekly checklist (20–60 minutes total)
- Check soil moisture (2 minutes): press a finger an inch into the soil. If it’s dry, water manually or adjust your timer schedule.
- Harvest ripe crops (10–15 minutes): beans, greens, and zucchini need picking every few days. Regular harvesting keeps plants producing.
- Scan for pests (5 minutes): look under leaves for aphids or caterpillars. Handpick what you find. Most small infestations don’t need spraying.
- Pull obvious weeds (5–10 minutes): with good mulch, this should be minimal.
- Light pruning (5 minutes): remove yellowing leaves from tomatoes and peppers to improve airflow.
Seasonal checkpoints
| Season | Key task | Time estimate |
|---|---|---|
| Early spring | Refresh compost top-dress, check irrigation connections | 2–3 hours once |
| Late spring | Plant starts, apply mulch, set timer schedule | 2–4 hours once |
| Summer (peak) | Weekly routine above | 30–60 min/week |
| Early fall | Plant cool-season crops, remove spent summer plants | 1–2 hours once |
| Late fall/winter | Winterize irrigation, store tools, add compost layer | 1–2 hours once |
Pest and disease management without the fuss
Row covers (lightweight floating fabric) are the most effective low-effort pest barrier available. Lay them over seedlings right after planting to block cabbage moths, aphids, and flea beetles. Remove them when flowers appear so pollinators can reach the plants.
For disease, spacing matters more than spraying. Plants with good airflow between them rarely develop the fungal problems that plague crowded beds. When you do see disease, remove affected leaves promptly and dispose of them away from the garden. Accepting a few blemished leaves or a minor aphid colony is fine. Sustainable low-effort yields mean tolerating minor losses rather than chasing perfection.
Your week-by-week starter plan for the first season
This plan gets you from zero to first harvest in eight weeks. It’s built for a single 4×8 raised bed or three to six containers.
Weeks 0–1: Choose and set up
- Pick your location: minimum 6 hours of direct sun, close to water.
- Buy or assemble your bed or containers. For containers, choose larger sizes (more on minimums below).
- Source compost and a quality potting mix or raised bed soil blend.
- Buy bark mulch (one to two bags for a 4×8 bed).
- Pick up four to six starter plants or seed packets from your local nursery or garden center.
- Purchase a basic drip or soaker kit with a timer, or set up self-watering containers.
Weeks 2–4: Plant and protect
- Fill your bed or containers with your soil mix and work in 2–3 inches of compost.
- Plant warm-season starts (tomatoes, peppers) after your last frost date. Check the USDA Plant Hardiness Zone Map for your local frost dates.
- Direct-sow cool-season seeds (lettuce, radishes, beans) now if temperatures allow.
- Apply your 3–4 inch mulch layer around plants, keeping it a few inches away from stems.
- Install your drip system or fill self-watering reservoirs. Set the timer.
- Water by hand for the first week while roots establish.
Weeks 5–8: Harvest and succession plant
- Harvest radishes and outer lettuce leaves as they’re ready (usually by week 5–6).
- Sow a second round of beans or lettuce to extend your harvest window.
- Add a single application of slow-release granular fertilizer or top-dress with a thin layer of compost.
- Check your irrigation timer and adjust frequency as temperatures rise.
- Begin your weekly 30–60 minute routine.
Starter shopping list:
- Raised bed kit or 3–6 large containers (or Farmdaddy self-watering garden box)
- Raised bed soil blend or potting mix with perlite
- Compost (one to two bags)
- Bark mulch (one to two bags)
- Drip or soaker kit with timer, or self-watering container system
- Trowel and hand fork
- 4–6 starter plants or seed packets
What do the numbers say about container sizes and time savings?
Getting container size right is one of the most overlooked decisions in easy container gardening. Too small and you’re watering twice a day. The right size and the plant practically takes care of itself.
Container size minimums for common crops
| Crop | Minimum container size | Why it matters |
|---|---|---|
| Herbs (basil, parsley, chives) | 6-inch pot | Adequate root room; dries quickly in heat |
| Leafy greens (lettuce, chard) | 8–10 inch pot | Supports multiple plants; retains moisture longer |
| Peppers and bush tomatoes | 14–18 inch pot | Root volume needed for fruit production |
| Full-size tomatoes | 5-gallon container | Minimum for healthy root development and yield |
These minimums are well established for container vegetable growing. Smaller pots can dry out within hours on a hot summer day, which means you’re back to daily watering regardless of your irrigation setup. Larger containers retain moisture longer and reduce required watering frequency significantly.
Key figure: A 3–4 inch mulch layer suppresses up to 90% of weed germination and cuts water evaporation by 25–40%. In a small bed, that can mean the difference between weeding for 20 minutes a week and weeding for two minutes.
The practical takeaway: when choosing between a 12-inch and a 16-inch pot for peppers, always go bigger. The extra soil volume acts as a moisture buffer, which is exactly what you want when you’re not checking the garden every day. Larger containers are more important for maintenance reduction than pot material, so don’t overthink whether to buy terracotta or plastic. Size wins every time.
Key Takeaways
A small, well-mulched bed with automated watering and four to six easy crops is the most reliable path to a productive low-maintenance vegetable garden with under an hour of weekly upkeep.
| Point | Details |
|---|---|
| Start small and focused | A single 4×8 raised bed or 3–6 containers is the right scale for beginners. |
| Choose forgiving crops | Cherry tomatoes, peppers, bush beans, leaf lettuce, and Swiss chard deliver high yield with minimal troubleshooting. |
| Mulch generously | A 3–4 inch mulch layer suppresses up to 90% of weed germination and cuts evaporation by 25–40%. |
| Automate your watering | Drip systems or self-watering containers save roughly 2 hours of hand-watering per week in summer. |
| Farmdaddy self-watering planters | A practical low-effort option for busy gardeners who want consistent moisture without daily checking. |
Why ease beats perfection in your first garden season
There’s a version of vegetable gardening that looks great on paper: perfectly spaced rows, a dozen varieties, a custom compost system, and a hand-watered schedule that requires you to be home every evening. Most beginners try that version. Most of them burn out by July.
The approach this guide recommends is deliberately smaller and simpler. Four to six crops, one bed or a few containers, mulch, and a timer. It won’t win any garden tours, but it will produce real food with a realistic time commitment. And that matters more than most gardening content admits.
The trade-offs are worth naming honestly. You might lose a zucchini plant to squash vine borers. Your lettuce might bolt in a heat wave before you get to it. A few aphids will show up. None of that is failure. A low-effort garden that produces 80% of what a high-effort one does, with 20% of the time, is a genuinely good outcome. The goal is a habit you’ll repeat next year, not a perfect harvest this year.
Once the basics are working, adding a second bed or a few more containers is easy. But starting small is what makes that expansion feel exciting rather than exhausting. The family benefits of a home vegetable garden are real, and they compound over time when the garden stays manageable.
Farmdaddy makes low-effort growing genuinely simple
The biggest obstacle for busy gardeners isn’t choosing the right crops or laying out a bed. It’s the daily watering. Miss two days in a heat wave and a container garden can collapse fast.
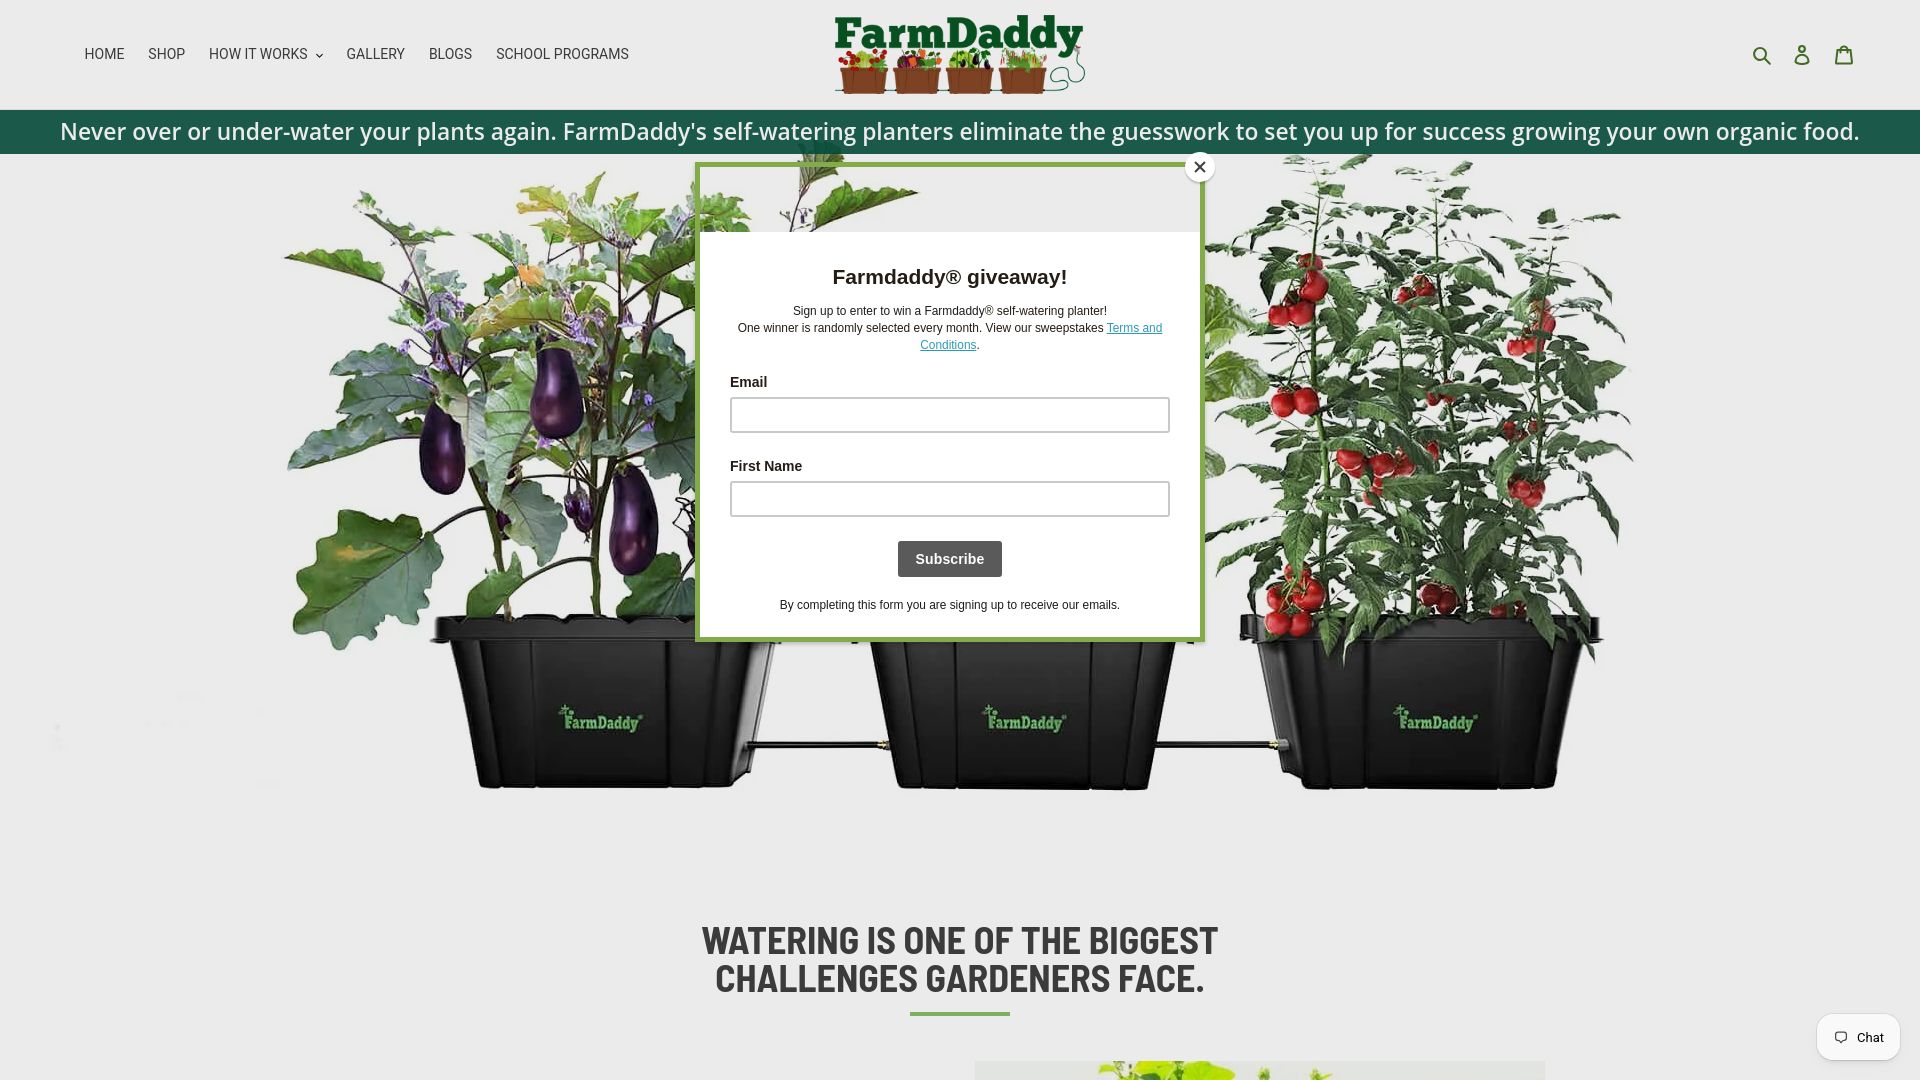
Farmdaddy’s self-watering garden systems solve that problem directly. Each planter draws water from a built-in reservoir at the rate the plant actually needs, so roots stay consistently moist without you checking every day. The patented design lets each connected container operate independently, which means your thirsty tomatoes won’t drain the reservoir meant for your herbs. For a patio setup, the 2-planter self-watering system is a compact, modular starting point that works on balconies and small decks. Compatible accessories include weed covers that further cut maintenance by blocking weed growth at the soil surface.
If you’re ready to skip the daily watering routine entirely, browse the full range of Farmdaddy self-watering planters and pick the setup that fits your space.
Useful sources and extension resources
These are the authoritative resources worth bookmarking for local planting dates, soil tests, and variety recommendations specific to your region.
- USDA Plant Hardiness Zone Map — find your zone and local frost dates before choosing planting windows.
- Oregon State University: Container Gardening Guide — practical advice on getting started with containers, including timing and plant selection.
- University of Wisconsin Extension: Swiss Chard — detailed growing guidance for one of the most forgiving cool-season crops.
- Fine Gardening: Creating a Low-Maintenance Garden — design principles for reducing long-term labor through smarter plant and layout choices.
- Almanac.com: Beginner 4×8 Vegetable Garden Layout — a practical starter layout with crop suggestions for a single manageable bed.
- Drought-tolerant landscaping guidance — useful for gardeners in arid U.S. regions looking to reduce irrigation needs further.
For soil testing, contact your local Cooperative Extension Service (search “your state + Cooperative Extension” to find your nearest office). A basic soil test costs $15–$25 and tells you exactly what amendments your beds need before you plant.

