
BLOG
Square Foot Gardening Containers for Small Spaces

Yes, you can absolutely use square foot gardening (SFG) in containers, and the method adapts surprisingly well. The SFG grid system is universal, meaning any container at least 1 foot across can become a productive planting unit. Your three immediate actions: pick a container with enough depth for your crops (6–12 inches minimum for most vegetables), fill it with a lightweight, well-draining mix like Mel’s Mix, and divide the surface into 1-foot squares using twine or a physical grid. The main trade-offs to know upfront are weight and watering frequency. Containers dry out faster than in-ground beds and can get heavy fast, so both factors need a plan before you plant.
Key Takeaways
Container SFG works best when you match container depth to crop root needs, use a lightweight mix like Mel’s Mix, and actively manage drainage and moisture from day one.
| Point | Details |
|---|---|
| Start with the right size | A 2×2 ft container gives you 4 squares and is enough to test the full SFG method. |
| Use a container-specific mix | Mel’s Mix (coco coir, vermiculite, blended compost) drains well and stays light enough to move. |
| Grid every container | Divide any container into 1-ft squares using twine or dowels; partial squares go to small crops like chives. |
| Watch the weight | A filled 2×4 ft planter can weigh 80–120 lbs; use lightweight mixes and check balcony load ratings. |
| Farmdaddy simplifies watering | Farmdaddy’s independent reservoir system maintains steady root-zone moisture without daily top-watering. |
Table of Contents
- Which container types suit square-foot gardening best?
- How do you adapt the SFG grid to any container size?
- What soil mix works best, and how much will you need?
- How do you manage drainage and watering in container SFG?
- How do self-watering containers work with SFG?
- What should you plant, and how many plants per square?
- How do you design elevated and accessible SFG container beds?
- What first-season container SFG usually teaches you
- Farmdaddy’s self-watering containers fit naturally into SFG
- Sources
Which container types suit square-foot gardening best?
The container you choose shapes everything else: how many squares you get, which crops thrive, and how easy the whole setup is to manage. Here is a quick breakdown of the most practical options.
- Rectangular planters and window boxes: Easiest to grid. A 2×4 ft planter gives you 8 clean squares. Depth matters here: 8 inches works for lettuce and herbs, but 12 inches is better for beans or peppers.
- Fabric grow bags: Lightweight, excellent drainage, and easy to move. A 15-gallon round bag is roughly 16 inches across, giving you about 1.5 usable squares. Great for a single tomato or pepper plant.
- Large round pots (18 inches or wider): You get roughly 1–2 squares depending on diameter. Best for a single crop type, like a cherry tomato with basil tucked around the edge.
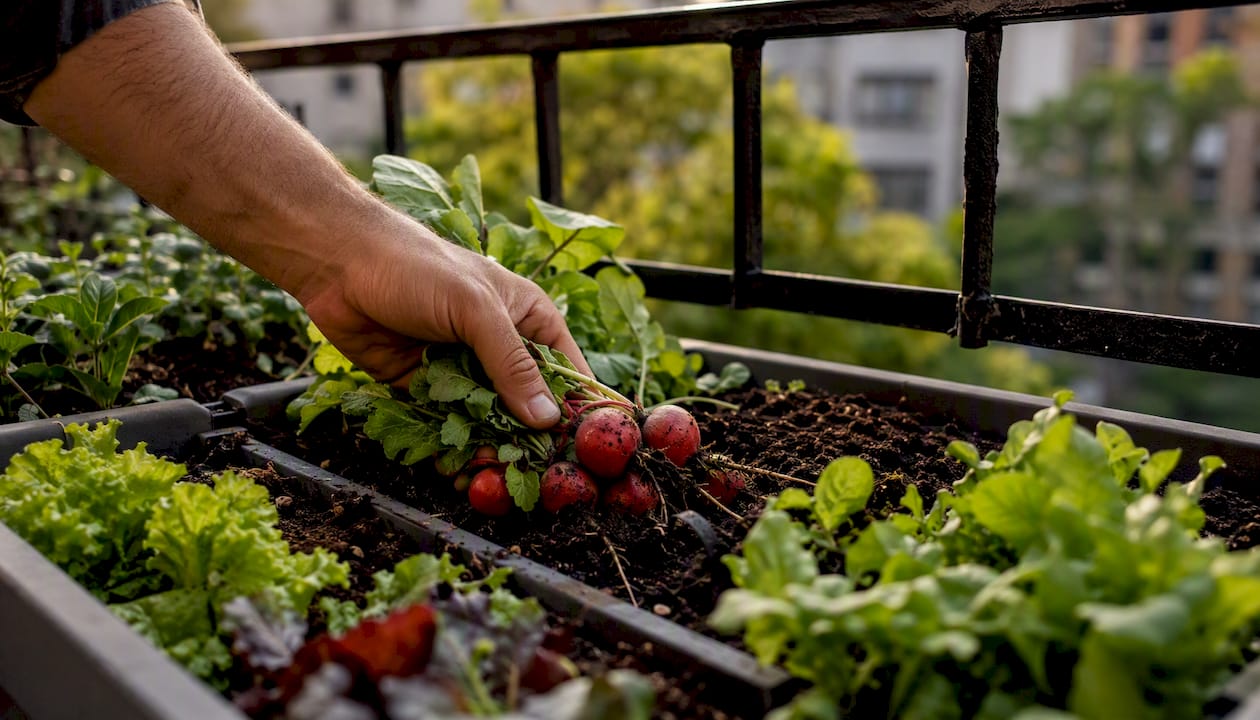
- Troughs and long planters: Ideal for herbs and salad greens. A 36×12 inch trough yields 3 squares and fits neatly on a railing or fence.
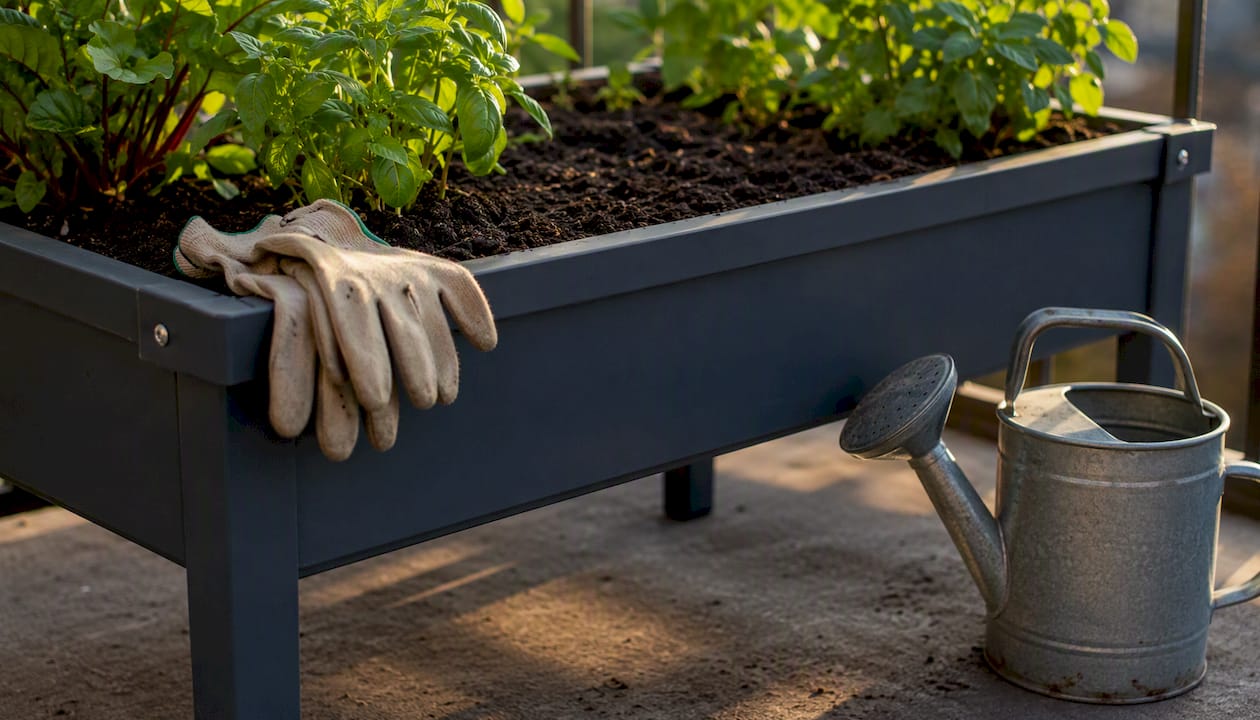
- Framed raised or elevated boxes: The closest thing to a traditional SFG bed. These hold the most soil volume, support the widest crop variety, and work beautifully with a physical grid like GroGrid or the Garden-in-Minutes watering grid.
- Pallet or rib planters: Useful for vertical growing but limited in soil depth. Better for shallow-rooted herbs than for fruiting crops.
Materials note: Untreated cedar and redwood are the safest wood choices for edible gardens. Avoid older pressure-treated lumber that may contain copper azole or other preservatives. Food-safe plastic, fiberglass, and powder-coated metal are all reliable alternatives.
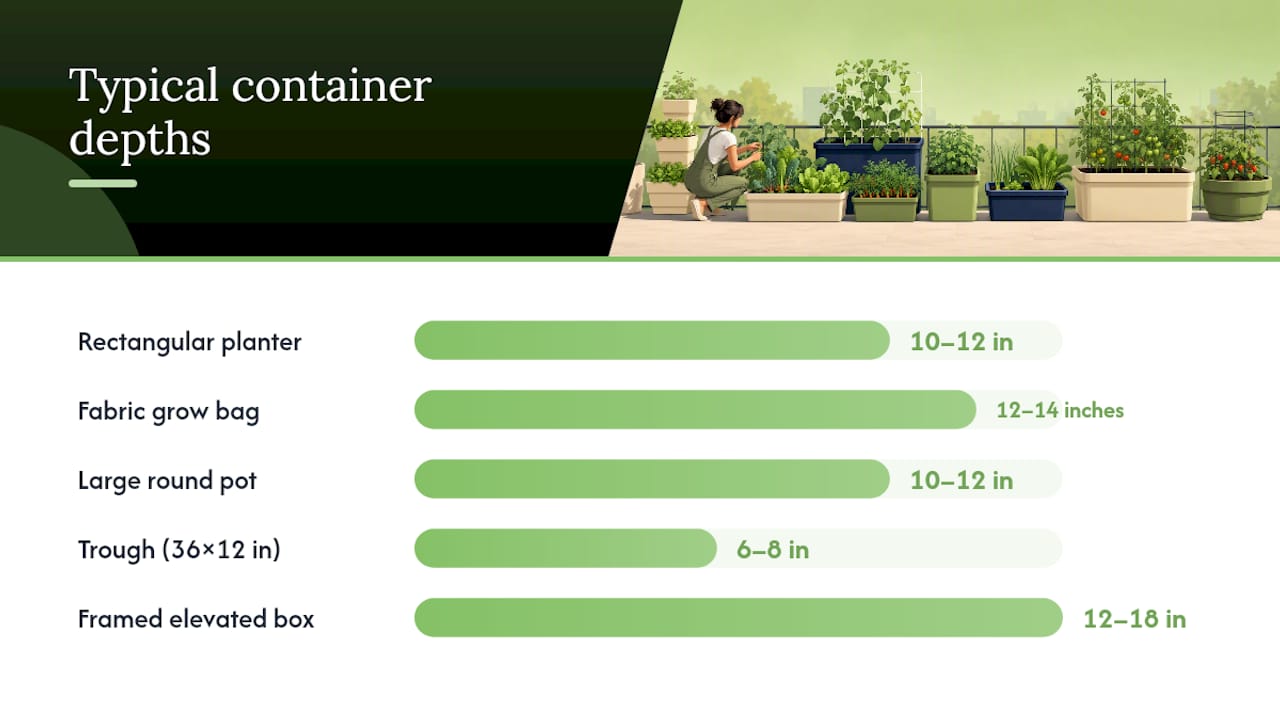
| Container Type | Typical Depth | Best Crops | Mobility |
|---|---|---|---|
| Rectangular planter (2×4 ft) | 10–12 in | Lettuce, beans, herbs, peppers | Low (heavy when filled) |
| Fabric grow bag (15 gal) | 12–14 inches | Tomato, pepper, eggplant | High (handles, lightweight) |
| Large round pot (18 in+) | 10–12 in | Cherry tomato, basil, kale | Medium |
| Trough (36×12 in) | 6–8 in | Herbs, lettuce, radish, spinach | High |
| Framed elevated box | 12–18 in | Full SFG crop range | Low (stationary) |
Pro Tip: Before filling any container for a balcony or deck, check your building’s load rating. A filled 2×4 ft planter can weigh 80–120 lbs depending on the mix. Place heavy containers directly over structural supports, not in the middle of a span.
How do you adapt the SFG grid to any container size?
The core rule is simple: one square foot equals one planting unit. Count how many full 12×12 inch squares fit in your container, then decide what to do with any leftover space.
- Measure your container’s interior dimensions in inches. Use the planting surface, not the outside edge.
- Divide length and width by 12 to get your square count. A 24×48 inch planter: 24÷12 = 2, 48÷12 = 4, so you have 8 squares.
- Handle partial squares honestly. An 18×18 inch pot gives you 1.5×1.5 = 2.25 squares. Treat the center as one full square and use the border strip for a single edge plant (like chives or a compact basil). Do not try to force a second full square into a partial space.
- For circular containers, use the formula: area = π × radius². An 18-inch diameter barrel has a 9-inch radius: 3.14 × 81 = 254 square inches, which is about 1.76 square feet. Round down to 1 usable square for dense crops, or plant one central crop with a ring of edge herbs.
- Mark the grid physically. Bamboo dowels, lengths of twine tied to screws at the rim, or a pre-made GroGrid panel all work well. The Garden-in-Minutes watering grid doubles as a physical planting guide and irrigation system, which is a smart two-for-one for larger framed boxes.
Rules of thumb: Round partial squares down when planting large crops (tomatoes, peppers). Round up when planting tiny crops (radishes, lettuce) since they tolerate tighter borders. When a container is too small to grid neatly, skip the grid and treat the whole surface as one planting unit, using the SFG plant-count rules for that crop.
Pro Tip: For non-rectangular containers, sketch the shape on graph paper first (1 square = 1 foot). It takes two minutes and prevents the frustrating experience of realizing mid-planting that your “4-square” barrel only holds two comfortably.
What soil mix works best, and how much will you need?
Mel’s Mix is the standard SFG growing medium: one-third coarse vermiculite, one-third peat moss (or coco coir), and one-third blended compost from at least five sources. It drains well, stays light, and never compacts the way garden soil does. For containers specifically, coco coir is a better choice than peat because it is lighter, more sustainable, and holds moisture more evenly without becoming hydrophobic when it dries out.
Container-friendly substitutions:
- Replace peat with coco coir (same ratio, lighter weight, better rewetting)
- Add 10–15% coarse perlite to the mix for extra drainage in deep containers
- Use worm castings as part of the compost fraction for a slow nutrient release
Volume math example: A 2×4 ft planter at 10 inches deep holds 2 × 4 × 0.83 ft = 6.6 cubic feet of mix. A standard 2-cubic-foot bag of potting mix covers about 0.3 of that, so you would need roughly 3–4 bags of each component (vermiculite, coco coir, compost) to fill it. Budget $60–$120 for a first fill of a 2×4 ft container, depending on local prices and whether you buy compost in bulk. For choosing the right potting mix, prioritize mixes labeled for containers rather than raised beds, since container formulas drain faster.
Nutrients: UF/IFAS guidance recommends working a balanced or slow-release fertilizer into the top 6 inches at planting, then following soil-test recommendations for subsequent applications. In containers, nutrients leach faster than in ground beds, so plan to top-dress with compost or apply a diluted liquid fertilizer every 3–4 weeks through the growing season.
Setup time: Mixing and filling a 2×4 ft container takes about 1–2 hours. Allow another week for the mix to settle before planting, and top it off if the level drops more than an inch.
How do you manage drainage and watering in container SFG?
Containers are closed systems. Water cannot move sideways or downward into surrounding soil, so drainage and moisture management need more attention than in a ground bed. The SFG method’s efficiency claims still apply in containers, but you have to actively manage the hydration cycle rather than relying on natural soil buffering.
Drainage basics:
- Every container must have drainage holes. Drill at least four 1/2-inch holes in the bottom of any planter that does not already have them.
- A layer of coarse gravel at the bottom is largely a myth for improving drainage. It can actually raise the water table inside the container. Skip it and use a well-draining mix instead.
- Line the bottom with geo-fabric or landscape cloth to keep mix from washing out through holes without blocking drainage.
- Test drainage by watering thoroughly and watching for runoff within 30–60 seconds. If water pools on the surface for more than a minute, your mix is too dense or your holes are blocked.
Watering frequency: Containers in full sun during summer may need watering daily or every other day. In cooler weather or partial shade, every 2–3 days is typical. Check moisture by pushing a finger 2 inches into the mix. If it feels dry at that depth, water thoroughly until it drains from the bottom.
Troubleshooting checklist:
- Yellowing lower leaves: Often overwatering or nutrient deficiency. Check drainage holes first.
- Wilting despite moist soil: Root rot from waterlogging. Improve drainage and reduce watering frequency.
- Wilting with dry soil: Underwatering or hydrophobic mix. Water slowly and deeply, or soak the container in a tray for 20 minutes.
- Crusty white deposits on soil surface: Salt buildup from fertilizer. Flush the container thoroughly with plain water monthly.
For water-saving strategies that reduce the daily check-in burden, self-watering systems are worth a close look.
How do self-watering containers work with SFG?
Self-watering containers use a reservoir-and-wick system: water sits in a chamber below the growing medium and wicks upward into the root zone as plants need it. This changes the watering dynamic completely. Instead of top-watering every day, you refill the reservoir every few days to a week, depending on plant size and weather. Root-zone moisture stays more consistent, which reduces stress on plants and tends to improve yields for moisture-sensitive crops like tomatoes and peppers.
Benefits for container SFG:
- Less frequent watering, especially useful during hot summers or when you travel
- Stable moisture reduces blossom drop in fruiting crops
- Works well in urban exposures where containers dry out quickly
- Pairs naturally with the SFG grid since each container is already a self-contained unit
Limitations to know:
- Salt and mineral buildup in the reservoir requires periodic flushing
- The reservoir needs to be emptied and dried out between seasons to prevent algae
- Overflow protection matters: if the reservoir overfills during heavy rain, roots can become waterlogged
- There is a short learning curve for reading when to refill versus when to let the reservoir run low
Setup checklist for adding a SFG grid to a self-watering container:
- Fill the reservoir chamber first, then add your growing medium from the top.
- Avoid compacting the mix when filling. Pour it in loosely and tap the sides gently.
- Test the overflow outlet before planting to confirm it drains freely.
- Add your grid (twine, dowels, or GroGrid panel) after filling, not before.
- Water from the top once at planting to settle the mix, then switch to reservoir filling.
Pro Tip: Farmdaddy’s self-watering system uses independent reservoirs for each connected container, so one plant’s water needs do not affect its neighbors. That independence maps directly to the SFG principle of treating each square as its own planting unit. See how the system works before you commit to a setup.
What should you plant, and how many plants per square?
The SFG spacing system is built around plant size. Large plants get one square each; small plants share a square. Here is a practical chart for common container crops.
| Crop | Plants per 1-ft Square | Minimum Container Depth |
|---|---|---|
| Lettuce | 4 | 6 in |
| Spinach | 9 | 6 in |
| Radish | 16 | 6 in |
| Chives | 16 | 6 in |
| Basil | 4 | 8 in |
| Dwarf kale | 1 | 10 in |
| Bush beans | 9 | 10 in |
| Peppers (compact) | 1 | 12 in |
| Cherry tomato | 1 | 12 in |
Sample 2×4 ft layout (8 squares):
- Square 1: Cherry tomato (1 plant, back corner, with a small trellis or cage)
- Square 2: Basil (4 plants, next to the tomato for companion planting)
- Square 3: Peppers (1 compact variety)
- Square 4: Bush beans (9 plants)
- Square 5: Dwarf kale (1 plant)
- Square 6: Spinach (9 plants, succession-plant every 2 weeks)
- Square 7: Radish (16 plants, fastest to harvest, replant with lettuce after)
- Square 8: Lettuce (4 plants, partial shade from the tomato is fine)
For plant combination ideas that go beyond the basics, pairing crops by root depth and harvest time keeps your container productive all season.
Compact and dwarf varieties: Seed packets labeled “patio,” “bush,” or “dwarf” are bred for containers. ‘Tumbling Tom’ tomatoes, ‘Patio’ peppers, and ‘Tom Thumb’ lettuce all stay within bounds that standard varieties would not. Always check the mature spread, not just the height.
Succession planting: When a square finishes (radishes done, lettuce bolted), pull the plants, top-dress with a handful of compost, and replant immediately. A single 2×4 ft container can produce three or four rounds of fast crops like radishes and lettuce in one season alongside slower fruiting crops.
Rotation across containers: University of Minnesota Extension notes that multiple smaller containerized beds make crop rotation easier because you can physically move containers or swap which crops go where each season. Rotating nightshades (tomatoes, peppers) away from the same container year after year reduces disease pressure noticeably.
How do you design elevated and accessible SFG container beds?
Elevated SFG beds bring the garden up to the gardener rather than the other way around. Extension guidance recommends keeping bed widths at or below 4 feet for two-sided access and 3 feet for single-sided access, so you can reach every square without stepping into the bed. For wheelchair or seated access, a working height of 24–30 inches is comfortable for most adults.
Sizing and reinforcement guidelines:
- Keep any single elevated bed no wider than 4 feet so every square is reachable from one side or the other
- For single-sided placement (against a wall or railing), limit width to 2–3 feet
- Heights of 24–30 inches work for standing access; 28–32 inches for seated or wheelchair users
- Longer beds (over 4 feet) need cross bracing or corner brackets to prevent bowing under soil weight
- Anchor freestanding elevated beds to a wall or fence if they will be used on a windy rooftop or balcony
Safe material choices: Untreated cedar, redwood, or food-safe composite lumber are the best options. Galvanized steel raised bed kits are durable and safe for edibles. Avoid railroad ties or any wood with visible preservative staining.
Sun and drainage placement: Position elevated beds where they receive at least 6 hours of direct sun. Elevating a container also improves air circulation around the root zone, which helps prevent fungal issues. Make sure the overflow or drainage path does not drain onto a surface where pooling water could cause damage or a slip hazard.
Pro Tip: Farmdaddy’s self-watering garden box is designed with accessible heights and includes weed cover accessories that reduce maintenance significantly. If you are setting up an elevated SFG bed for someone with limited mobility, a built-in reservoir removes the daily watering task entirely.
What first-season container SFG usually teaches you
Most beginners make the same three mistakes, and knowing them in advance saves a full season of frustration.
The first is filling containers with garden soil from the yard. Garden soil compacts in containers, drains poorly, and often brings weed seeds and pathogens with it. Mel’s Mix or a quality container potting mix is not optional here. The Square Foot Gardening method is explicit about this, and the extension guidance from UF/IFAS reinforces it: treat your container like a contained system with its own soil chemistry.
The second mistake is ignoring weight until it is too late. A beautiful 4×4 ft elevated planter filled with standard potting mix can exceed 200 lbs. If you are on a balcony or deck, check the load rating before you fill anything. Lightweight mixes with coco coir and perlite, combined with fabric grow bags, cut that weight significantly.
The third is planting full-size indeterminate tomatoes in a 12-inch pot and wondering why they collapse by July. Indeterminate varieties need at least a 15-gallon container and a serious support structure. For most container SFG setups, compact determinate or patio varieties are a much better fit.
Start small. A 2×2 ft container (4 squares) is enough to test the method and learn your specific microclimate. Track which squares perform best, which crops you actually eat, and how often you really water. That data is worth more than any planting chart for your second season.
Farmdaddy’s self-watering containers fit naturally into SFG
Consistent moisture is one of the hardest things to maintain in container SFG, especially during summer heat. Farmdaddy’s self-watering planters solve that problem with a reservoir system that delivers water directly to the root zone, so your plants stay hydrated without daily attention.
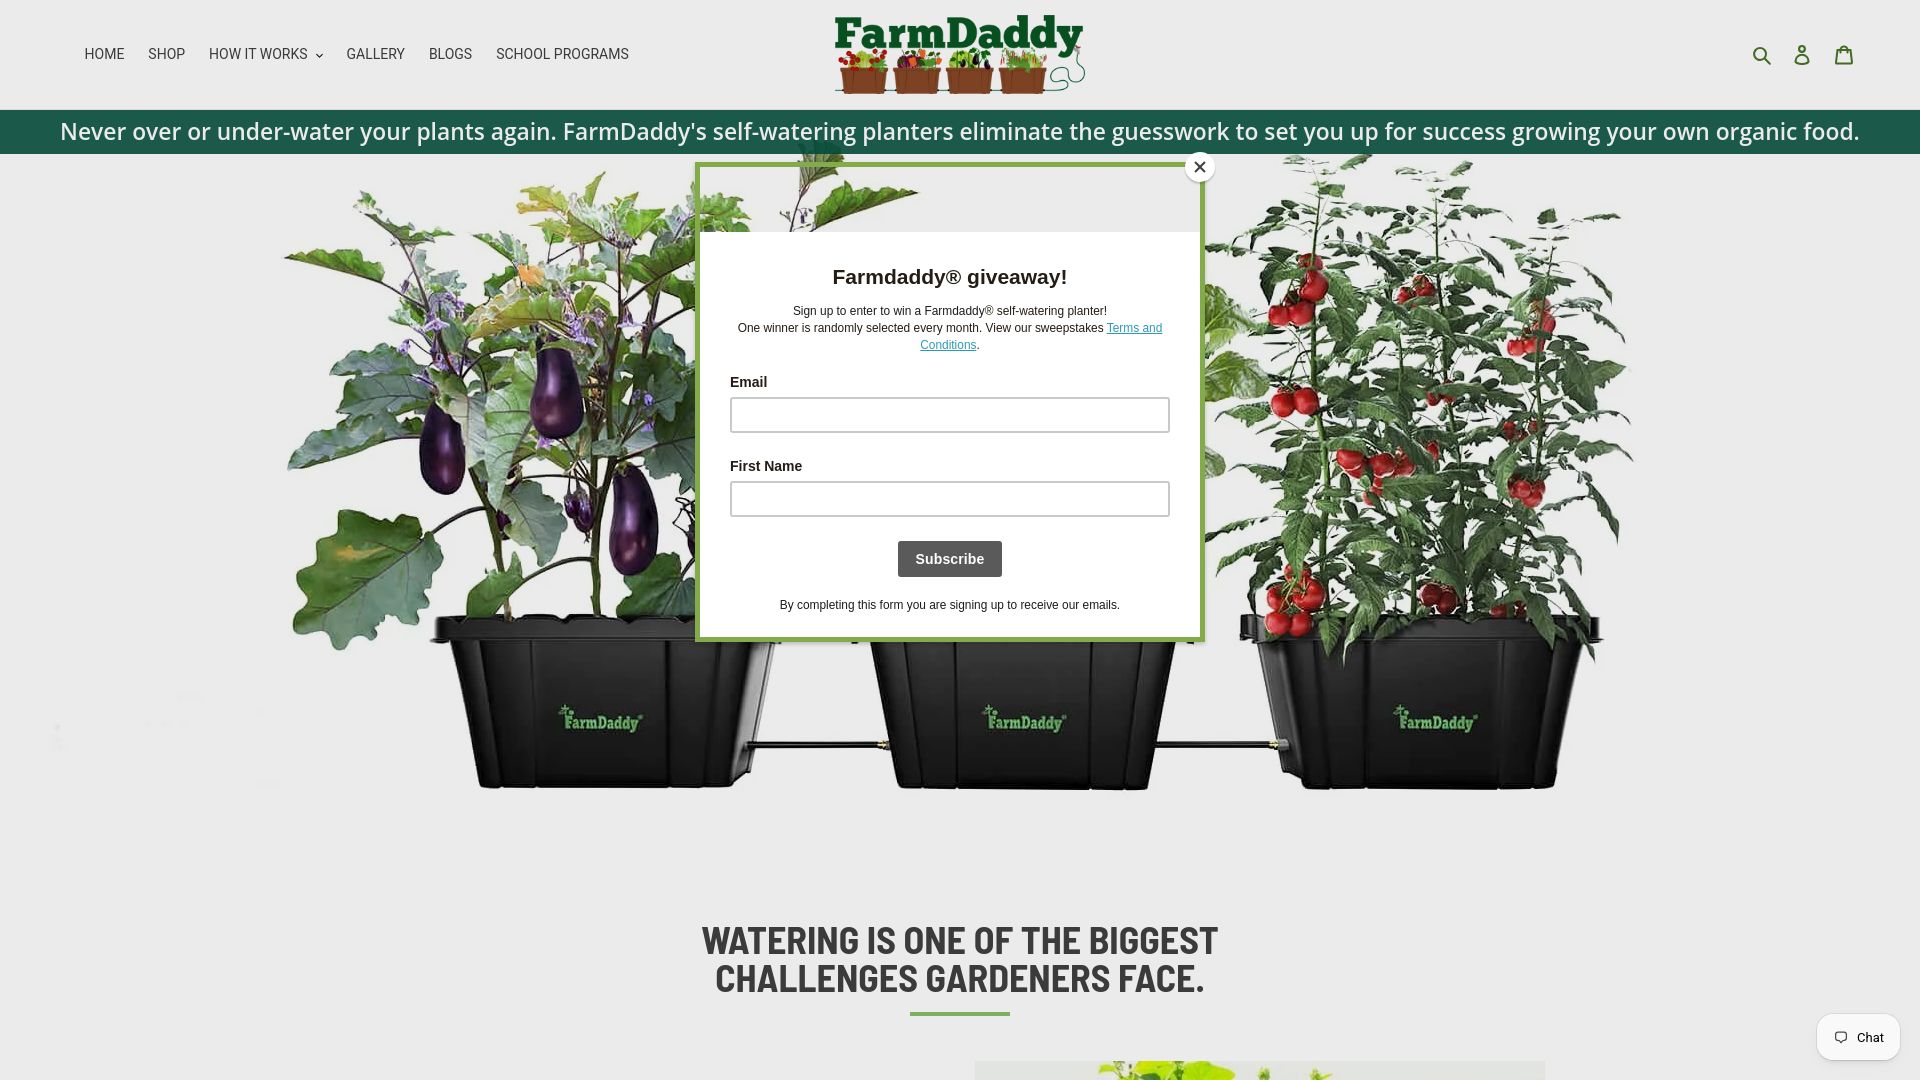
Each Farmdaddy container operates independently, which means you can grow tomatoes next to herbs without one plant’s water demand affecting another. That independence mirrors the SFG principle of treating each square as its own unit. The system also includes connector hoses, weed covers, and compatible organic fertilizers, so you get everything you need to set up a productive container garden without piecing together parts from multiple sources. If you want to see how the system maps to your specific setup, browse the Farmdaddy self-watering garden box and check the product specs and setup guides directly on the product page.
Sources
These are the primary references used throughout this article, each worth bookmarking for deeper research.
- Method - Square Foot Gardening
- ENH1211/EP472: Gardening in Raised Beds
- Raised-Bed Gardening | MU Extension
- Square Foot Gardening in an Urban Area - Union County Center | N.C. Cooperative Extension
- Square Foot Gardening On A Small Balcony: 2026 Guide

