
BLOG
Compost Tea for Containers: A Small-Batch Brewing Guide

Yes, compost tea works well for containers, and the safest starter batch is one gallon: steep 2 tablespoons of finished compost or worm castings in a mesh bag inside a gallon of dechlorinated water for 24 hours, then dilute the strained tea 1:2 with water before pouring it around the base of your potted plant. Container growing limits your margin for error since a five-gallon pot holds a fraction of the soil an in-ground bed does, so timing and dilution matter more here than almost anywhere else in gardening.
Container quick rules:
- Dilute soil drenches to roughly 1:1 to 1:4 (tea to water) and foliar sprays to 1:4 to 1:10.
- Apply within hours of brewing, never after the batch sits for days.
- Skip foliar spraying on edible leaves close to harvest.
- Never use tea made with raw manure or diseased plant scraps.
Pro Tip: Water your container’s soil lightly before applying compost tea. A pre-moistened root zone absorbs the tea evenly instead of letting it pool and run straight out the drainage holes.
Key Takeaways
Compost tea works best as an occasional soil biology boost for containers, applied within hours of brewing at proper dilution, never as a substitute for good drainage and a baseline fertilizer plan.
| Point | Details |
|---|---|
| Choose ACT for edibles | Aerated tea supports safer foliar use and lower pathogen risk on crops you plan to eat raw. |
| Dilute before applying | Use 1:1 to 1:4 for soil drenches and 1:4 to 1:10 for foliar sprays on containers. |
| Apply fast, not stored | Use aerated tea within four hours of turning off the pump for the best microbial survival. |
| Feed every two to four weeks | Match frequency to growth stage, easing off for seedlings and dormant plants. |
| Stabilize moisture first | FarmDaddy’s self-watering containers keep soil moisture consistent, making tea applications safer and easier to time. |
Table of Contents
- Supplies and Small-Scale Equipment for Brewing Container Batches
- Aerated (ACT) vs Non-Aerated (NCT): Which One Fits Your Pots?
- How to Brew a 5-Gallon Aerated Compost Tea for Containers
- How to Make a Simple Non-Aerated Compost Extract for Fast Drenches
- Dilution, Frequency, and How to Apply Compost Tea to Potted Plants
- What Not to Put in Your Tea and Foliar-Use Cautions
- Fixing a Bad Batch: Smell, Foam, Algae, and Storage Limits
- Tailoring Compost Tea Recipes for Common Container Crops
- Building a Small Aeration Kit Without Overspending
- Does Compost Tea Actually Work? What the Evidence Shows
- A Realistic Take on Compost Tea for Container Gardens
- A Steadier Way to Deliver Nutrients Between Tea Batches
- Frequently Asked Questions
- Sources
Supplies and Small-Scale Equipment for Brewing Container Batches
You do not need a barn full of gear to brew good compost tea for potted plants. A five-gallon food-grade bucket is the workhorse size for most households, small enough to store in a garage corner but large enough to treat a season’s worth of pots. Leave a few inches of headspace at the top since aerated brews foam as microbes multiply.
A mesh brew bag in the 100 to 300 micron range keeps solids contained and makes straining painless. For aeration, a basic aquarium pump rated for a 10 to 20 gallon tank, a few feet of tubing, and a single airstone are enough to run a five-gallon batch.
What to buy and what to skip:
- Choose food-grade plastic buckets, not old paint or chemical containers.
- Reusable nylon paint strainer bags work as well as branded mesh bags at a fraction of the cost.
- Avoid rusty metal containers, which can leach compounds into your brew.
- Skip pre-filled “instant” tea bags of unknown origin; you cannot verify what pathogens might be inside.
Pro Tip: A cheap aquarium pump from a pet store works fine for occasional brewing. Save the higher-output, multi-outlet pumps for gardeners running two or three batches a week.
Aerated (ACT) vs Non-Aerated (NCT): Which One Fits Your Pots?
Compost tea comes in two basic forms, and the difference matters more for container gardeners than the labels suggest. Aerated compost tea (ACT) uses a pump to keep oxygen moving through the brew for 24 to 48 hours, which favors the aerobic microbes plants and soil biology respond to best. Non-aerated compost tea (NCT), sometimes called compost extract, just steeps for 12 to 48 hours with occasional stirring and no equipment at all.
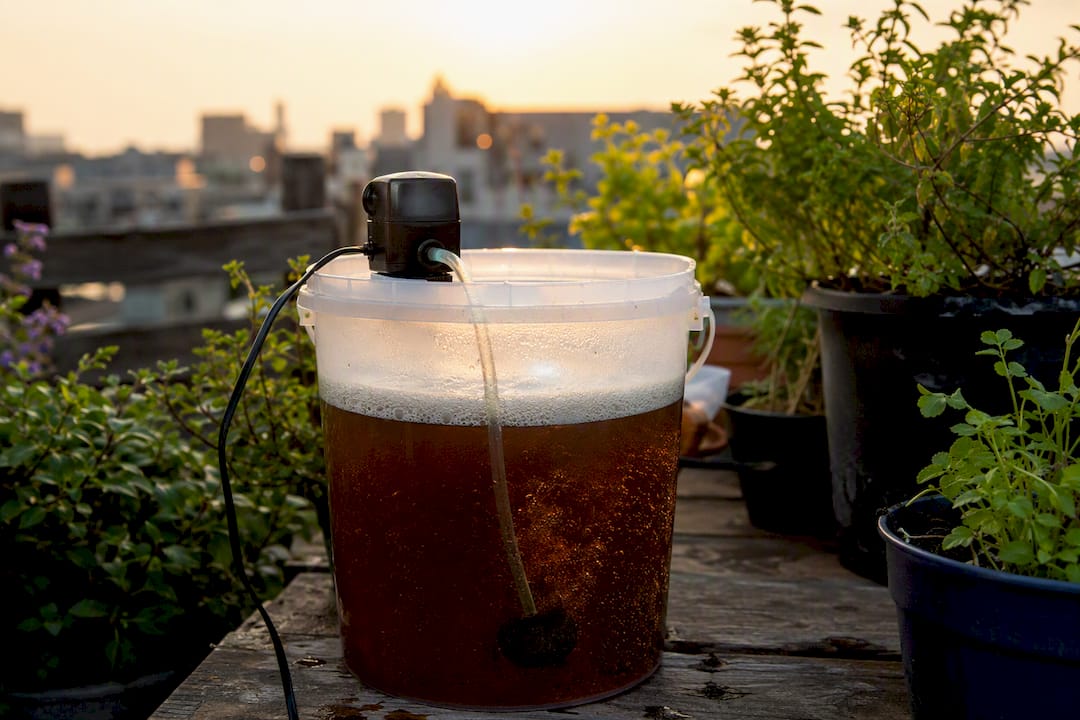
For containers growing vegetables or herbs you plan to eat raw, ACT is the safer bet, especially if you ever plan to spray leaves. ACT promotes aerobic organisms and is generally considered safer for foliar use, while NCT can develop anaerobic byproducts better suited to soil drenches only. If you just want a quick soil boost for a patio pot of marigolds, NCT gets the job done with zero gear.
Quick decision guide:
- Growing edibles and want to spray foliage? Use ACT.
- Just want an occasional soil drench for ornamentals? NCT is fine.
- Short on time or equipment? NCT brews with nothing but a bucket and a lid.
- Treating seedlings or transplants? ACT’s higher microbe diversity tends to help root establishment.
| Factor | Aerated (ACT) | Non-Aerated (NCT) |
|---|---|---|
| Equipment needed | Pump, airstone, tubing | Bucket and lid only |
| Brew time | 24 to 48 hours | 12 to 48 hours |
| Best use | Foliar spray, edibles, transplants | Simple soil drench |
| Shelf life after brewing | Use within hours | Slightly more forgiving, still use fresh |
| Pathogen risk | Lower, aerobic-dominant | Higher if steeped too long |
How to Brew a 5-Gallon Aerated Compost Tea for Containers
This is the recipe most container gardeners settle on once they’ve tested a few batches, because it scales cleanly and does not require exotic ingredients.
Ingredients:
- 4 gallons of dechlorinated water (let tap water sit 12 to 24 hours to off-gas chlorine, since chlorinated water kills the microbes you’re trying to grow)
- 1 to 2 cups of mature, finished compost or worm castings
- 1 tablespoon of unsulfured molasses (feeds the microbes; sulfured molasses can inhibit them)
- Optional: a splash of liquid kelp or fish hydrolysate for extra trace minerals
Brewing steps:
- Fill your five-gallon bucket with the dechlorinated water, leaving several inches of headspace.
- Place the compost or worm castings into your mesh bag and submerge it in the water.
- Add the molasses and any optional additives directly to the water.
- Drop in the airstone, connect the pump, and run it continuously for 24 to 36 hours at a water temperature between 65°F and 75°F.
- Watch for a light tan foam on top. That’s a good sign of active microbial life, not a problem.
- Turn off the pump, lift out the mesh bag and squeeze it gently over the bucket, then strain the liquid through a finer cloth if you plan to use a sprayer.
- Dilute according to your application method and use the tea right away.
Pro Tip: Apply aerated compost tea promptly after turning off the pump for the best microbial survival. Dissolved oxygen drops fast once aeration stops, and the microbe population can crash within half a day.
How to Make a Simple Non-Aerated Compost Extract for Fast Drenches
When you just need a quick soil boost and don’t own a pump, a non-aerated compost extract takes almost no effort.
- Fill a one to five gallon bucket with dechlorinated water.
- Add a mesh bag filled with two to three cups of finished compost per gallon of water.
- Cover loosely (not airtight) and let it steep for 12 to 48 hours, stirring twice a day to keep it from going stagnant.
- Strain out the solids and dilute the liquid 1:1 with water before applying it as a soil drench.
Where NCT falls short for containers:
- Steeping longer than 48 hours risks anaerobic conditions and a foul smell.
- Never spray NCT on the leaves of anything you plan to eat raw, since extension sources widely caution that NCT carries a higher pathogen risk for foliar use on edible crops.
- Use it as a soil drench only, poured directly at the base of the plant.
Dilution, Frequency, and How to Apply Compost Tea to Potted Plants
Getting the dose right is where most container gardeners go wrong, usually by applying tea too strong or too often. Standard dilution for a soil drench runs 1:1 to 1:4, tea to water, and foliar sprays should be diluted further, to 1:4 or even 1:10. A small pot has far less soil volume to buffer a mistake than a garden bed, so lean toward the weaker end of these ranges until you know how your plants respond.
Frequency depends on the plant’s growth stage. Actively growing vegetables and heavy feeders like tomatoes tolerate applications every two to four weeks during the growing season. Seedlings and freshly transplanted starts do better with a more diluted mix applied less often, maybe once every four to six weeks, since their root systems are still small and easily overwhelmed.
Here’s how that translates to real pot sizes:
| Container size | Diluted tea per application | Suggested method |
|---|---|---|
| Pint pot (herb starts, seedlings) | 2 to 4 ounces | Soil drench at the base |
| 1-gallon pot | 1 to 2 cups | Soil drench, avoid foliage |
| 5-gallon pot (tomatoes, peppers) | 1 to 2 quarts | Soil drench or light foliar mist |
| Self-watering reservoir system | 1 to 2 cups added to the fill tube | Let the wicking action distribute it |
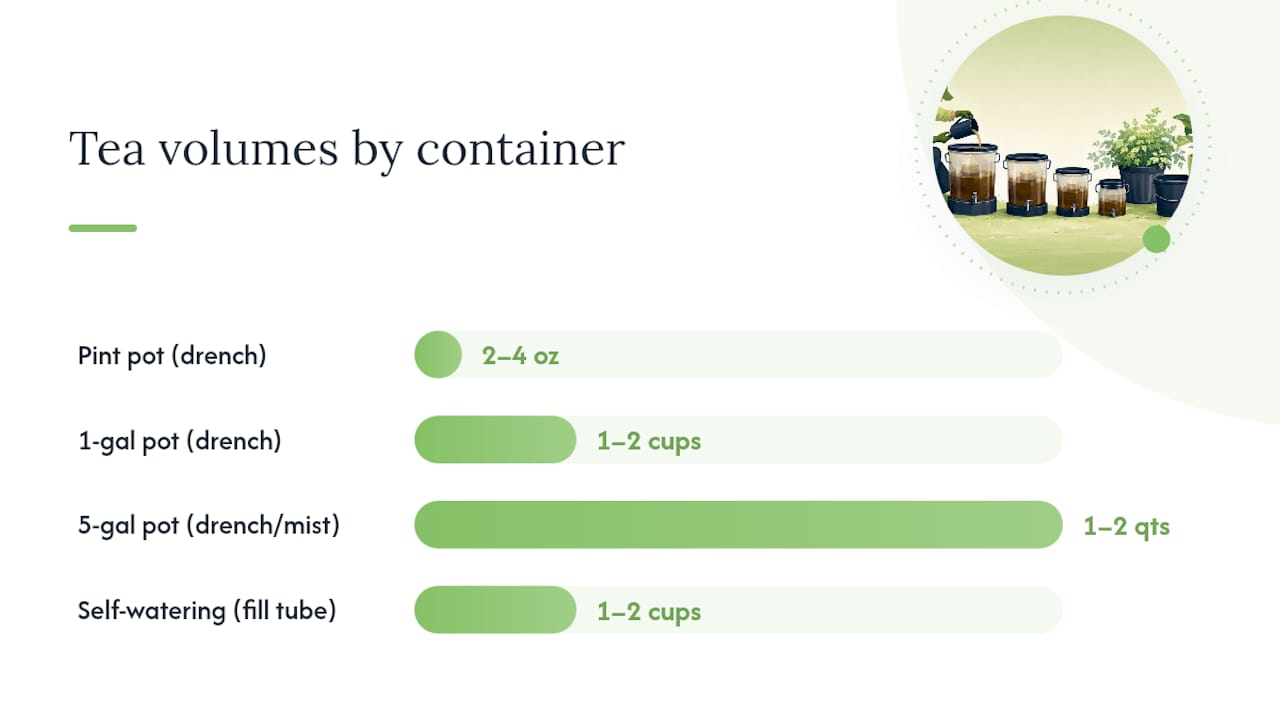
If you garden with a self-watering setup, add diluted tea through the fill tube or reservoir opening rather than pouring it over the top of the soil. The wicking system will distribute moisture and nutrients to the root zone gradually instead of flushing it straight through.
Before your next application, run a quick check:
- Does the plant show new, healthy growth since the last feeding?
- Does the pot’s saucer or reservoir show signs of standing water?
- Is there any sour or rotten smell coming from the soil surface?
- Have you noticed small flies hovering near the soil, a sign of excess moisture attracting fungus gnats?
If you answer yes to the last two, hold off on your next application and let the pot dry out a bit first.
What Not to Put in Your Tea and Foliar-Use Cautions
Compost tea is forgiving in a lot of ways, but a few mistakes turn a beneficial brew into a genuine risk, especially with edible crops growing in a small footprint.
Never add these to your brew:
- Raw or fresh manure, which can carry pathogens like E. coli that survive the brewing process.
- Diseased plant material, which can spread the same pathogens or fungal spores the tea is supposed to fight.
- Sulfured molasses, which can suppress the microbial activity you’re trying to encourage.
- Any compost you haven’t fully cured, since unfinished compost may still be actively decomposing and unstable.
Foliar spraying deserves its own caution, particularly on lettuce, spinach, and other crops eaten raw. Hold off on spraying leaves within two to three weeks of harvest, and when in doubt, apply as a soil drench instead. Multiple extension-style sources recommend ACT over NCT specifically for foliar use because of the lower pathogen risk.
Container growing amplifies a few hazards that barely register in open ground. A five-gallon pot has nowhere near the drainage buffer of garden soil, so over-application shows up fast as soggy roots or standing water in a saucer. That same excess moisture is exactly what draws fungus gnats, one of the most common complaints from indoor and patio container gardeners after a compost tea feeding.
A short hygiene checklist:
- Rinse your bucket, mesh bags, and airstone after every batch to prevent biofilm buildup.
- Keep your brewing equipment separate from tools used near sick or diseased plants.
- If a batch smells foul or rotten, dispose of it in the landscape soil, not on food crops or in a storm drain.
Pro Tip: If you’re brewing compost from kitchen scraps, reusing coffee grounds is a great way to add nitrogen to your compost pile before it ever reaches the tea bucket, just keep them well composted rather than dumping them straight into a brew.
Fixing a Bad Batch: Smell, Foam, Algae, and Storage Limits
Even a simple recipe goes sideways sometimes. Here’s how to read the signs.
Common problems and quick fixes:
- Rotten-egg smell: Your batch has gone anaerobic. Discard it and check that your pump and airstone are actually working next time.
- Excessive foam: Usually harmless and a sign of active microbes, but if it overflows the bucket, add less molasses next batch.
- Green, algae-tinted water: Caused by light exposure. Brew in an opaque container away from direct sunlight to prevent algae growth.
- Pump stops working mid-brew: If aeration drops out for more than a few hours, treat the batch as compromised and start over rather than risk anaerobic conditions.
ACT does not store. Use it within four hours of shutting off the pump, since microbial populations crash quickly without oxygen. NCT holds up slightly longer but should still be used the same day you strain it. If you end up with leftovers you’re unsure about, pour them onto non-edible ornamentals or dilute heavily and apply to landscape soil rather than risking it on food crops.
Tailoring Compost Tea Recipes for Common Container Crops
Different container crops respond to slightly different tea profiles, and small adjustments to your base recipe go a long way.
Additive guide:
- Liquid kelp adds trace minerals and works well for flowering ornamentals and fruiting vegetables like tomatoes and peppers.
- Worm castings bring a fungal-dominant boost that’s gentler on delicate transplants and seedlings, using about one cup per five gallons.
- Fish hydrolysate gives a fast bacterial boost, useful for leafy greens that need quick nitrogen.
Three quick recipes:
- Mild herb tea: 1 cup worm castings, no molasses, diluted 1:4 before use on basil, mint, or chives.
- Tomato-strength tea: The standard five-gallon ACT recipe with a splash of liquid kelp added.
- Delicate seedling formula: Half-strength worm castings tea, diluted 1:6, applied no more than once a month.
Pro Tip: Compost tea works best as a supplement, not your only feeding plan. Pair it with a slow-release organic fertilizer worked into your potting soil at planting time so your containers aren’t relying on tea alone for nutrition.
Building a Small Aeration Kit Without Overspending
You can put together a functional container-scale ACT setup for less than the cost of a bag of premium potting mix.
What to look for:
- An aquarium pump rated for 10 to 20 gallons handles a standard five-gallon brew bucket without issue; multi-outlet pumps let you run two buckets at once if you garden with several pots.
- A single standard airstone, the kind sold for small fish tanks, provides enough bubble surface area for a five-gallon batch.
- Mesh bags in the 100 to 300 micron range strike the right balance between straining fine solids and letting liquid flow freely.
- Stick with food-grade buckets specifically labeled as such rather than repurposing containers of unknown plastic origin.
- If noise matters, pumps vary quite a bit; check reviews for decibel ratings before buying if you’ll be brewing indoors or on an apartment balcony.
Does Compost Tea Actually Work? What the Evidence Shows
The honest answer is that compost tea helps, but it is not magic, and the evidence has real limits worth understanding before you brew your first batch.
What the research actually supports:
- Standard guidance points to applying tea every two to four weeks during active growth, with drench dilutions of 1:1 to 1:4.
- Higher microbe counts from aerated brewing sound impressive, but there’s no definitive evidence that more microbes automatically translate into better garden outcomes for the average home grower.
- Compost tea works best as a supplement to soil biology, not a substitute for a consistent fertilizer routine, and over-applying it in a small pot can create drainage and pest problems faster than it solves nutrient issues.
Compost tea is best understood as a gentle tonic for soil biology rather than a fertilizer replacement. Fixing drainage and watering rhythm first matters more than chasing the perfect tea recipe.
If you want to go deeper on the science, extension offices and institutions like the Rodale Institute publish some of the most balanced, non-commercial guidance available on the topic.
A Realistic Take on Compost Tea for Container Gardens
Compost tea earns a place in a container garden, but it earns a smaller place than the enthusiasm around it suggests. The research is consistent on one point: tea supplements soil biology, it doesn’t replace good drainage, quality potting mix, or a baseline fertilizer schedule. A gardener chasing perfect microbe counts while their pots sit in standing water has the priorities backward.
Start small. Brew a one-gallon batch before committing to five gallons of ingredients you might waste. Get your container’s drainage and watering rhythm dialed in first, then treat compost tea as an occasional boost rather than a weekly ritual. That approach has served container gardeners well long before compost tea became a trend, and it will keep serving you after the trend fades.
A Steadier Way to Deliver Nutrients Between Tea Batches
Compost tea gives your containers a periodic boost, but the biggest risk we’ve covered throughout this guide isn’t the recipe. It’s inconsistent moisture, the kind that turns a well-timed feeding into a soggy pot with fungus gnats circling the soil surface. FarmDaddy’s self-watering containers solve that underlying problem directly: each connected planter draws water independently through a reservoir system, so your plants get steady hydration whether you’re feeding them tea this week or not.
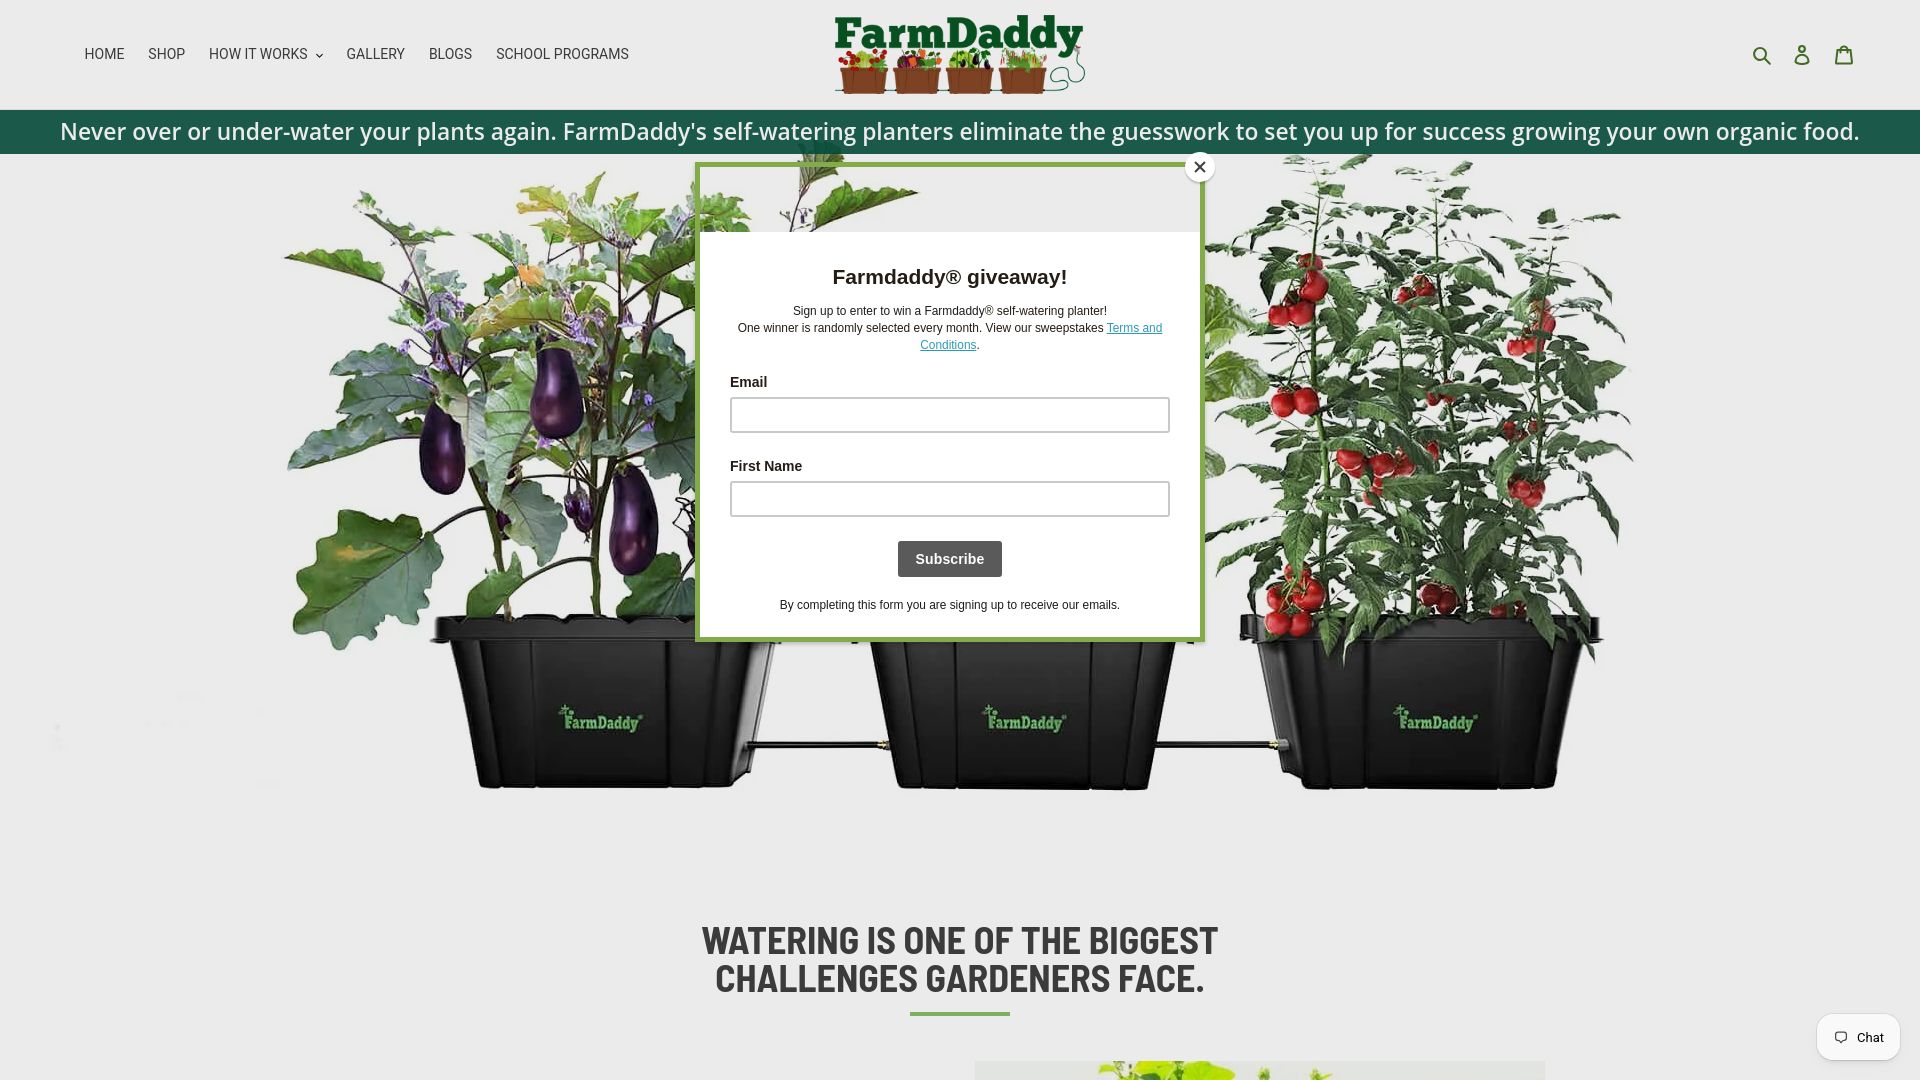
That steady baseline makes every application of liquid tea or fertilizer more predictable, because you’re not fighting inconsistent soil moisture on top of dosing decisions. For heavy feeders like tomatoes, a self-watering tomato planter kit gives you the reservoir capacity to handle regular feeding without the guesswork of daily watering. If you travel often or simply want one less variable to manage, browse the self-watering container lineup and see which size fits your growing space.
Frequently Asked Questions
How often should I use compost tea on container plants? Every two to four weeks during active growth works well for most vegetables and flowering plants, tapering off for seedlings and during dormant periods.
Can I use compost tea on all my potted vegetables? Yes, but stick to soil drenches rather than foliar sprays on leafy greens and other crops you plan to eat raw, especially close to harvest time.
Do I need an aeration pump to make compost tea? No. A non-aerated extract works fine for simple soil drenches, though aerated tea is the better choice if you plan to spray foliage.
Why does my compost tea smell bad? A rotten-egg odor usually means the batch went anaerobic, either from insufficient aeration or steeping too long. Discard it and check your equipment before brewing again.
Can compost tea replace fertilizer for my container garden? No. Treat it as a supplement to a consistent fertilizer routine and good potting soil, not a standalone feeding plan.

